4 Seasonal Trail Camera Techniques
November 5th, 2017 by BTC Editor
Trail Cameras have become a big part of the modern hunters scouting strategies. But many fall short by not putting in the time to scout and find new places to put their trail cameras. These 4 simple trail camera techniques will help you get more pictures of your monster bucks.
EARLY SEASON
As the bucks begin to grow and racks begin to form, it is time to put trail cameras up on popular mineral sites. The nutrients deer need can be found in these minerals for the growth of antlers and milk production of fawns. This is a great place to determine deer density and take an early season inventory of your deer herd.
PRE-RUT
This time of year, bucks shed their velvet and their testosterone levels begin to rise. When scrapes and rubs become more visible, it is time to move your trail cameras. Scrapes are a great place to find mature bucks looking for receptive does. Most bucks visit scrapes in the cover of darkness, but are easy to get great pictures of.
RUT
When the does start to come into heat, bucks really start to move. As bucks begin to seek does, food sources become a hot spot for deer activity. By putting a trail camera on the edge of a field, you are likely to get pictures of bucks checking for receptive does. Also helping to show where and what time they enter the field.
POST-RUT
As the rut winds down, bucks begin showing the toll of heavy rut activity. Low body weights and broken, beat up bodies, bucks become slaves to their stomachs. This is the time of year that corn stations or late season food plots become key trail camera spot. These pictures can help you find out what bucks made it through the season and ones to write off the hit list.
Blog originally posted on The Break TV blog by team member Stephen Jones.
Defender 850: Changing How You Hunt
October 8th, 2017 by BTC Editor
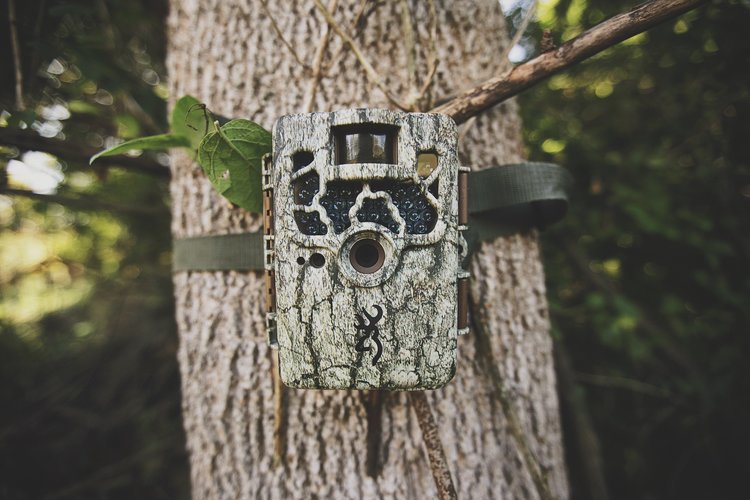
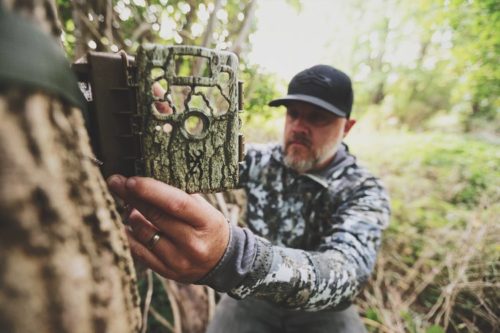
For 2017, Browning Trail Cameras came up with a new concept in trail cameras: the Defender 850. When they first unveiled this camera at ATA, I knew it was going to be a game changer. The Defender has some unique features and technology that set it apart from the rest and that can take your deer hunting to the next level. Here are 3 features on the Defender 850 trail camera that will allow you to change the way you hunt this season.
1 – Bluetooth and WiFi Connectivity Via the Browning Trail Cameras Mobile App
You can connect to the Defender on your mobile device from about 60 yards away via the new Browning Trail Cameras app. Through the app you can control the camera settings and download images and video straight to your phone or tablet, allowing you to keep your favorite hunting areas undisturbed and free of scent.
I have my Defender’s set up close to a few of my favorite tree stands so I can check the camera while I’m in my stand without actually having to touch the camera and leave my scent in the area where I am expecting the deer to walk out.

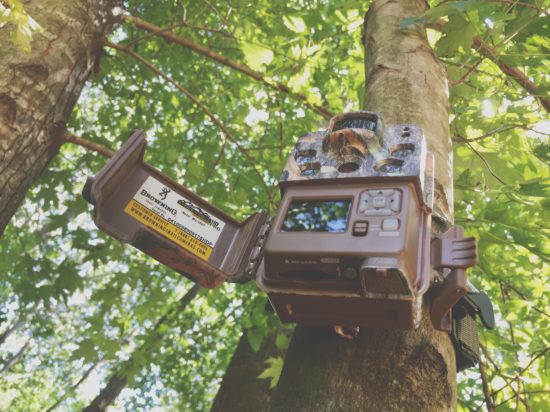
2 – Adjustable IR Flash
This feature is also new for 2017 and allows you to control the range of your LED’s on your nighttime images. There are 3 different flash settings – Power Save, Long Range, and Fast Motion – that allow you to maximize the performance of your Browning Trail Cameras, no matter where they are set up.
–Power Save: This is the most economical of the 3 flash modes. The flash goes out to about 70 feet, which is perfect for wooded areas.
–Long Range: The flash goes out to about 120 feet. This is perfect for open areas, such as larger fields or food plots where the game may be a good distance away from the camera.
–Fast Motion: The exposure time is much faster in this mode, allowing you to capture game that are moving faster, while eliminating motion blur. Think fence crossings, trails, pinch-points and travel corridors, etc. This mode will really come in handy when new bucks start showing up on your hunting property during the whitetail rut!
Here’s a link for a YouTube video for more info on this setting: https://www.youtube.com/watch?v=eWva5ReMbKo

3 – Capable of Holding Up To 128 GB Micro SD Card
I wanted to point out this feature for 2 reasons:
1) The camera also features 1080P HD video technology, so having the ability to use an SD card with larger storage capacity means that you can leave the camera out in the field on video mode without having to worry about the memory card filling up in between camera checks.
2) If you wanted to set up your Defender 850 in a location that you may not hunt or visit often, once again you can rest assured that most likely your memory card will not be full by the time you make it there to hunt or check the camera. This is perfect for those whose hunting property is a long distance away, or if your favorite hunting location isn’t easily accessible.
Whether I end up getting a deer this season or not, I already feel like I am one step further with my hunting game plan than I was this time last year, and that is due to the unique features on the Browning Defender 850 that allow me to hunt smarter, not harder.
By Andrea Haas
Andrea Haas is a Pro-Staffer from Missouri who enjoys hunting deer, turkeys, and upland birds. She is also the founder of the Huntress View, an organization formed to help strengthen the ever growing community of women hunters
Shifting Deer, Shifting Cameras
September 24th, 2017 by BTC Editor
We’re beginning to get some early fall temps and the taste of clean, cool air. The skies are beginning to look a little different and we are both beginning to feel a bit different. We are anticipating…
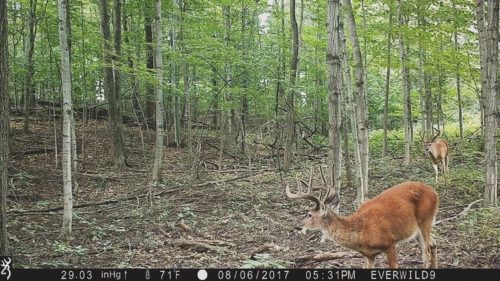
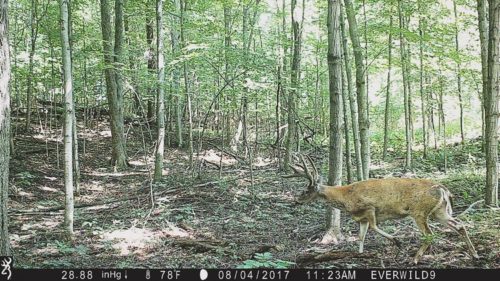
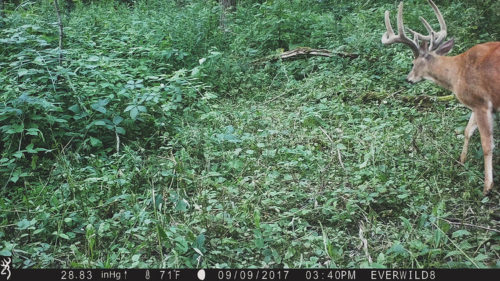
Having found a new core bedding area via trail camera recon (photos below) we are now closing in on exactly how this section of property functions and we are stoked for the postseason and the chance to move cameras into this area and establish precise buck bedding locations. However, we still have the ENTIRE NY deer season in front of us and we now know that we have a prime buck bedding location nailed down adjacent to an area the local does bed in. As we continue to work on peeling the layers off that scenario we will ramp up our mock scrape game using our cameras to tell the story of these locations. This year we are adding into our equation several rubbing posts with overhead licking branches where we will begin to test the waters of the local big boys and hopefully provide ourselves another late October/early November tool for our arsenal. As all these fellas begin to take on their fall ranges and each personality begins to show we become probably a little too eager as we wait for the right time to make our next card pull, but hey, this stuff is what it’s all about.

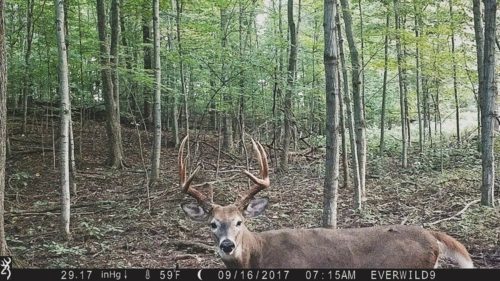
Blog originally posted on EverWild.
EverWild is an online journal of the outdoor adventure’s of two friends from New York – Justin Michau and DJ Tosh – who are passionate about the outdoors.
Personal Goals for Deer Season
August 13th, 2017 by BTC Editor
Bowhunters everywhere are anxiously counting down the days until deer season opens. Although it’s exciting, if you’re a serious hunter there’s a lot that goes on before climbing into the stand. Preparation is the key to success in the hunting world. You do so by taking inventory of your deer, making sure you have the right setup and proper stand placements, and providing adequate food sources. This will help to increase your success rate, not just for that specific year, but for years to come. Through the preparation process, you really gain knowledge and respect for the land that, in return, helps shape you to be the best stewardess of the land you can be. Setting personal goals to increase your success helps to make yourself accountable and focused on land management.
For me, preparing for the season at a young age was different than it is for me now. Throughout my years growing up, I would help my dad hang tree stands and prepare for deer season under his wing. It was my chance to observe and learn. I recently moved a couple years ago into a house that had hunting ground that I could hunt and manage as I could. I finally got the chance to try my hand at land management on my own. It was an important goal for me to learn about food plots. I started by taking soil samples and executing how and what I needed to have a successful food plot. This is now an ongoing goal that I am excited to complete every year. As late August approaches, I will be planting a mixture of Triticale, Forage Oats, Winter Peas, Crimson Clover, Chicory, Turnip, and Daikon Radish. This food plot is located in a corner off of a large soybean field, not quite a 1/4 of an acre. It will provide deer with a highly palatable forage source.
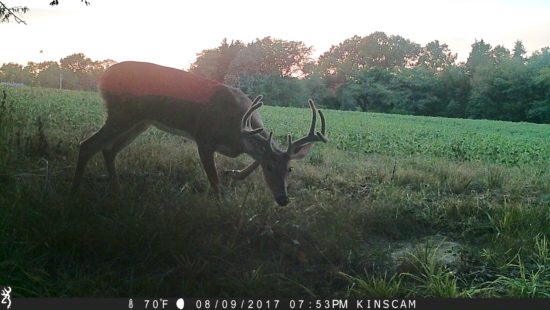
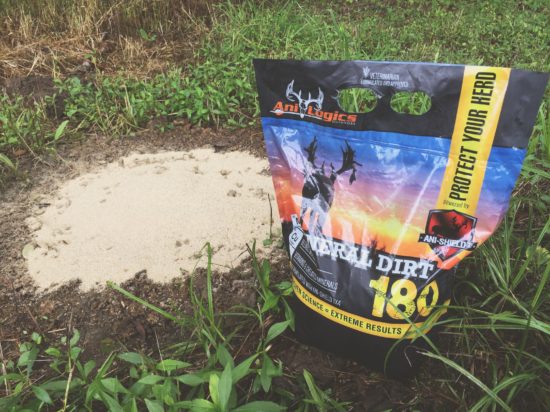
Within these food plots I use my Browning Trail Cameras to take inventory of the deer. During early summer, bucks are in full velvet and still in their bachelor groups. By putting out your cameras early, you can watch the bucks progress and see how their antlers develop. Try to learn their patterns for early season hunting and pay attention to how they are using the land. This is a high priority, and yet something I truly enjoy doing. Study these bucks and get to know them. An attractant can help keep your deer coming back for more, while providing them with adequate supplements and minerals. I use Anilogics Mineral Dirt 180 which has minerals like Copper, Zinc, Selenium, and Manganese to help a deer’s immune system. As the velvet starts to shed completely off, each buck will soon start to go his own way and their patterns will quickly change.
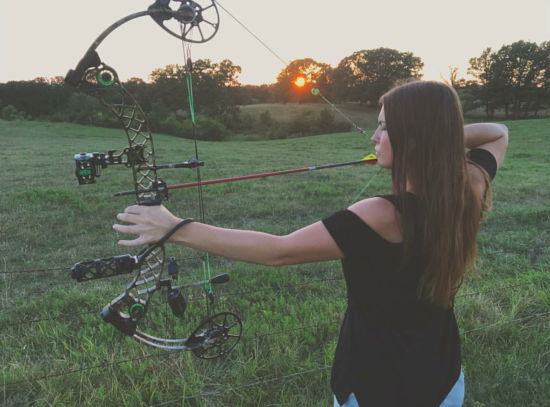
You know, there are so many different ways to manage your land and provide for your deer. I think by actively being involved in all year prepping, you can tremendously grow and learn to become an even more successful hunter each year. After all the hard work has been put in, it’s time to enjoy time in the stand. It truly makes all your hard work and effort pay off when you harvest a mature buck or healthy doe. Myself, as well as thousands of other hunters, are making it our final goal to stock our freezer with lean, organic venison. Shooting your bow as much as you can prior to deer season will help give you the confidence you will need in the stand. It’s a year-round cycle of preparing, planning and executing, and it never gets old!
Kinsey Edmunds is a pro-staffer from Missouri. Being raised on a farm and surrounded by wildlife, her love for the outdoors began at a young age. Kinsey enjoys bowhunting whitetails, turkeys, hogs and gators, just to name a few. She is also a team member of Huntress View, a team dedicated to strengthening the ever-growing community of women hunters.
Venison Meatball Recipe
February 26th, 2017 by BTC Editor
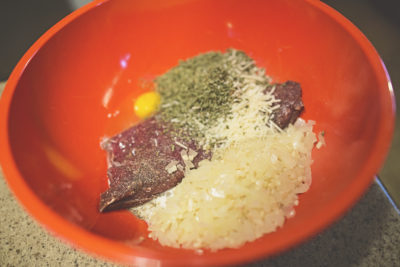
INGREDIENTS:
1 lb ground venison
¼ cup half and half
Extra Virgin Olive Oil
1 medium white onion – finely chopped
3 tablespoons chopped garlic
2 large eggs
1/4 cup dried parsley flakes
1 tsp dried oregano
1/4 cup freshly grated Parmesan cheese
salt and pepper to taste
DIRECTIONS
This recipe is by far the best wild game recipe I’ve ever tasted! I must preface this by saying that up until a few of years ago, I was actually a vegetarian. Not because I was trying to save the animals. I did it because I just didn’t care for meat. However, what I realized when I met my husband, who is a hunter and ultimately the one whom got me into hunting as well, is that what actually bothered me about meat is that I didn’t always know where the meat from the grocery store had come from. I was growing a few veggies in my backyard, and purchasing the rest through a farmers market or local CSA. So I have always been aware of where my food came from; but the meat remained a mystery. Then along comes hunting. The first time my husband brought a whitetail deer home for us to process I started asking questions. I began cooking it for my family and realized my kids could never tell the difference between ground venison and ground beef. Thus began my journey in creating wild game friendly recipes.
Now I am extremely picky with how my food tastes. I do not like having a gamey taste to it at all. This meatball recipe is so perfect. Every time I make it, it gets better and better as I modify ingredients.
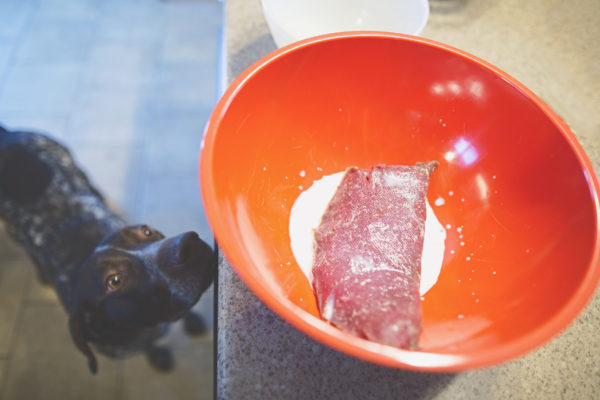
Begin by preheating your oven to 425 degrees and coating the bottom of your 9×12 baking dish with olive oil. Next, place 1 pound of ground venison in a large mixing bowl. Add ¼ cup half and half (regular milk works as well, however I have not tried this recipe with dairy substitutes) and then set this bowl aside.
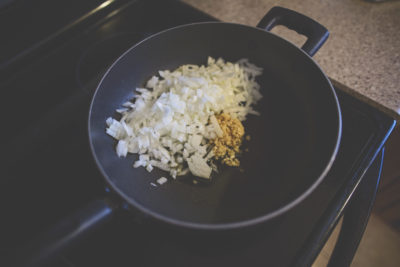
In a medium skillet, heat 2 tablespoons of olive oil over medium heat. Add 1 diced onion and 3 tablespoons of chopped garlic to the skillet. Be sure to dice your onion into very small pieces. Saute until the onion is clear. I tend to like a lot of onion, so this may look like more than 1 medium onion. Never enough onion or garlic in my house!

Then, add the onion mixture to the ground venison bowl. Add 2 eggs, ¼ cup dried parsley flakes, ¼ cup freshly grated Parmesan cheese, and 1 teaspoon oregano to this same mixture. Salt and pepper to taste. You are now ready to mix with a wood spoon or your hands. I typically use my hands, but am careful for the hot onion/garlic mixture. Don’t burn your fingers!
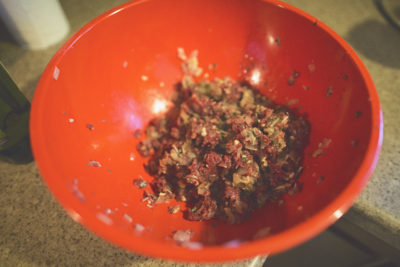
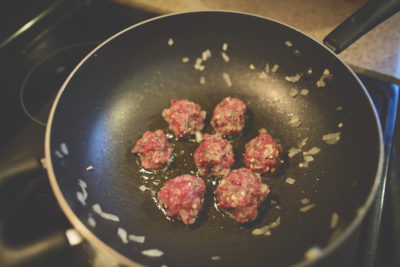
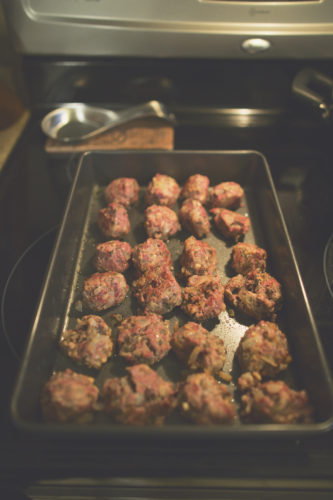
Using the same medium skillet as you cooked the onions (as you can see in the photo I do not clean out the skillet), add 2 tablespoons olive oil and turn on heat to medium. Roll meat mixture into 1” diameter meatballs. Don’t look to close at mine. They are never perfectly round because my kids are always starving. Place meatballs into heated skillet; browning on at least 2 sides. You are not cooking them all the way through, just browning the edges. This makes the outside of the meatballs yummy and slightly crispy. Once you have browned the meatballs on 2 sides, place meatballs into your greased baking dish. Bake 20 minutes, turning once after 10 minutes.
My husband and I tend to eat them plain (that’s how good they are) or dipped in barbecue sauce. My kids like to put them on Hawaiian rolls with cheese and barbecue sauce. Either way, I think you will love them! Enjoy!
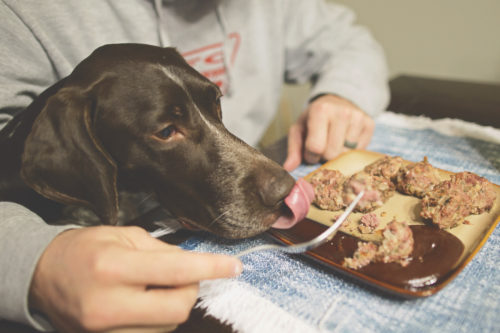
By Tammy Bashore

Tammy Bashore is an outdoor enthusiast from South Dakota. She is a professional photographer, the wife of a professional walleye angler and the mother of 2 kids, plus one fur baby, a GSP named Bentley (pictured above). Tammy is also a member of the Huntress View team, an organization formed to help strengthen the ever growing community of women hunters.
Late Season Trail Camera Placement
December 11th, 2016 by BTC Editor
As deer season is winding down and will soon be coming to an end, now is the perfect time to re-position your trail cameras and change your game plan for hunting late season whitetail bucks. As the seasons change, so does a whitetail’s pattern as they shift their focus from the rut to food once again. Here are a couple of tips on trail camera setup and placement to help you get the most out of your cameras before deer season closes.
Camera Location: Pinch Points and Travel Corridors
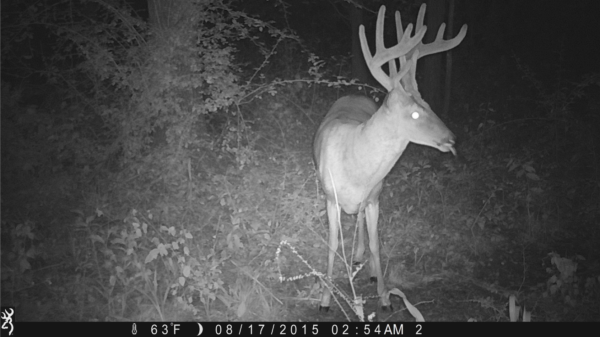
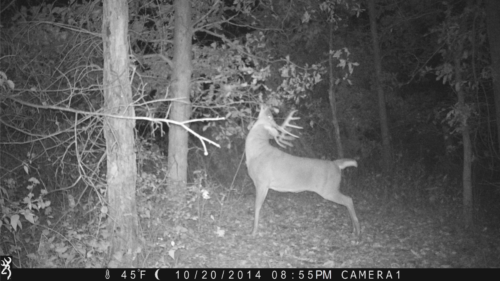
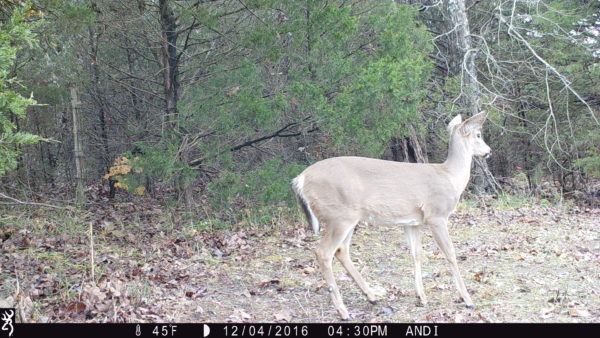
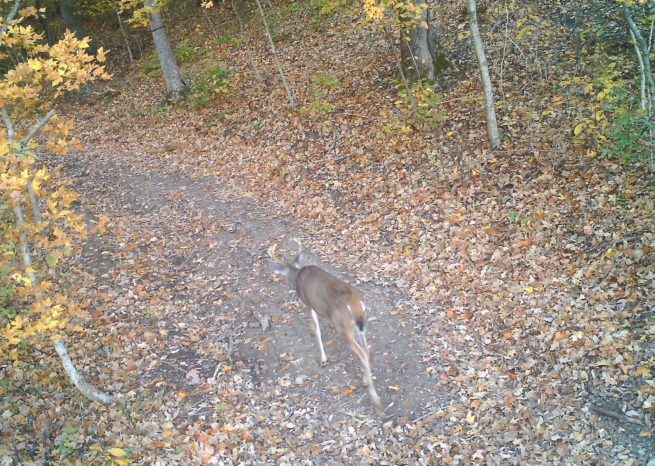
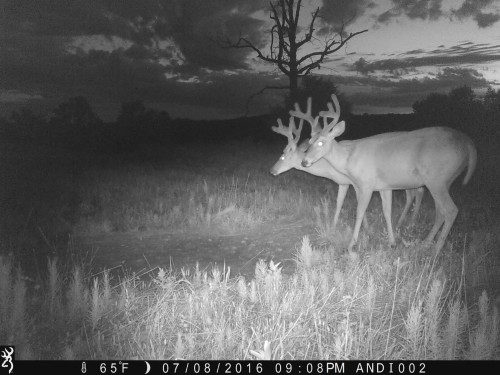
While I move most of my cameras to new locations post-rut, I still like to leave one or two at prior locations like pinch points, known deer trails and travel corridors to catch any bucks that may still be out cruising for does. As the fawns come into estrous late in the season, often referred to as the “Second Rut”, these locations are great for catching buck movement in the daylight. It appears to me that is exactly what is going on in the next series of pictures.
![1632:120416:45F:0000:ANDI :2E[097:0494]G[024:0x0016]](http://btc-omrc.com/wp-content/uploads/2016/12/IMG_0047-e1481494823717.jpg)
![1700:120416:45F:0000:ANDI :2E[099:0453]G[024:0x0016]](http://btc-omrc.com/wp-content/uploads/2016/12/IMG_0069-e1481496091319.jpg)
![1704:120416:45F:0000:ANDI :2E[097:0494]G[024:0x0016]](http://btc-omrc.com/wp-content/uploads/2016/12/IMG_0089-e1481496451232.jpg)
My Setup
- Camera: Browning Strike Force
- Mode: Burst Mode, 4 shots
When placing my cameras at the above locations, I like to set them up on burst mode to make sure I don’t miss any deer activity. For example, say I had my camera set up to take a picture every 5 seconds, but in normal mode. If this buck would have been trailing this fawn right on its tail, I may not have gotten a picture of him. In burst mode the camera takes several images, one after another, before stopping to reset.
Camera Location: Food Sources
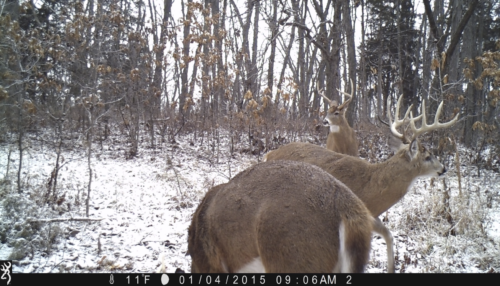
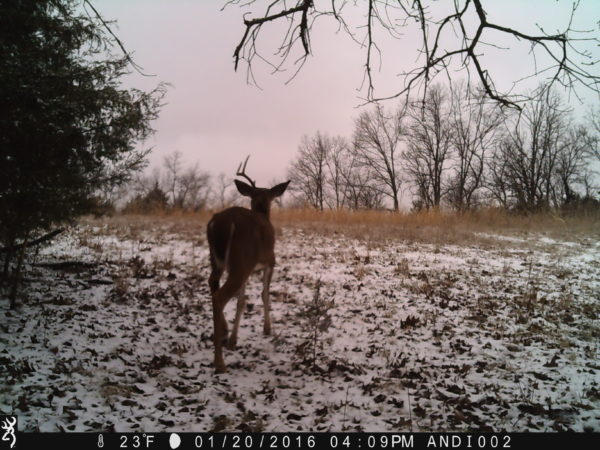
Moving trail cameras to the remaining food sources is a good strategy for late season scouting. By now most of the acorns have either rotted or been eaten, so I like to move more of my cameras from the woods to our food plots in the fields. We have a couple of fields planted in winter wheat, clover and chicory, and another one planted in turnips. These have proven year after year to be the hot spots on our property for hunting late season bucks, and this year is no different! After checking my cameras this weekend, this buck has shown up in the daylight hours almost every day in one of our wheat and chicory plots.
![1440:120616:52F:0000:HAAS :2E[142:0070]G[008:0x0006]](http://btc-omrc.com/wp-content/uploads/2016/12/IMG_0578-e1481470633184.jpg)
![1615:120816:29F:0000:HAAS :2E[140:0076]G[008:0x0006]](http://btc-omrc.com/wp-content/uploads/2016/12/IMG_3681-e1481497272261.jpg)
My Setup
- Camera: Browning Strike Force
- Mode: Timelapse Mode
The Timelapse mode on my Browning Trail Cameras is perfect for watching bigger open areas, like our food plots. For the most part, we know where our deer are entering this field, which is why I put this camera where I did. But, deer will often be in that same location and you’d never know it because they are too far away to trigger the camera. Timelapse Mode solves that problem since it can capture game at 200+ yards away. Plus, you can easily view a full day’s worth of pictures in just minutes, thanks to the Buck Watch Timelapse Viewer Plus software that is included with every Browning Trail Camera.
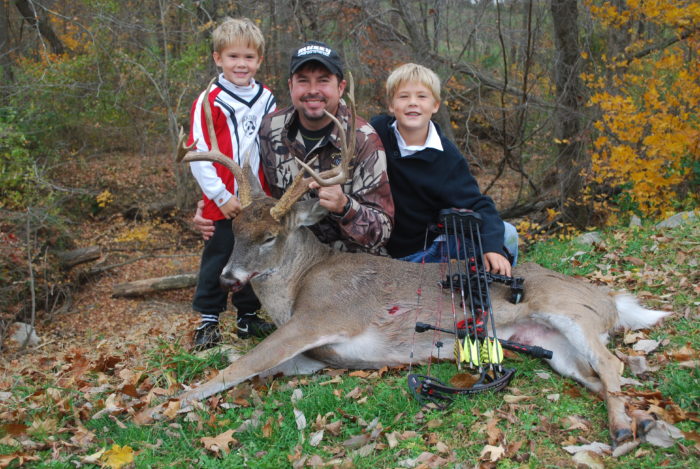
If you still have a deer tag you’re trying to fill, utilize your trail cameras as best you can. They are a deer hunter’s most valuable scouting tool! I shot my biggest buck to date on the last day of Missouri’s 2014 archery season as he was making his way into our turnip plot. Had I not been watching and patterning him with my trail cameras, I may have picked a different stand in that food plot and missed my chance at him.
Aside from avoiding tag soup, there are other benefits to keeping your trail cameras out during late season. Use them to help take inventory of what deer survived the season, determine your buck to doe ratio, and age of your deer. Looking over this season’s pictures, as well as pictures from prior season, will help you determine your game plan for next season. Another benefit to keeping your cameras set up so late in the year is to aid with shed hunting. Once you start getting pictures of bucks dropping their antlers, you’ll have a better idea of when and where to start looking for sheds.
Deer season isn’t over until it’s over, so if you’ve already taken down your game cameras for the year, I recommend getting them back out! The above late season trail camera locations and setups have helped me fill my deer tags in the past. Even if I don’t fill my archery tags this year, I have already gained some valuable information to carry over into next season, thanks to my Browning Trail Cameras!
By Andrea Haas
Andrea Haas is a Pro-Staffer from Missouri who enjoys hunting deer, turkeys, and upland birds. She is also the founder of the Huntress View, an organization formed to help strengthen the ever growing community of women hunters.
Early Season Bowhunting Tactics
October 2nd, 2016 by BTC Editor
By Greg Staggs
I turned and idled gently up the drive, palms getting clammy even as my breathing became shallower. Easing my truck to a stop, I quietly reached down and turned off the ignition and allowed the silence to envelope me. Going over my planned routine seemed to settle me a bit, and I took one last deep breath and opened the door. I had been thinking about this moment for weeks and it was finally here. Sliding off my seat, I walked as confidently as I could up to the door, knocked and asked if my date was ready.
First dates in high school probably provided as much nervous anticipation as anything I would experience for the first part of my life… until I started bowhunting. Today, I still idle gently into my parking spot. My palms may not be as clammy, but my senses are definitely heightened as adrenaline courses through my veins, thinking about the possibilities, the “what-ifs”… And my planned routine? It’s down to a science.
Chasing whitetails across the Midwest in September and October is truly a love of my life these days. Here are three things that have become a part of my routine that’s led to years of punched tags and filled freezers early in the season.
- Scout with a light footprint. Amazingly enough, I don’t spend a lot of time in the woods in the summer. Most of my whitetail hunting is done on public land with miles of corn and soybeans backing up to the woods. I’ve spent many a night tucked into a fence row on the opposite side of a field glassing to identify which corners the deer are using to enter the fields.
- Stay away as much as possible. If I can place a trail camera there on one visit and retrieve a card from it a month later, it’s harder for the deer to pattern me but I’m gaining valuable reconnaissance the whole time I wasn’t there. Taking it a step further, even my trail-camera placement leaves little presence. Ever walked into the woods and noticed a camera staring at you at eye-level? It can be obtrusive and stick out like a sore thumb. I’ve had deer think the same thing; I can tell by their reactions I’ve captured. A lot of times these days – especially on public land – I’ll take a lightweight climber with me and angle my camera down from twelve feet or so. It also keeps honest people honest, as my Dad used to say.
- Hunt with a light footprint. The first couple months of archery seasons in the Midwest can be downright hot. Deer don’t like to travel any farther than they have to, which means they’ll often bed less than 100 yards inside the woodline. If you plan to dive deeper in the woods this time of year, plan on bumping some deer. I’d rather sneak in and out of the edge a few times than blunder up once and alert every deer in the woods to your presence – especially a full month ahead of that magical November time-frame.
Greg Staggs is the former back-page columnist for Inside Archery, and his writing regularly appears in such magazines as Outdoor Life and Petersen’s Bowhunting. Staggs loves introducing his two boys to all things outdoors, including fishing, trapping, canoeing and camping, and has been chasing turkeys and big game exclusively with archery equipment for over 20 years.
5 Tips For Capturing Unique Trail Camera Photos
July 24th, 2016 by BTC Editor

Using trail cameras to scout for wildlife can be rewarding in more ways than one. The most obvious reason to use a trail camera is to pattern and age deer so you have a better idea of where to hunt and which deer you would like to harvest. Aside from hunting purposes, my favorite use of a trail camera is just to get good, unique pictures of a variety of different wildlife. Targeting a specific species and getting quality pictures at the same time can often be challenging, but I have a few tips I’d like to pass along that have helped me get some interesting shots
- Explore
Explore your property to find spots you think are unique, pretty or have a good view. Find a spot you like, hang a trail camera and see what shows up! Our property has an old rock wall that has turned out to be a neat spot for pictures. It’s not a spot that has a ton of wildlife activity, but when they do show up I love the shots that I get. Here is a shot from this spot:

2. Water
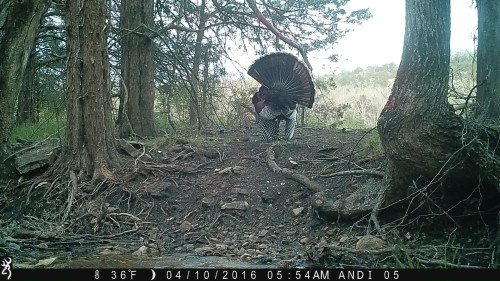
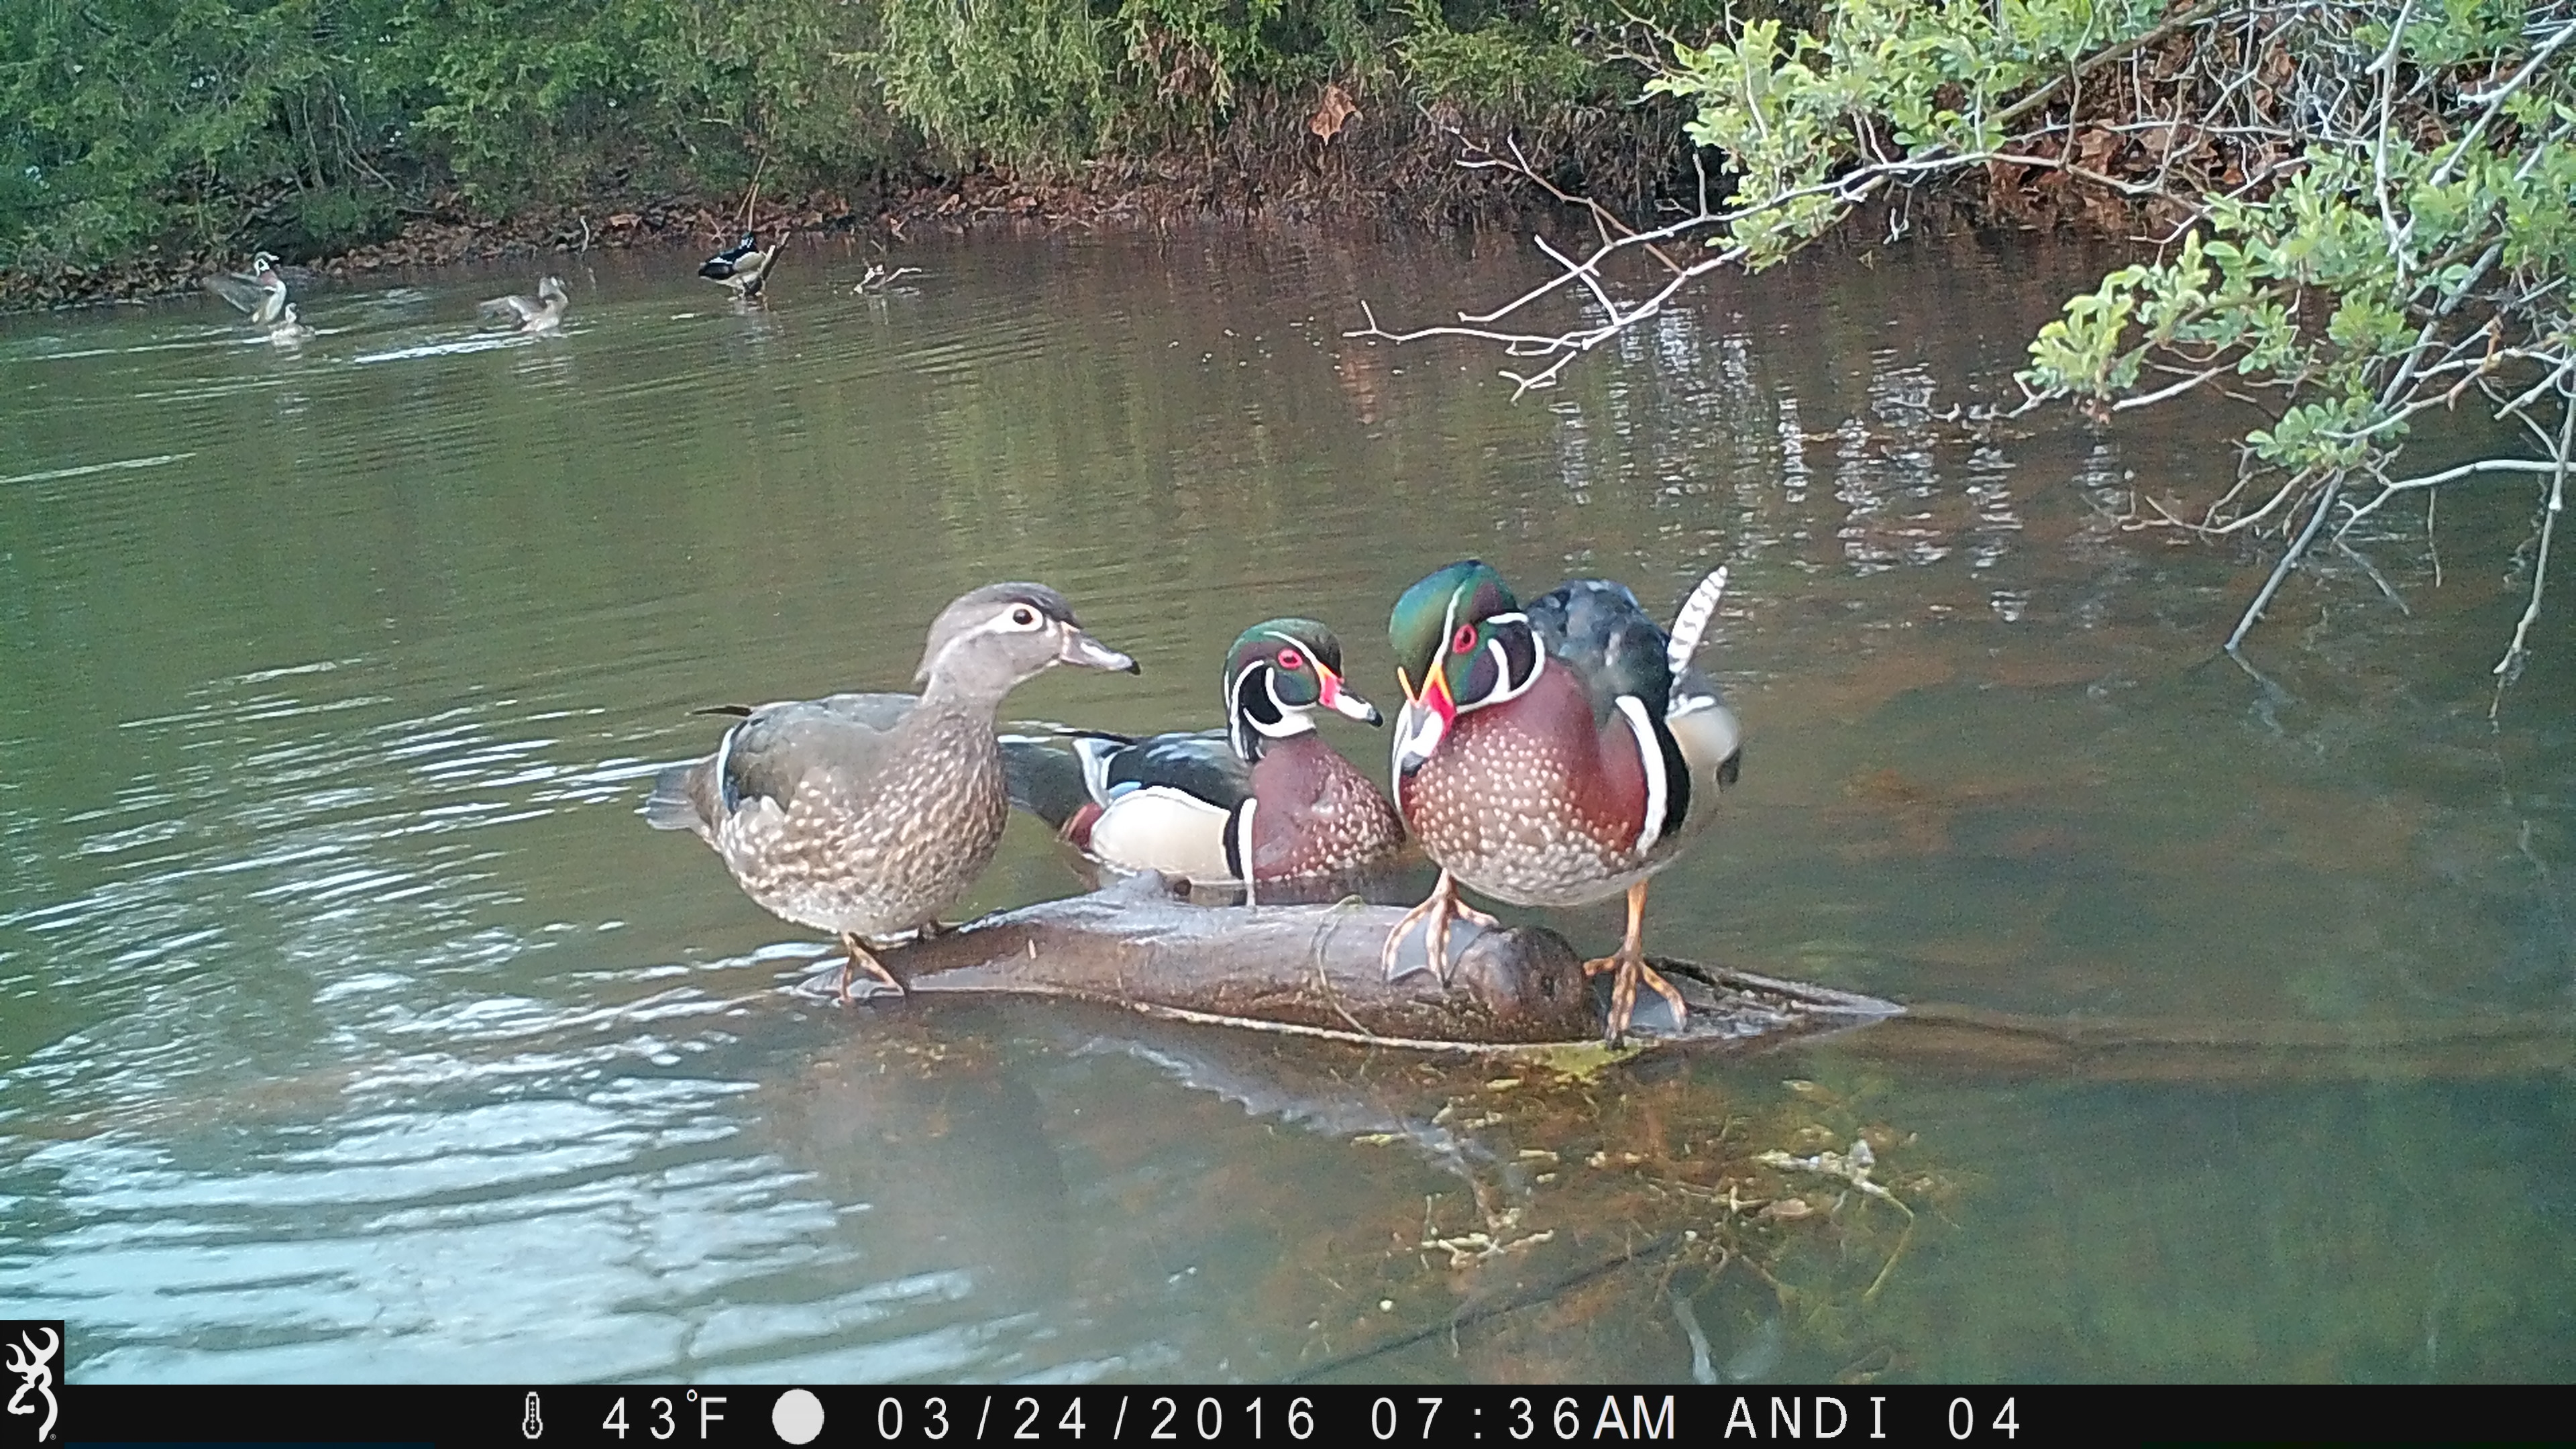
Animals are drawn to water. Ponds and creek crossing are a couple of my favorite spots to hang a camera because of the wide variety of animals that show up there. Creek crossings are where I tend to get the most pictures of predators like bobcats, foxes, and coyotes. Turkeys and deer often show up there as well, making for some great photos.
A pond is my favorite location in late winter and early spring to get pictures of waterfowl. A pond setup can be tricky, but placing a camera in front of logs or big rocks that stick up out of the water is what worked best for me, as the ducks seemed to hang out on those quite often.
3. Details
Pay attention to what will be in both the background and foreground of your photos. When trying to get beautiful pictures this is just as important as the wildlife species you’re targeting. For example, tall weeds or plants in front of the camera will block the view of the wildlife and can cause the camera to trigger when the wind blows, getting multiple pictures of just the weeds.
The weeds in the photo below get out of control really quickly in the summer and spring months and have to be mowed down often when putting trail cameras in this spot.
One of my favorite cameras, the Browning Spec Ops Full HD, has a 2” color view screen that can not only be used to view photos & videos in the field, it can also be used as a “live view” while positioning your camera. This helps ensure the images turn out how I envision them and keeps me from having to reposition the camera over and over again to get the shots I want.
4. Accessorize
A camera tree mount is worth its weight in gold when it comes to getting good quality photos. Having a perfect tree to hang a camera on is not always an option. The Browning Trail Cameras Tree Mounts really help with positioning the camera and getting that perfect camera angle, especially when your only spot to hang a camera is in a crooked tree.
5. Experiment
Getting great trail camera photos will often require a lot of experimentation. Utilize the different options available on your cameras and play around with it until you figure out what works best for your setup and for the species you’re targeting.
For turkeys, I’ve found that I love the Rapid-Fire mode on my Browning Recon Force, which takes a burst of 8 images in 2 seconds. It helped capture some neat shots of them spreading their wings and flying.

Timelapse mode is great for watching larger areas, like fields and food plots. In such a big open area the wildlife may not always walk right by your camera and set off the trigger, but that doesn’t mean they aren’t there. Timelapse mode will take a picture at set intervals (every 10 seconds, for example), allowing you to watch the animals that may be too far away to trigger your camera. This can help you decide where you would like to place a camera next to get more up close shots of the wildlife. Images from timelapse mode can be viewed quickly and easily, as all Browning Trail Cameras include the Buck Watch Timelapse Viewer Plus software that allows you to view a full day of activity in minutes.
Trail cameras are a great scouting tool, but don’t overlook how fun they can be even when there is no hunting season open! Getting photos of bobcats, foxes, waterfowl and turkeys in the spring and summer can be just as rewarding as getting photos of a nice buck in the fall. Plus, it extends your time outdoors and gives you something to do while waiting for deer season to come around again. It can be difficult at times, but it’s worth it when you get that one in a million shot.
Do you have any tips or tricks for getting unique trail camera photos? Share them with us by leaving a comment!
Andrea Haas
Andrea Haas is a Pro-Staffer from Missouri who enjoys turkey hunting, deer hunting and bowhunting. She is also the founder of the Huntress View, an organization formed to help strengthen the ever growing community of women hunters.
