Choosing Your First Trail Camera
July 16th, 2017 by BTC Editor
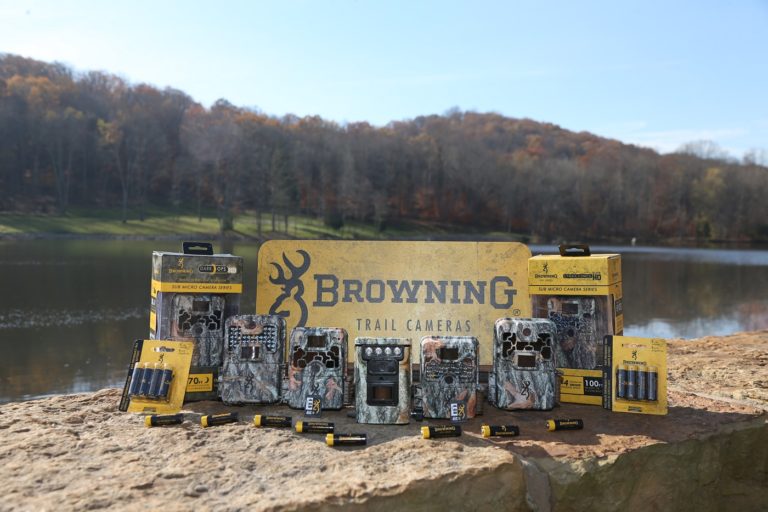
Trail camera technology has really improved over the years and there are more features than ever, allowing you to customize your trail camera experience to your liking. For someone who is new to hunting or the trail camera world, picking out your first game camera can be somewhat overwhelming, especially if you don’t know what features you need or what the features even do. After someone recently asked me for advice on what they need to look for when purchasing their first camera, I decided to share a few things that I feel are “must-haves”, as well as some bonus features and accessories that may be an asset to you.
Features
I really feel a lot of features on trail cameras are user specific and depend on user preference. I’ll briefly explain the features that I feel are the most important when considering which camera to buy.
Flash Type
The flash types are: White flash, Black flash (Invisible, or No-Glow), and Standard IR (InfraRed / Low-Glow). Tom Rainey of Browning Trail Cameras wrote a really great article for this blog explaining each flash type and their effect on trail camera picture quality: http://btc-omrc.com/nighttime-trail-camera-images-putting-light-on-the-subject/
Basically, the highest quality nighttime photos will be from White Flash cameras, then IR cameras, and then Black Flash cameras, but that’s not to say that the quality of the nighttime images from Black Flash cameras are bad. You just may notice a little more motion blur on them.
So, a few things to consider when choosing the flash type:
Where will you be putting your cameras?
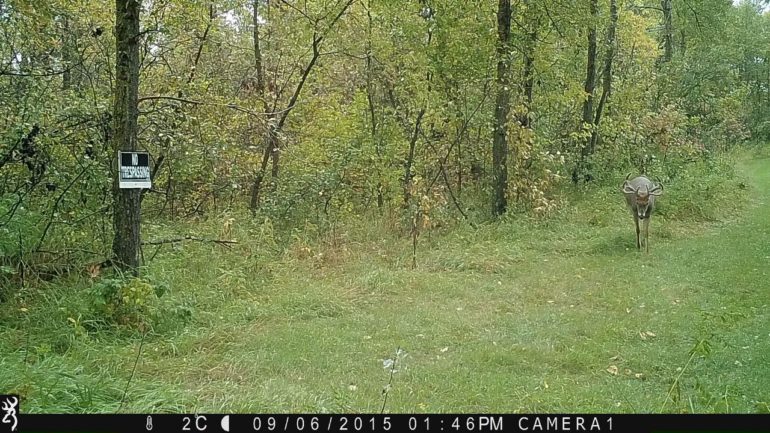
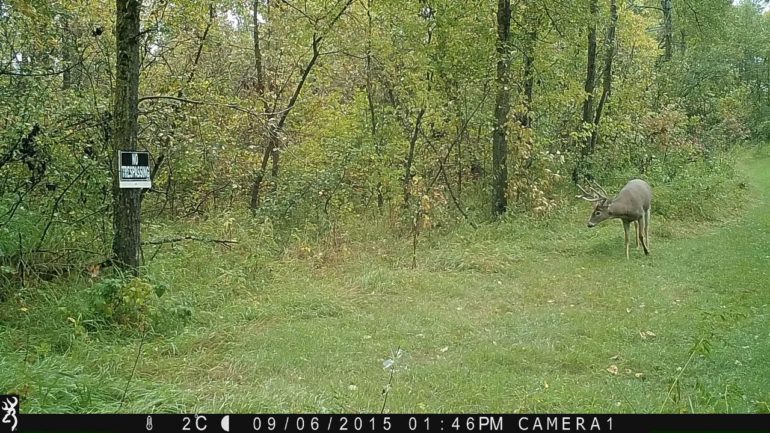
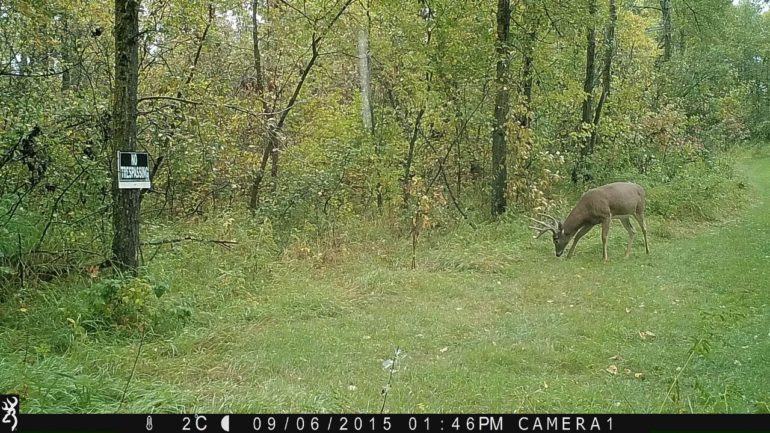
If you are going to be putting them on public land or in an area that is known to have a lot of trespassers, you will probably want to go with a Black Flash camera. Otherwise, one of the previous two flash options may be what you would prefer.
Do you feel a White Flash or Standard IR camera will spook the game you are hoping to get pictures of?
If so, a camera with Black Flash may be best for you. My personal experience with Standard IR and White Flash cameras is I feel the animals get used to them. I haven’t noticed them spooking deer in the years that I have been running trail cameras. Everyone has their own opinion on this and each location may be different, so again, go with your own personal preference here.
Detection Range
The location where you plan on putting your game cameras will help you decide which camera may be best for you in regards to detection range. If you are running trail cameras primarily in the woods or have it set up over pinch points and travel corridors, the detection range can be quite a bit lower. But, if you are watching over larger areas, such as fields, the detection range needs to be a little higher, especially if you aren’t quite sure where the wildlife are traveling.
For example, the Browning Command Ops has a detection range of 55 feet with a 60-foot flash range, which is great. But the Browning Recon Force Extreme has a detection range of 80 feet with a 120-foot flash range, which is quite a bit more. So, you can see how the higher detection range could be quite a bit more beneficial in certain situations.
Trail Camera Accessories
Obviously, SD Cards and batteries are must-have accessories for your trail cameras. But there are a couple other accessories that you may want to look into purchasing for your first trail camera, depending on the location the camera will be in and how often you plan on checking it.
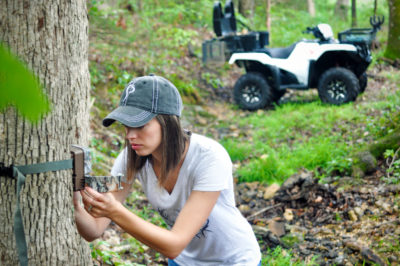
Security Box
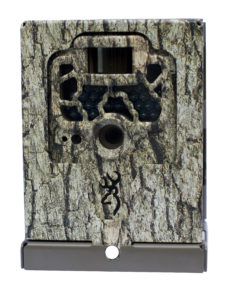 As I mentioned above, the location really is a key factor to consider when purchasing your trail camera. The same goes for deciding whether or not you need a trail camera Security Box. A couple things to keep in mind here: Do you expect there to be trespassers, or will the camera be on public land? Also, what types of animals are in your area? Do you have a high bear population? If you answered “Yes” to any of those questions, I recommend getting a Security Box. Browning makes one that fits all of their camera models (excluding the Defender 850). It can also be locked using a standard padlock or a Master Lock Python Cable so your camera stays safe and stays put.
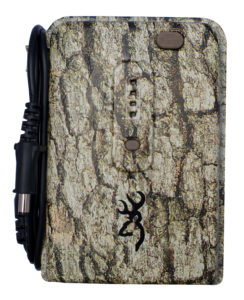
Trail Camera Power Pack
The Trail Camera Power Pack will extend the battery life of your Browning Trail Camera in the field. This is a great option if you don’t plan on checking your trail cameras very often. It holds holds 8 AA batteries in the same easy to use battery tray used in the trail cameras. Other features include a built-in battery tester and a twist lock plug to lock the power adapter to your Browning Trail Camera.
Bonus Trail Camera Features
Here are a few “bonus” features that you may also want to take into consideration when choosing your first trail camera. I personally don’t feel that these are features that you absolutely have to have, but I do feel they will enhance your trail camera experience. Personal preference comes into play here as well. Here are a few of my favorite features on the Browning Trail Cameras:
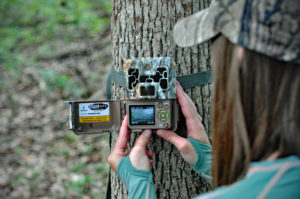
Viewing Screen
This is an internal viewing screen on some of the Browning Trail Camera models. It’s great for viewing trail camera photos in the field, and it really comes in handy when positioning the camera while you are setting it up.
Timelapse Mode
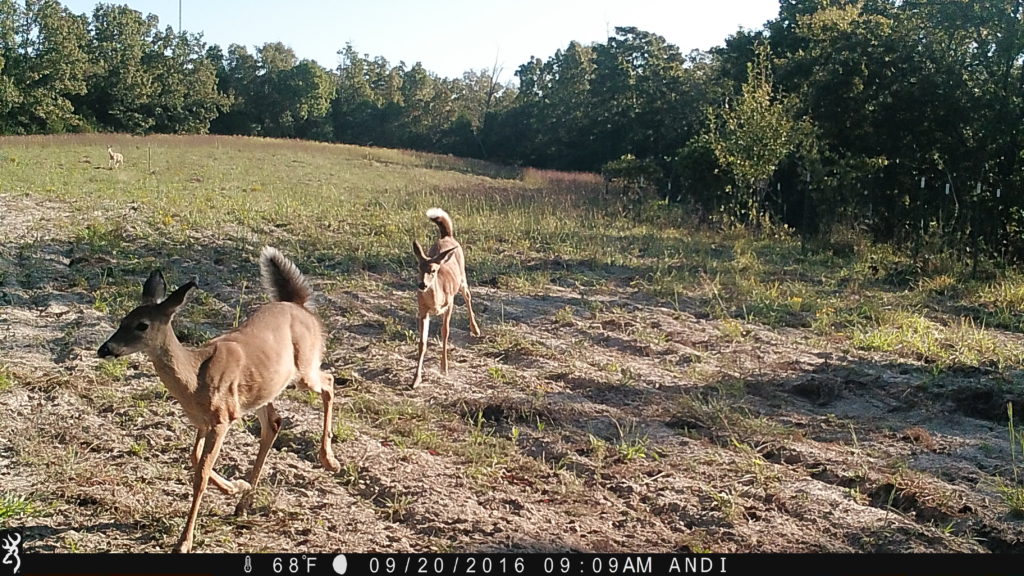
The Timelapse function allows you to set up your camera in the field, and program it to take pictures automatically at fixed intervals. This feature is helpful when you set a camera up in a new location such as a large field or food plot where you are not sure where the wildlife are entering the field. The camera will take images of the entire field, so you will end up capturing game at 200 + yards away, where a conventional game camera would not normally trigger a picture. All Browning Trail Camera models come with this feature, as well as the Timelapse Viewer Plus Software, so you can playback a whole day’s worth of activity in just a few minutes, much like watching a video.
Multi Shot / Rapid Fire Mode
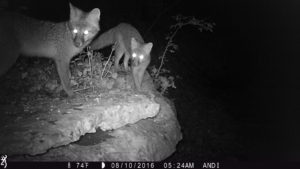
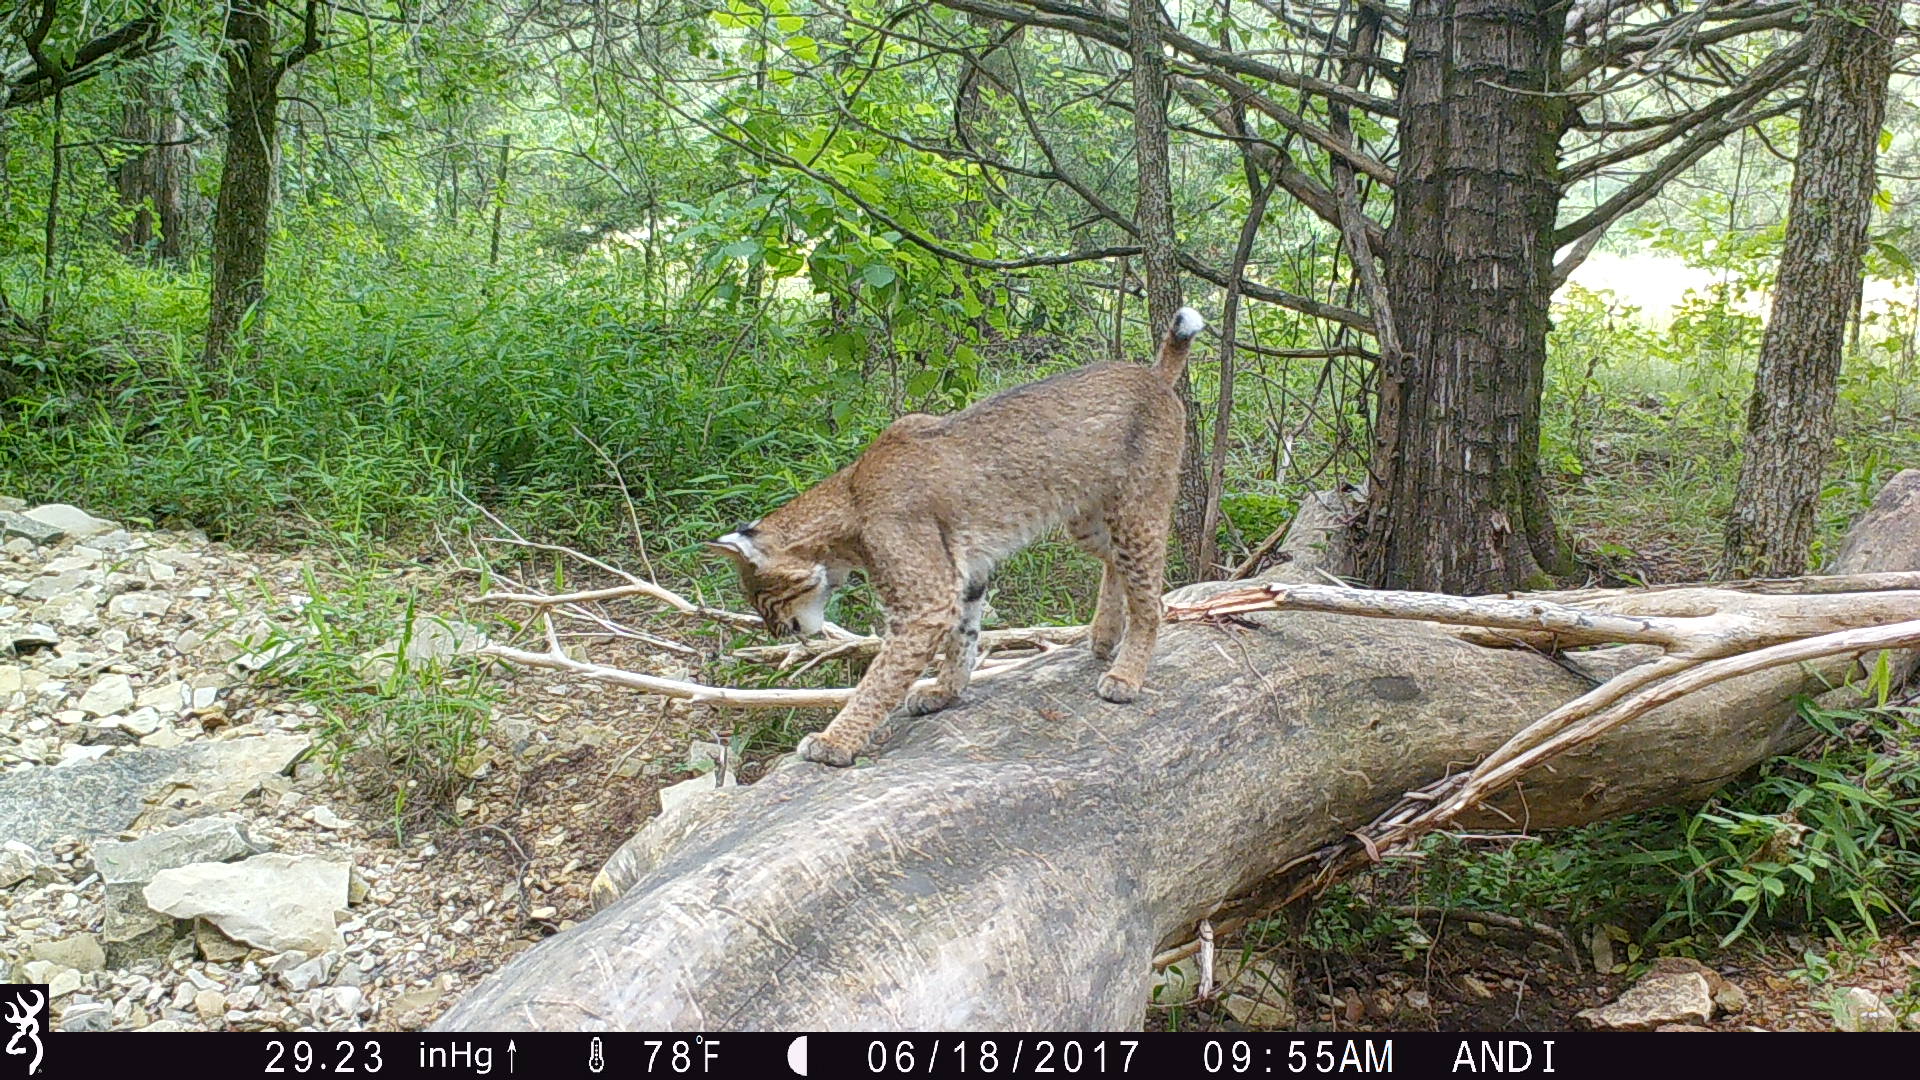
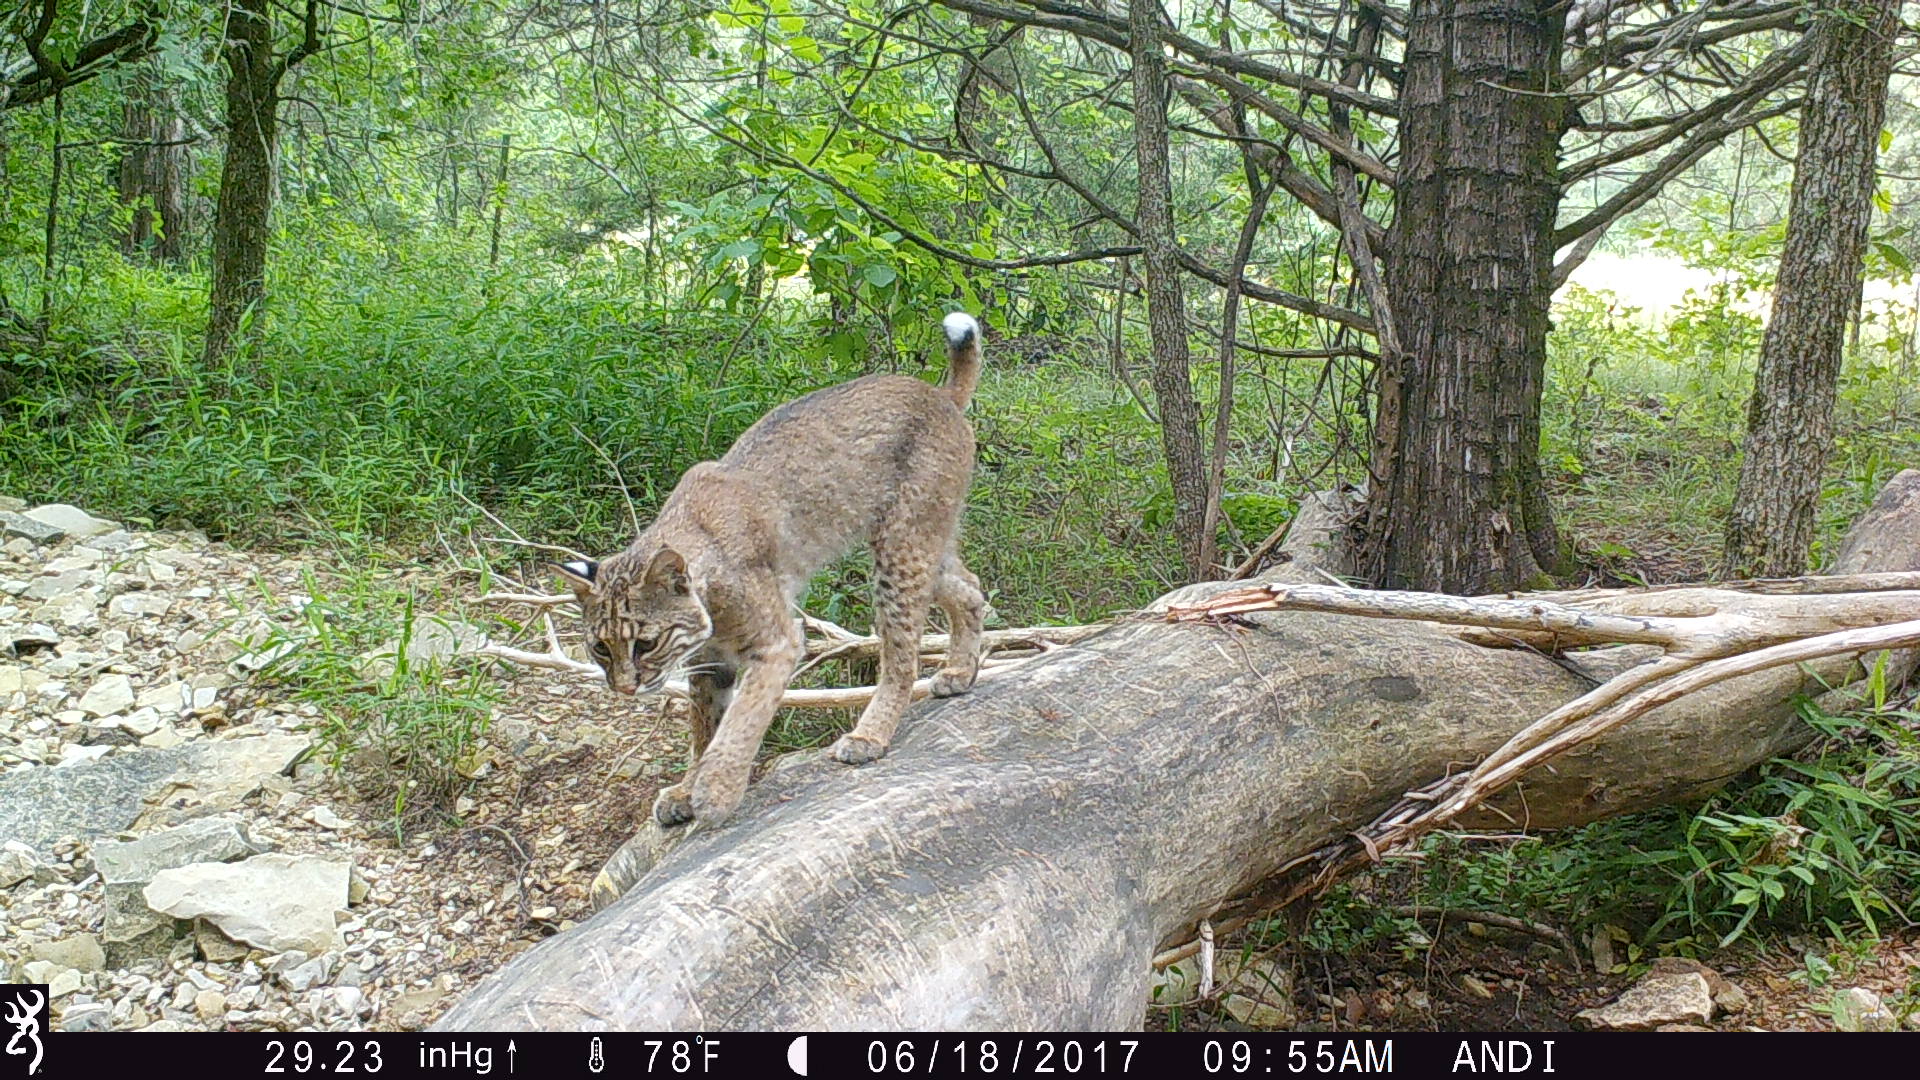
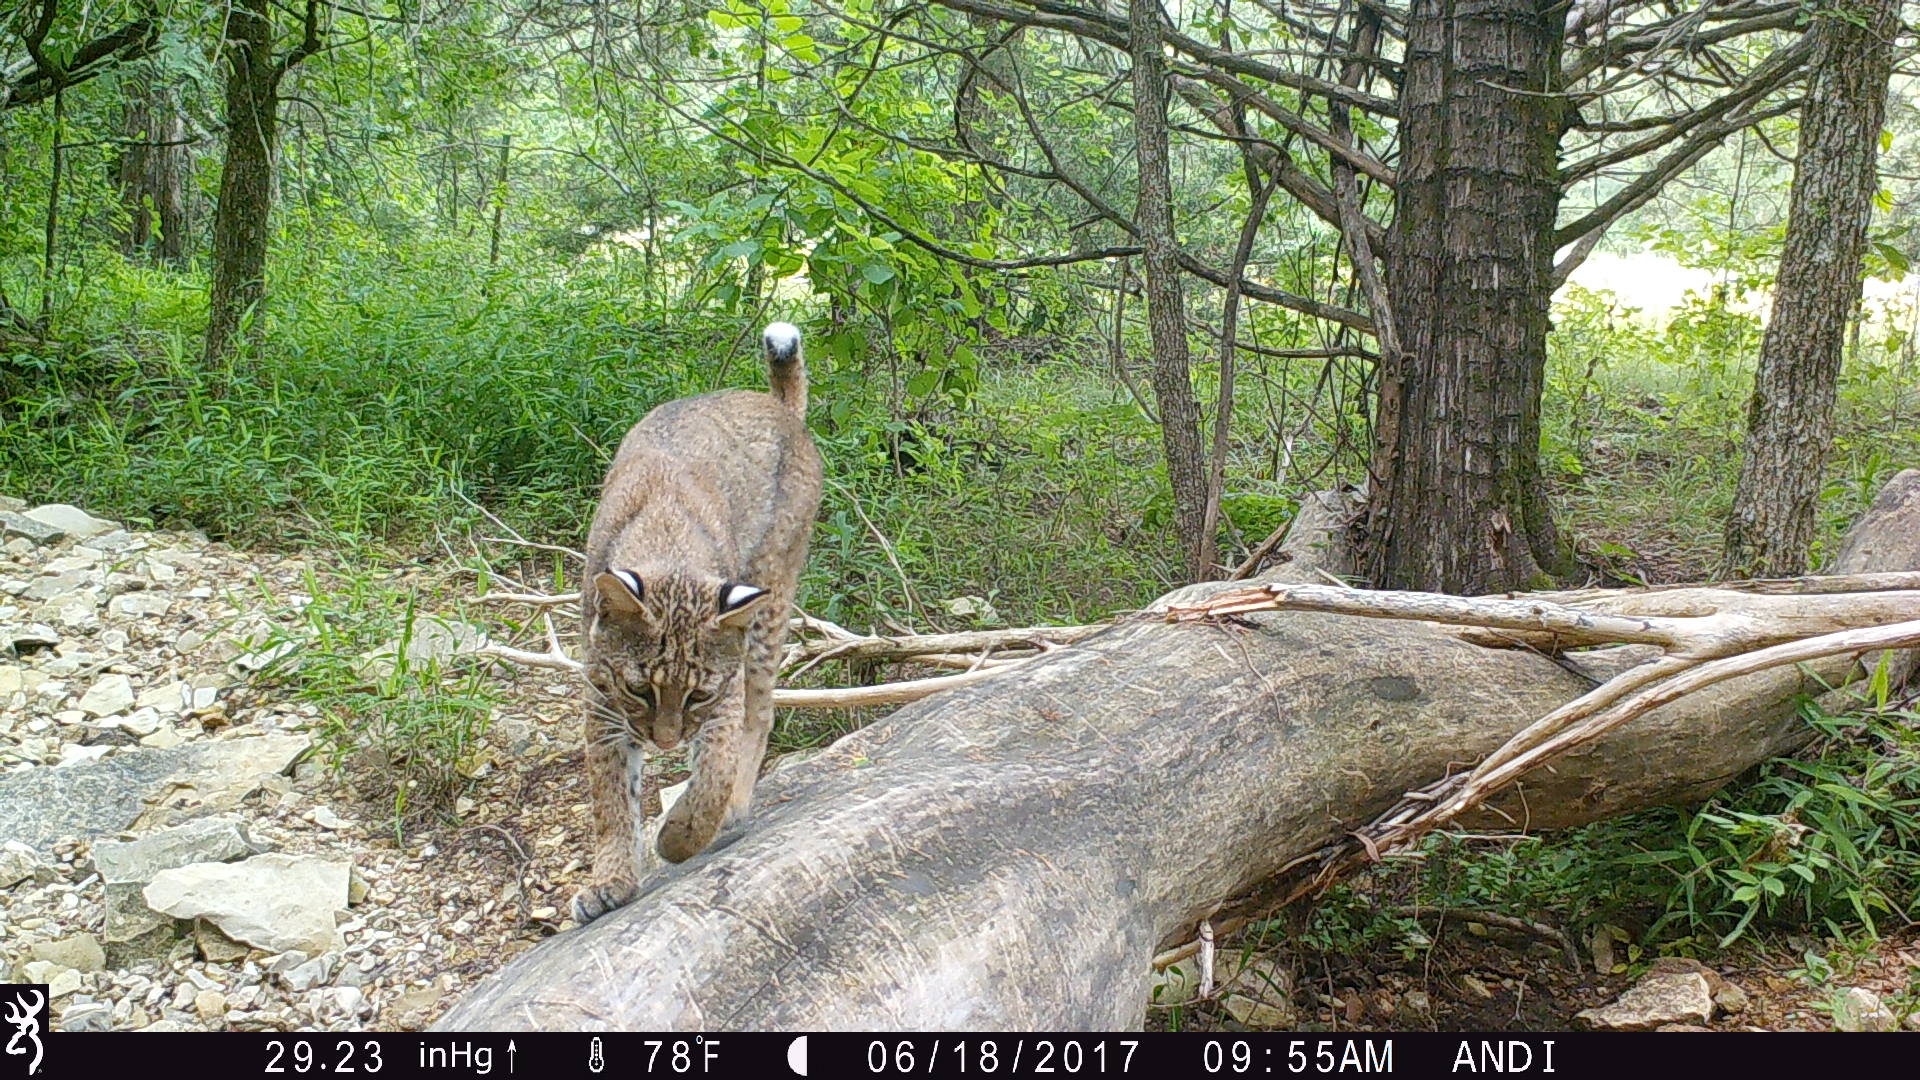
In certain situations, the 8-Shot Rapidfire mode is one of my favorites to use on my Browning Trail Cameras. It takes 8 shots in 2 seconds! I prefer to use this when I have a specific animal that I am targeting that I know will not be in the frame for long. For example, I wanted a Bobcat on this log setup, but I knew it would likely not use this log repeatedly and not stay on it for long, so I put it on Rapid-Fire mode to get as many photos of it as possible and pick my favorites to share. Rapidfire Mode is also great in deer season when you are watching a smaller area, such as pinchpoints and travel corridors, so you don’t miss any deer activity.
Video Mode
This is a really fun trail camera feature. It’s almost like watching the wildlife in person when playing the trail camera videos back! With 1920 X 1080P Full HD, the audio and the clarity in the Browning Trail Camera videos is really amazing. Additional new features for the 2017 model includes Smart IR video, which continues to record video footage while game is moving in front of the camera and SD card management options which allow you to overwrite older images on the SD card if the memory is full.
I hope this article helped you know where to start in shopping for your first trail camera! If you have any other questions that were not listed in this article please feel free to leave a comment below.
By Andrea Haas
Andrea Haas is a Pro-Staffer from Missouri who enjoys hunting deer, turkeys, and upland birds. She is also the founder of the Huntress View, an organization formed to help strengthen the ever growing community of women hunters
5 Summertime Trail Camera Tips
May 21st, 2017 by BTC Editor
1- Summertime is when most hunters get their trail cameras out of storage and hang them to start taking inventory of their whitetail herd. It’s also a great time to take inventory of your trail cameras. Make note of how many you have, how many more you may need for the upcoming season, and also keep a list of each camera model and serial number in the rare case of theft. It can, and does, happen so keeping a record of this could help get your cameras back eventually if they do get stolen. Browning Trail Cameras also has a Security Box that makes it more difficult for thieves to take your cameras, if even at all.
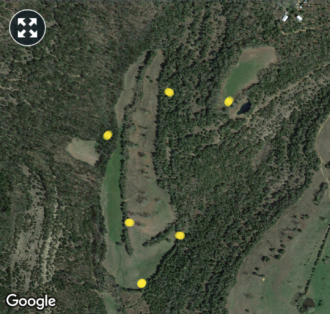
2- Look at an aerial map of your hunting property beforehand so you have a good idea of where you’d like to hang your cameras. This way, you’re not driving or walking all over your property, disturbing the game and working up a sweat. If you have a weather app on your phone you can easily locate your property via the radar portion of the app. If you don’t have that, Google Earth is what I recommend. It’s probably a good idea to take a screenshot of your property and from there mark where you are placing cameras using the paint/draw tool on your phone in case you forget where you hung the cameras later on.
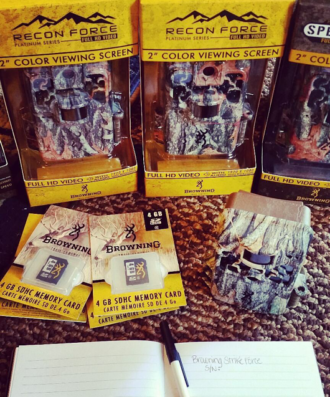
3- Summertime is obviously hot, even first thing in the morning, so in order to be out in the heat as little as possible it’s best to have everything ready to go before you head out. Have your trail cameras already set up with the correct date/time/camera settings, full with batteries and the SD card in so all you have to do is hang them, turn them on, and go!
A Browning Trail Camera feature that really helps get your camera positioned quicker is the viewing screen on some of the camera models. (See photo below.)

4- Everyone has their own system for transferring and storing trail camera pictures to their computer. I like to stay organized from the start by putting my SD cards in 2 separate cases – one for blank SD cards, and one for full SD cards – and then loading the pictures to my computer once I’m home. A baggie works just as good, just make sure you label each one to avoid confusion. Some prefer to bring a laptop and transfer the pictures there in the field, but I like to get in and out as quickly as possible and this works best for me.

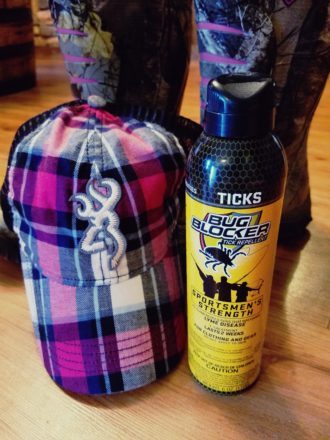
5- Last but not least, don’t forget the tick spray! So far this year has been one of the worst I’ve seen for ticks. Using a tick spray with Permethrin has worked well for me. Spray down your clothes and boots and make sure they’re dry before putting them on. You do not want this on your skin! For those worried about scent control, this kind is supposedly odorless once it dries. My nose is of course nowhere near as good as a whitetail’s, but I don’t smell it at all once it’s dry and would prefer to be tick free over scent free anyways, so to me it’s worth it. It also doesn’t hurt to spray it on some of your trail cameras to avoid ant infestations, which are very common in the summer months.
By Andrea Haas
Andrea Haas is a Pro-Staffer from Missouri who enjoys hunting deer, turkeys, and upland birds. She is also the founder of the Huntress View, an organization formed to help strengthen the ever growing community of women hunters
Early Season Bowhunting Tactics
October 2nd, 2016 by BTC Editor
By Greg Staggs
I turned and idled gently up the drive, palms getting clammy even as my breathing became shallower. Easing my truck to a stop, I quietly reached down and turned off the ignition and allowed the silence to envelope me. Going over my planned routine seemed to settle me a bit, and I took one last deep breath and opened the door. I had been thinking about this moment for weeks and it was finally here. Sliding off my seat, I walked as confidently as I could up to the door, knocked and asked if my date was ready.
First dates in high school probably provided as much nervous anticipation as anything I would experience for the first part of my life… until I started bowhunting. Today, I still idle gently into my parking spot. My palms may not be as clammy, but my senses are definitely heightened as adrenaline courses through my veins, thinking about the possibilities, the “what-ifs”… And my planned routine? It’s down to a science.
Chasing whitetails across the Midwest in September and October is truly a love of my life these days. Here are three things that have become a part of my routine that’s led to years of punched tags and filled freezers early in the season.
- Scout with a light footprint. Amazingly enough, I don’t spend a lot of time in the woods in the summer. Most of my whitetail hunting is done on public land with miles of corn and soybeans backing up to the woods. I’ve spent many a night tucked into a fence row on the opposite side of a field glassing to identify which corners the deer are using to enter the fields.
- Stay away as much as possible. If I can place a trail camera there on one visit and retrieve a card from it a month later, it’s harder for the deer to pattern me but I’m gaining valuable reconnaissance the whole time I wasn’t there. Taking it a step further, even my trail-camera placement leaves little presence. Ever walked into the woods and noticed a camera staring at you at eye-level? It can be obtrusive and stick out like a sore thumb. I’ve had deer think the same thing; I can tell by their reactions I’ve captured. A lot of times these days – especially on public land – I’ll take a lightweight climber with me and angle my camera down from twelve feet or so. It also keeps honest people honest, as my Dad used to say.
- Hunt with a light footprint. The first couple months of archery seasons in the Midwest can be downright hot. Deer don’t like to travel any farther than they have to, which means they’ll often bed less than 100 yards inside the woodline. If you plan to dive deeper in the woods this time of year, plan on bumping some deer. I’d rather sneak in and out of the edge a few times than blunder up once and alert every deer in the woods to your presence – especially a full month ahead of that magical November time-frame.
Greg Staggs is the former back-page columnist for Inside Archery, and his writing regularly appears in such magazines as Outdoor Life and Petersen’s Bowhunting. Staggs loves introducing his two boys to all things outdoors, including fishing, trapping, canoeing and camping, and has been chasing turkeys and big game exclusively with archery equipment for over 20 years.
Estimating Whitetail Deer Score
August 28th, 2016 by BTC Editor
With the right camera and settings, photos captured can help immensely to accurately gauge a buck’s net score well before it hits the ground.
Hunting stores like Cabela’s have a wide range of trail cameras and filtering through pictures is quickly becoming a favorite past time of hunters. Like Christmas morning, each memory card filled with thousands of pictures is waiting to be opened and scanned. Every hunter will have a different level of “acceptable” target deer to hunt. For rookie hunters, anything that moves will usually suffice. Bow hunters might be interested in the Pope and Young minimum qualifying score as a target buck for the season. For others, it may be that elusive net score of 150 inches(“). And for the seasoned trophy hunters it’s likely to be upwards of 170” (the Boone and Crockett all time net typical minimum). Either way, it depends on what hunting stage the individual is in, where their hunting territory is and perhaps how much time they can afford to dedicate towards hunting season. No matter who you are, where you hunt or what your goals are, Boone and Crockett and Pope and Young conversation clubs established a consistent method of measuring deer antlers many years ago.
Previous to the 1990’s, trail cameras were non-existent. Now a days, it is hard to find a hunter without one. Trail cameras scout 24 hours a day, 7 days a week providing great information regarding:
- herd population
- herd age classes
- frequency of movement
- buck to doe ratio
- target bucks
- largest antlers
- worst genetics
Scoring a deer is the act of adding up all the qualifying inches the buck has. Scoring a live buck is difficult at best as they usually do not stand motionless for long or in the right position to properly gauge their score. This is where trail cameras can really help out, especially models with burst mode that take many pictures in rapid succession. A whitetail deer’s net typical score is composed of 5 components from the antler rack they possess:
- Length
- Height
- Thickness (mass)
- Spread
- Length of abnormal points
Length is measured as the total distance from where the antler start on the head to the tip, referred to as the main beam. If the length of the right main beam is shorter than the left, or vice versa, estimate the shortest. Antler symmetry is a factor, so an official score sheet will add the actual length of both sides and subtract the difference. Therefore, starting with the shorter main beam eliminates the step of adding and subtracting the inches that are not present on both main beams. To get a good estimate of length you need a picture of the buck from the front (looking at the camera) or top (facing the camera head on, but sniffing the ground). This orientation clearly outlines the main beam, how far it goes out towards/past the ears and will also help identify the shorter one (if any). A helpful second picture is a side profile of the deer’s head on alert (head up). This gives great indication of how far past the nose the main beam goes. The distance from the eyes to the tip of the nose on a mature buck in Alberta is 7”. Visit some mounted deer from your local hunting area and take measurements of this same distance and use it as a reference point. At the end you should have one number – the length of the shortest main beam.
Using the outer distance between the eyes atop the skull as a gauge (6”), I estimated each main beam to extend outwardly 7.5” and then turn back inward 6.5”. Photo also give a clear view of the spread estimated at 19” (6.5 + 6 + 6.5) using the same gauge. Excellent photo to show the difference in the first tine set (G1’s) and to confirm this buck is a 4×4. I estimated the shortest G1 tine at 4”, again with the same gauge.
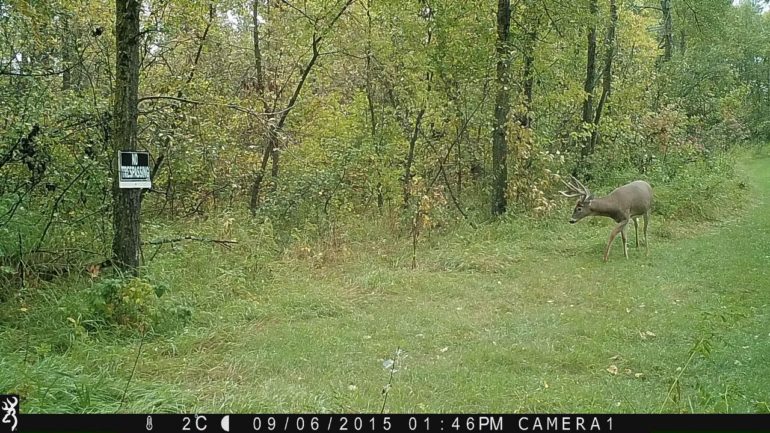
Using the distance from the eye to the snout tip as a gauge (7”), I estimated the middle part of the main beam to be 8”. I also used this picture (and same gauge) to estimate the second tine (G2) at 9”and the third tine (G3) at 7”. Estimated total tine height is 20.5” (9” + 7.5” + 4”). The main beams look very symmetrical but I estimated the right one at 22” (7.5” + 6.5” + 8”).
Net typical height is the total length of all tines (points) that come off the main beam, minus any differences between the sets. To begin, choose the first tine (starting from the head) sprouting from each main beam and estimate the length of the shortest one. Then use the same process on the next set of tines, until you are done. If one main beam has more tines than the other, ignore the extra tines. Only measure the typical tines, meaning where you’d expect the buck to have a tine coming off the main beam. You will need as many pictures as possible with the buck looking in all directions with his head held high. Use a reference like the distance from the eye to the tip of the nose to gauge the length of each tine. In the end you should have one number created by adding the estimated length of the shortest tine in each set. For example, if it was a 5×4 typical buck, you would have: (Shortest G1(brow) tine) + (Shortest G2 tine) + (Shortest G3 tine) + 0. Note: The tip of each main beam is not a tine and was already accounted for when estimating the main beam length. Official scoresheets have an excellent visual representation of the tines and their common names (G#).

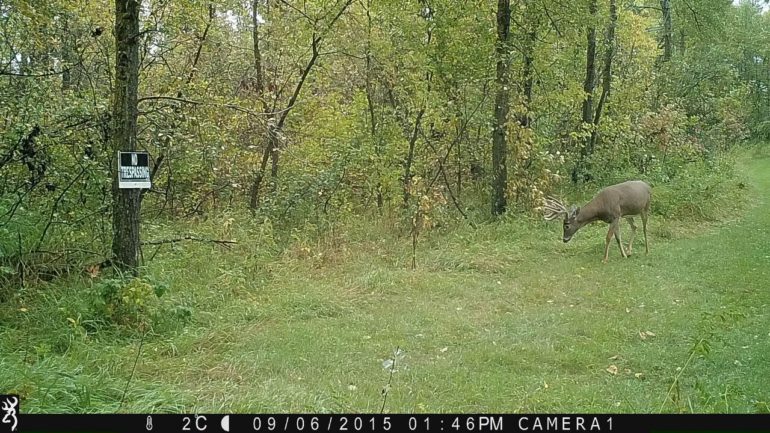
Photo gives a good indication of how many tines are on the antlers. In this case, an even three per side.
Mass (or thickness) of each antler is measured before each tine sprouts until you reach four measurements. Add those four number together for total mass. Again, use the antler that looks to be the smallest. More often than not I don’t bother with estimating this measurement and just use 18” on mature deer as a baseline. If the deer antlers look really thick, I will add up to 3” and vice versa for skinny antlers. Be cautious of bucks that move during photo capture causing them to appear ‘heavier’ (more mass) than they actually are. Browning trail cameras shoot the fastest shutter speed (even at night), minimizing motion blur and provided crisp photos to estimate mass. I have used both the snout and eye socket as a reference to diameter of the main beam because they both measure around 1.5 – 2”, but like I said, I usually just go with 18” as a conservative estimate.

Unabstracted view of main beam thickness against grass, however this deer is in velvet (which counts). Compare it to the eyeball and snout.
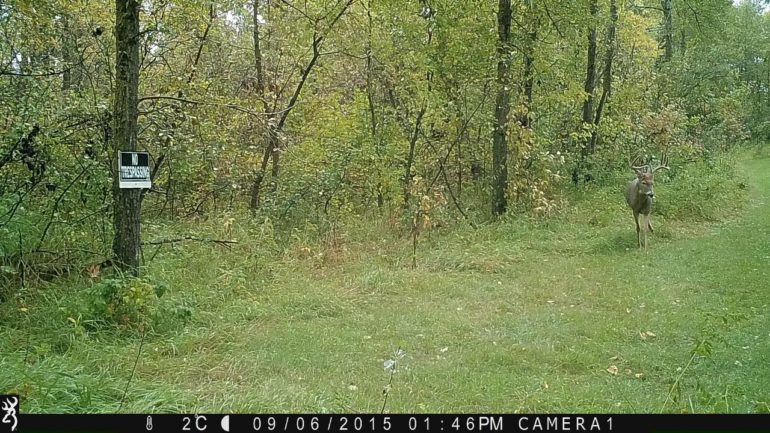
Excellent photo to show symmetry because tine sets. This deer appears to have the same tine length on both the right and left antler.
Spread is the width between the left and right antler. Spread is measured by finding the longest distance between the inside of the right and left main beam. Unlike length, mass and height, spread is only counted once, not twice (for each antler side), therefore it contributes the least towards final score. A really wide 4×4 buck will be most impressive at first glance, but a narrower 5×5 buck should have a better score because it’s far easier to have 8 additional inches by having a forth 4” tine on each side as opposed to 8” between the right and left antler. A picture showing the ears and the buck looking at the camera is great to estimate spread. I have also used the skull as a good gauge to estimate spread.
Once you have estimated length, height, mass and spread, the final number required is the total length of all abnormal points. Any picture you have will help find these hidden deductions. Estimate the length of each one and tally them up to one number for both the right and left antler. If you have more than 15” of abnormal points, it qualifies for non-typical scoring instead of typical scoring.
For your final estimated net score do the following:
- Length + Height + Mass
- Double it
- Add Spread
- Subtract length of abnormal points (if less than 15 otherwise add)
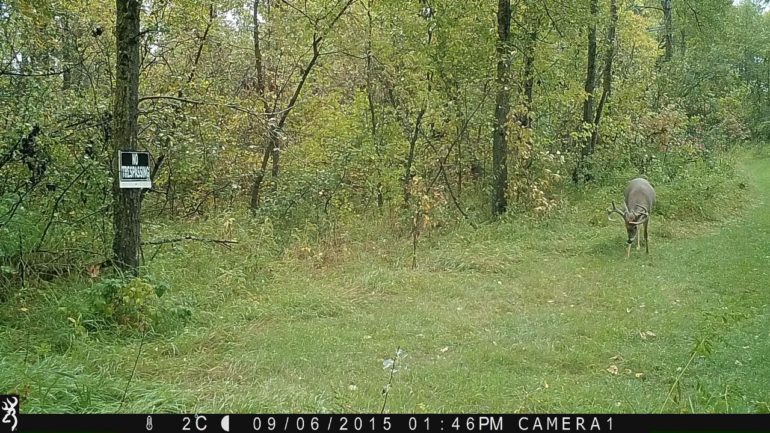
The burst mode on this Browning trail camera took 8 pictures of this buck in rapid succession, providing various camera angles to accurately estimate the buck net typical score at 140”. ([22(length) + 20.5(height) + 18(mass)] x 2 + 19(spread) – 0(non-typical deductions)). I never did shoot this buck, so I’ll never know fore sure though.
An official score sheet is much more precise when it comes to deductions but since estimating the shorter and smaller side of the antlers eliminates those differences (from non-symmetry) immediately.
Remember, score is just a number, it does not consider effort, method of hunting, determination or atmosphere which all contribute to making a deer hunt memorable. Trail cameras are an excellent tool for estimating buck scores before a hunter decides to target that particular deer. I know I still enjoy “if it’s brown it’s down” hunts but I have enjoyed holding out for specific bucks captured on trail cameras that I know will qualify for Pope and Young records book based on the estimating process described above.
By Gord Nuttall
Gord Nuttall is an enthusiastic outdoorsmen and award-winning freelance writer that spends countless hours sorting through Browning trail camera pictures of western big game animals to pursue. Follow all his adventures at www.facebook.com/prostaffgordn