Trail Camera Motivation
November 26th, 2017 by BTC Editor
I’m not a morning person. At all.
I know people say that a lot, but it matters when it hurts what you love to do the most. That trait surely hurts my deer-hunting efforts. You see, I’ve been chasing my beloved whitetails for over 25 years now. I average over 100 stand sits each season — if you break up the morning and afternoon hunts, because often they’re in different locations. But the bulk of that number is generated with afternoon hunts… a large bulk of that number.
I’ve got a trophy room chock-full of heavy antlered Midwest whitetail giants, and I enjoy admiring well over 1,000 inches of bone adorning the mounts which stare at me every night as I unwind watching t.v. All but one of those trophies were killed in the afternoon. So what’s the problem with that, you may ask? I wonder if there could be more. I wonder what that room would look like if I’d been motivated enough over the years to set my alarm earlier? What if I were more motivated? Frankly, it’s hard to imagine what could motivate me more than I already am.
Then it happened… I decided to leave some cameras up this year during the season. I’ll be very candid here: I don’t run a lot of trail cameras once opening day rolls around. Never have. Why? Because I hunt public land, pretty much exclusively. Highly pressured public land – the kind that when you pull up to park, you hope there’s a spot left to squeeze your vehicle into. That probably gives you a good idea of why I don’t like leaving $150-200 prizes out in the woods for the first winner to take home with him when he finds it.
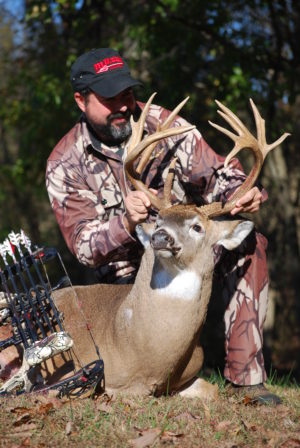
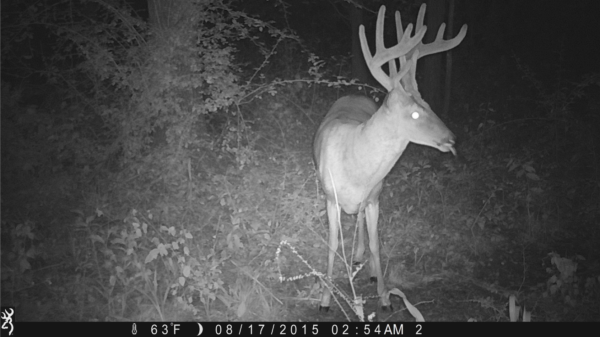
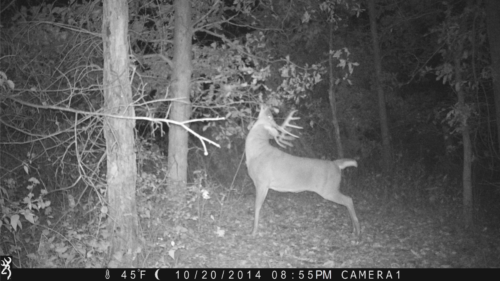
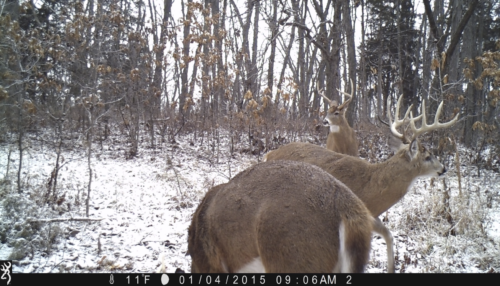
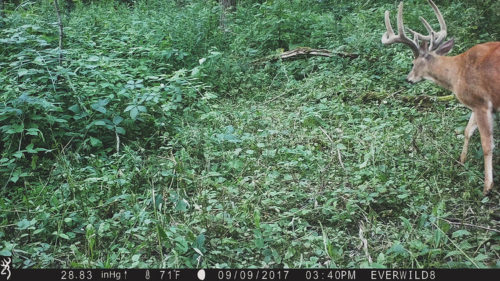
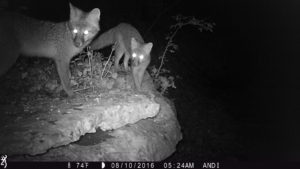
But I took a chance this year. After a couple weeks of leaving them out, I slid one of my SD cards into my laptop and I couldn’t believe my eyes: Wide 8, a deer I’d captured on camera only after dark for three straight years, walked up to a scrape guarded by my Browning Spec Ops HD and began working it at 7:30 a.m.! Talk about motivation!!
Wide 8, a buck that Staggs has watched for three years straight, strolls directly into a scrape at 7:30 on the morning of October 29th:
And that is my point… Yes, I know hunters have long used trail cameras to “inventory” their bucks, even creating special folders for them and sometimes being able to watch them progress over the years as I had done with Wide 8. But I’d truly never thought about using a trail camera for motivation – until now. Now before I slide between the covers and wonder if I should get up tomorrow morning and get in a stand, all I’ve got to do is watch that video. I don’t have to wonder if he ever slips up in the morning, I KNOW he does. And that motivates me.
Greg Staggs is the former back-page columnist for Inside Archery, and his writing regularly appears in such magazines as Outdoor Life and Petersen’s Bowhunting. Staggs loves introducing his two boys to all things outdoors, including fishing, trapping, canoeing and camping, and has been chasing turkeys and big game exclusively with archery equipment for over 20 years.
4 Seasonal Trail Camera Techniques
November 5th, 2017 by BTC Editor
Trail Cameras have become a big part of the modern hunters scouting strategies. But many fall short by not putting in the time to scout and find new places to put their trail cameras. These 4 simple trail camera techniques will help you get more pictures of your monster bucks.
EARLY SEASON
As the bucks begin to grow and racks begin to form, it is time to put trail cameras up on popular mineral sites. The nutrients deer need can be found in these minerals for the growth of antlers and milk production of fawns. This is a great place to determine deer density and take an early season inventory of your deer herd.
PRE-RUT
This time of year, bucks shed their velvet and their testosterone levels begin to rise. When scrapes and rubs become more visible, it is time to move your trail cameras. Scrapes are a great place to find mature bucks looking for receptive does. Most bucks visit scrapes in the cover of darkness, but are easy to get great pictures of.
RUT
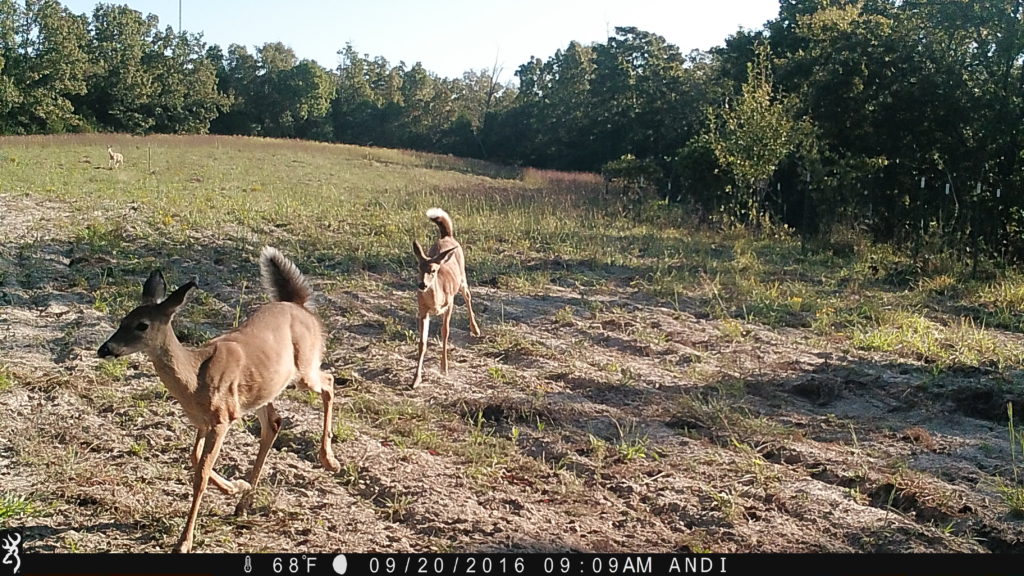
When the does start to come into heat, bucks really start to move. As bucks begin to seek does, food sources become a hot spot for deer activity. By putting a trail camera on the edge of a field, you are likely to get pictures of bucks checking for receptive does. Also helping to show where and what time they enter the field.
POST-RUT
As the rut winds down, bucks begin showing the toll of heavy rut activity. Low body weights and broken, beat up bodies, bucks become slaves to their stomachs. This is the time of year that corn stations or late season food plots become key trail camera spot. These pictures can help you find out what bucks made it through the season and ones to write off the hit list.
Blog originally posted on The Break TV blog by team member Stephen Jones.
Defender 850: Changing How You Hunt
October 8th, 2017 by BTC Editor
For 2017, Browning Trail Cameras came up with a new concept in trail cameras: the Defender 850. When they first unveiled this camera at ATA, I knew it was going to be a game changer. The Defender has some unique features and technology that set it apart from the rest and that can take your deer hunting to the next level. Here are 3 features on the Defender 850 trail camera that will allow you to change the way you hunt this season.
1 – Bluetooth and WiFi Connectivity Via the Browning Trail Cameras Mobile App
You can connect to the Defender on your mobile device from about 60 yards away via the new Browning Trail Cameras app. Through the app you can control the camera settings and download images and video straight to your phone or tablet, allowing you to keep your favorite hunting areas undisturbed and free of scent.
I have my Defender’s set up close to a few of my favorite tree stands so I can check the camera while I’m in my stand without actually having to touch the camera and leave my scent in the area where I am expecting the deer to walk out.

2 – Adjustable IR Flash
This feature is also new for 2017 and allows you to control the range of your LED’s on your nighttime images. There are 3 different flash settings – Power Save, Long Range, and Fast Motion – that allow you to maximize the performance of your Browning Trail Cameras, no matter where they are set up.
–Power Save: This is the most economical of the 3 flash modes. The flash goes out to about 70 feet, which is perfect for wooded areas.
–Long Range: The flash goes out to about 120 feet. This is perfect for open areas, such as larger fields or food plots where the game may be a good distance away from the camera.
–Fast Motion: The exposure time is much faster in this mode, allowing you to capture game that are moving faster, while eliminating motion blur. Think fence crossings, trails, pinch-points and travel corridors, etc. This mode will really come in handy when new bucks start showing up on your hunting property during the whitetail rut!
Here’s a link for a YouTube video for more info on this setting: https://www.youtube.com/watch?v=eWva5ReMbKo

3 – Capable of Holding Up To 128 GB Micro SD Card
I wanted to point out this feature for 2 reasons:
1) The camera also features 1080P HD video technology, so having the ability to use an SD card with larger storage capacity means that you can leave the camera out in the field on video mode without having to worry about the memory card filling up in between camera checks.
2) If you wanted to set up your Defender 850 in a location that you may not hunt or visit often, once again you can rest assured that most likely your memory card will not be full by the time you make it there to hunt or check the camera. This is perfect for those whose hunting property is a long distance away, or if your favorite hunting location isn’t easily accessible.
Whether I end up getting a deer this season or not, I already feel like I am one step further with my hunting game plan than I was this time last year, and that is due to the unique features on the Browning Defender 850 that allow me to hunt smarter, not harder.
By Andrea Haas
Andrea Haas is a Pro-Staffer from Missouri who enjoys hunting deer, turkeys, and upland birds. She is also the founder of the Huntress View, an organization formed to help strengthen the ever growing community of women hunters
Shifting Deer, Shifting Cameras
September 24th, 2017 by BTC Editor
We’re beginning to get some early fall temps and the taste of clean, cool air. The skies are beginning to look a little different and we are both beginning to feel a bit different. We are anticipating…
Having found a new core bedding area via trail camera recon (photos below) we are now closing in on exactly how this section of property functions and we are stoked for the postseason and the chance to move cameras into this area and establish precise buck bedding locations. However, we still have the ENTIRE NY deer season in front of us and we now know that we have a prime buck bedding location nailed down adjacent to an area the local does bed in. As we continue to work on peeling the layers off that scenario we will ramp up our mock scrape game using our cameras to tell the story of these locations. This year we are adding into our equation several rubbing posts with overhead licking branches where we will begin to test the waters of the local big boys and hopefully provide ourselves another late October/early November tool for our arsenal. As all these fellas begin to take on their fall ranges and each personality begins to show we become probably a little too eager as we wait for the right time to make our next card pull, but hey, this stuff is what it’s all about.

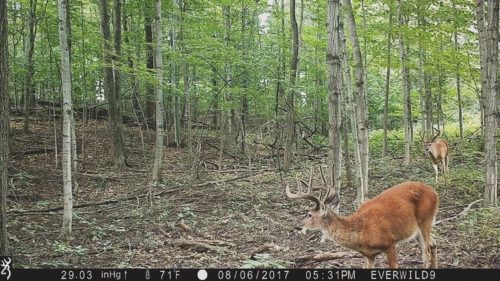
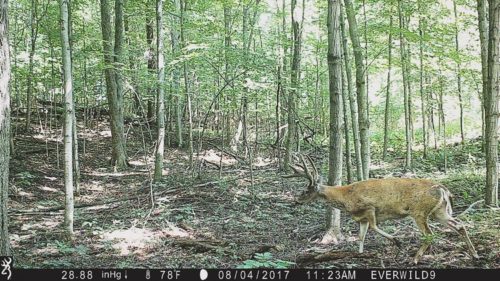
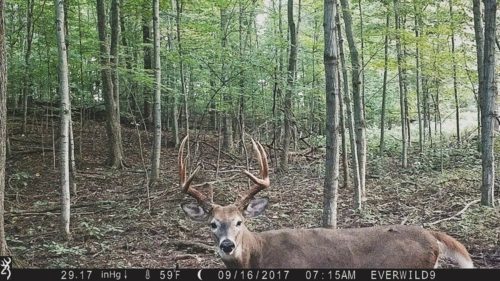
Blog originally posted on EverWild.
EverWild is an online journal of the outdoor adventure’s of two friends from New York – Justin Michau and DJ Tosh – who are passionate about the outdoors.
St. Jude Heroes Event
August 27th, 2017 by BTC Editor
Chances are, either you or someone you know has been affected by childhood cancer. One of my young, distant cousins passed away from cancer recently, as did the son of one of my co-workers. It breaks my heart to see children suffering from cancer, but thankfully St. Jude Children’s Research Hospital is there to help treat and cure these children and to help support their families during the treatment process.
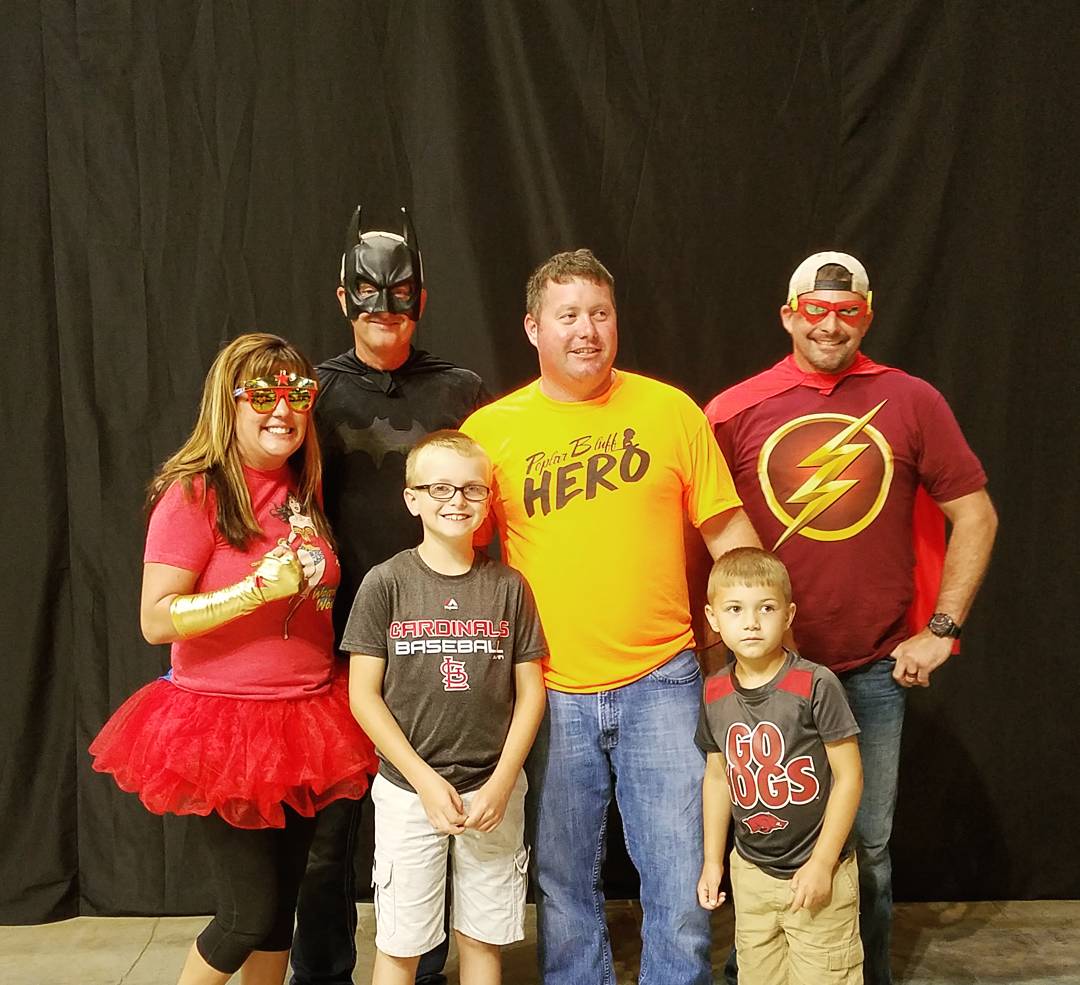
Families never receive a bill for the treatment their child receives or for their travel expenses, housing or food. This is made possible, in part, by fundraising events like the St. Jude Heroes event in Poplar Bluff, MO that I attended a couple weekends ago, sponsored by Browning Trail Cameras. This is an annual 2-day event featuring a VIP Party, silent auction and meet-and-greet with outdoor celebrities on Day 1 and a benefit archery shoot and silent auction on Day 2.
This year the VIP Party included dinner & drinks, live and silent auctions, raffles, a meet-and-greet with outdoor celebrities (including Browning Trail Camera team members Don & Kandi Kisky of Whitetail Freaks, Jon & Gina Brunson of Addicted to the Outdoors, and Derek Dirnberger of The Break TV), and live music from Nate Hosie of Headhunters TV. The best part of the VIP Party was meeting a family that had been affected by and overcome cancer, thanks to St. Jude Children’s Hospital, and listening to their story.
During the VIP Party, there was also a celebrity auction. The outdoor celebrities split up into teams of 2 to compete in a rear-steering tricycle race. Guests had the opportunity to bid on each team and the bidder of the winning team won an AR-15. Don Kisky and Jason Bosaw of the Whitetail Freaks took first place and the proceeds went to St. Jude’s!
Here’s a Boomerang video clip of Jon Brunson competing in the race:
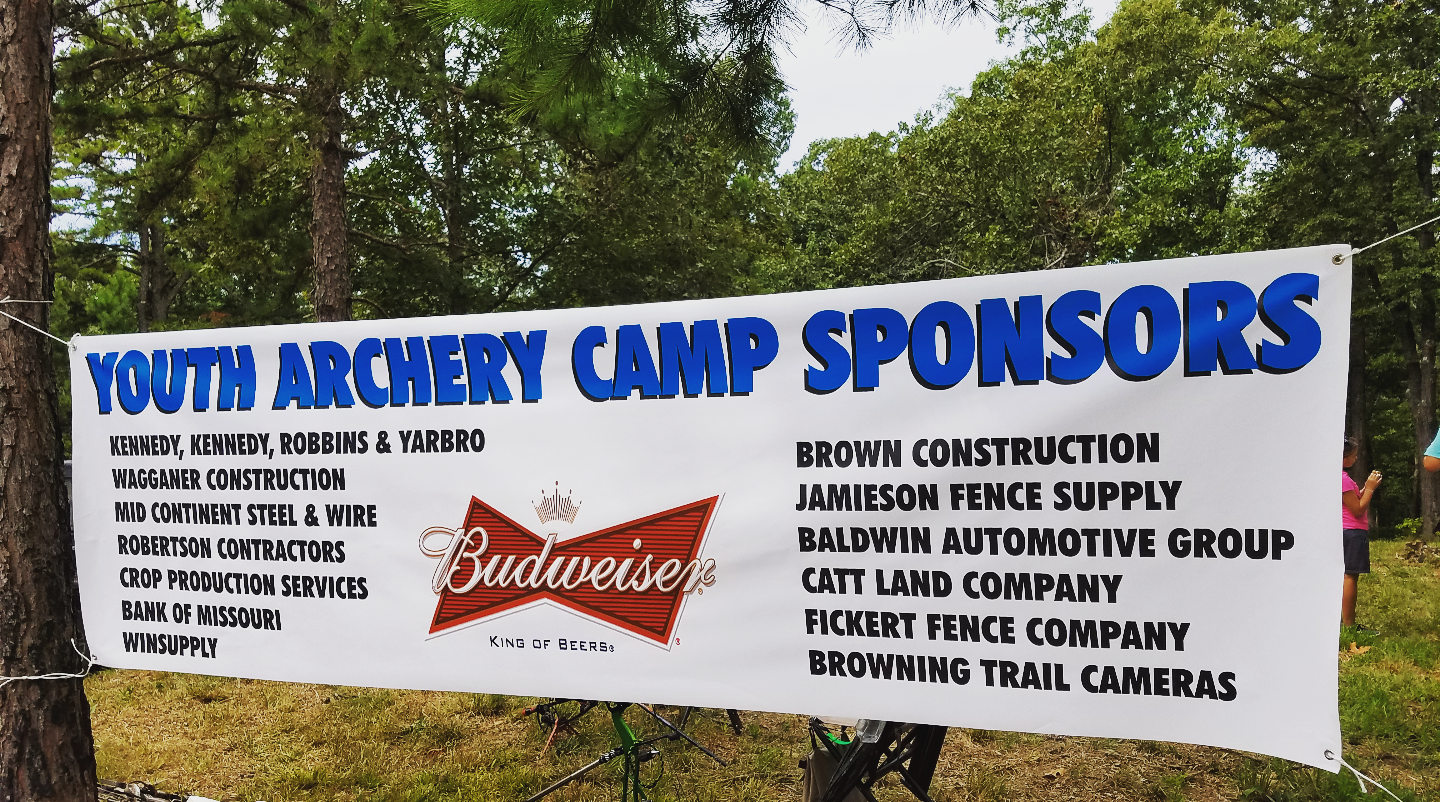
Day 2’s events included a 3D archery range, a pop up range & tournament, free youth archery camps, Cornhole/Horseshoes/Dunking booth and a silent auction all day. The outdoor celebrities also attended the archery shoot on Day 2 to interact with the guests and participate in some of the 3D shoots as well.
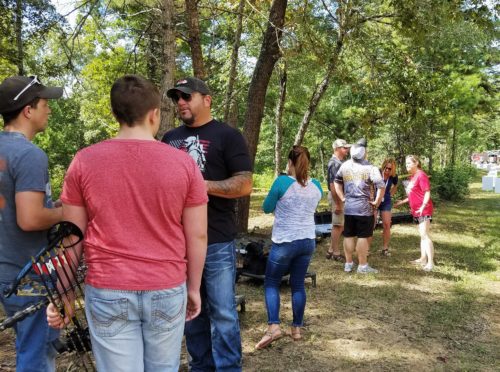
Jon Brunson chatting with guests at the 3-D Archery Shoot on Day 2.
The greatest thing is that ALL of the proceeds from this event go to St. Jude Children’s Research Hospital, and this year the event brought in over $100,000 in donations to St. Jude! We all had so much fun at this event and knowing that it was for such a great cause made it that much better. If you are a hunter, an archer, or if you just have a passion for helping others in need, please plan to attend the St. Jude Heroes event next year in Poplar Bluff, MO and help put an end to childhood cancer!
By Andrea Haas
Andrea Haas is a Pro-Staffer from Missouri who enjoys hunting deer, turkeys, and upland birds. She is also the founder of the Huntress View, an organization formed to help strengthen the ever growing community of women hunters
5 Tips for Elk Season Success
July 30th, 2017 by BTC Editor
I recently moved from Kentucky to Idaho, so instead of focusing on whitetails this hunting season, it’s all about the elk. I harvested my first elk last year, and I’m ready to put number two in the freezer this year.

Hunting elk on public landing in Idaho is definitely different than hunting whitetails on my farm in Kentucky. We aren’t using feeders, minerals and supplements or food plots to bring the elk in, and hunting elk typically requires much more physical effort than hunting whitetails where you have long periods of sitting in tree stands or ground blinds.
In preparation for the upcoming season, I’ve put together 5 tips that will help you have a successful elk hunting season:
Scouting for Elk – Before you can harvest an elk, you have to know where they are. Pre-season scouting can mean the difference between packing out meat or going home to tag soup!
- Use maps to get a lay of the land – I use the Hunt App by onXmaps to research my hunting unit. It identifies each hunting unit, private and public land, roads and trails and more.
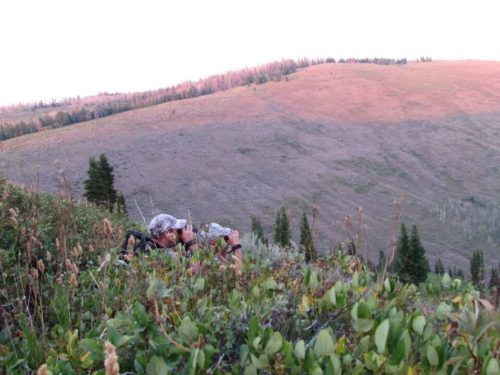
- Glassing – A quality pair of binoculars or a spotting scope is a must for glassing. During summer scouting, look for herds of elk in fields in the evening and watch where they’re coming from and where they’re going.
- Look for rubs and game trails – If you find an area that has rubs from several years ago to the most recent season, that’s a good indicator that the area consistently has elk. Game trails provide insight on where elk are coming from and going to, and will likely lead to food, water or bedding areas.
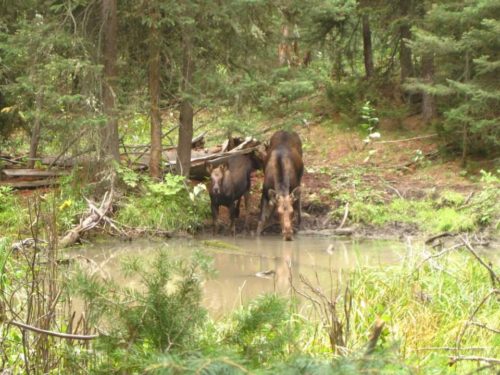
Look for Water – Animals need water. That’s a fact. Find water, and you’ll find animals. By the time fall arrives in the west, water is limited. There isn’t much rain during the summer months, and many of the small ponds and watering holes in the mountains that form from snow melt are dried up.
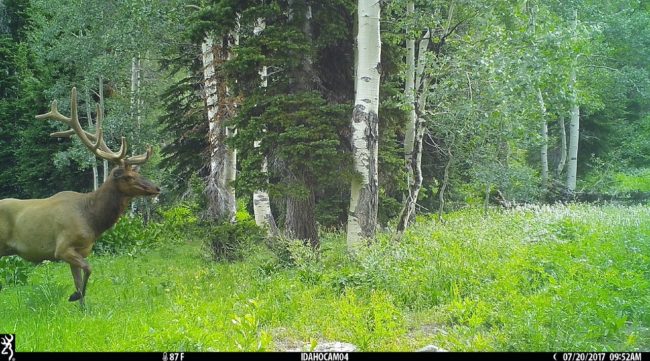
- Find a watering hole and see what kind of tracks you can identify. The photo below shows two moose drinking from a mountain-top pond in Idaho; this pond is also frequented by elk and mule deer.
- Elk will travel from high in the mountains to lakes and reservoirs at lower elevations, so look for game trails to determine where they’re coming from.
- Look for beaver ponds, as elk and other game will use these too since they will hold water throughout the summer and fall seasons.
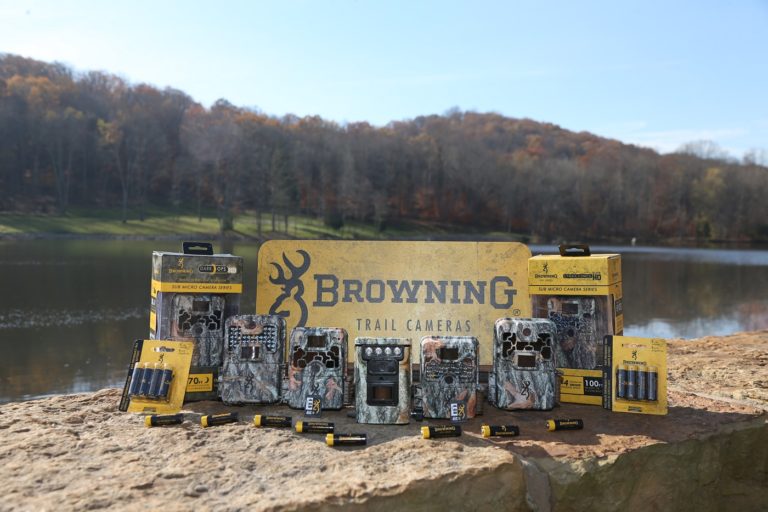
Use Game Cameras – Game cameras are useful when trying to pattern elk and other game. Place cameras in high-traffic areas, around watering holes or in bedding areas. Put cameras out early in the season to watch bulls growing their antlers, cows with new calves and identify if there are predators in the area.
Here are a few things to consider when selecting a game camera:
- Battery life – You most likely won’t be checking cameras frequently, so it’s important to select a camera that has a good battery life. I prefer cameras that take AA batteries; Not only are AA batteries usually cheaper, but they seem to last longer.
- Picture quality – A camera in the 2-6mp range should be sufficient for most people. Higher mega pixels do not necessarily mean better quality.
- Infrared or flash for night-time pictures – Infrared cameras don’t seem to spook animals and are not noticed by humans. Additionally, an infrared flash seems to help preserve battery life.
CAPTION: Image courtesy of @idahotrailcameras, Cassidy Golightly
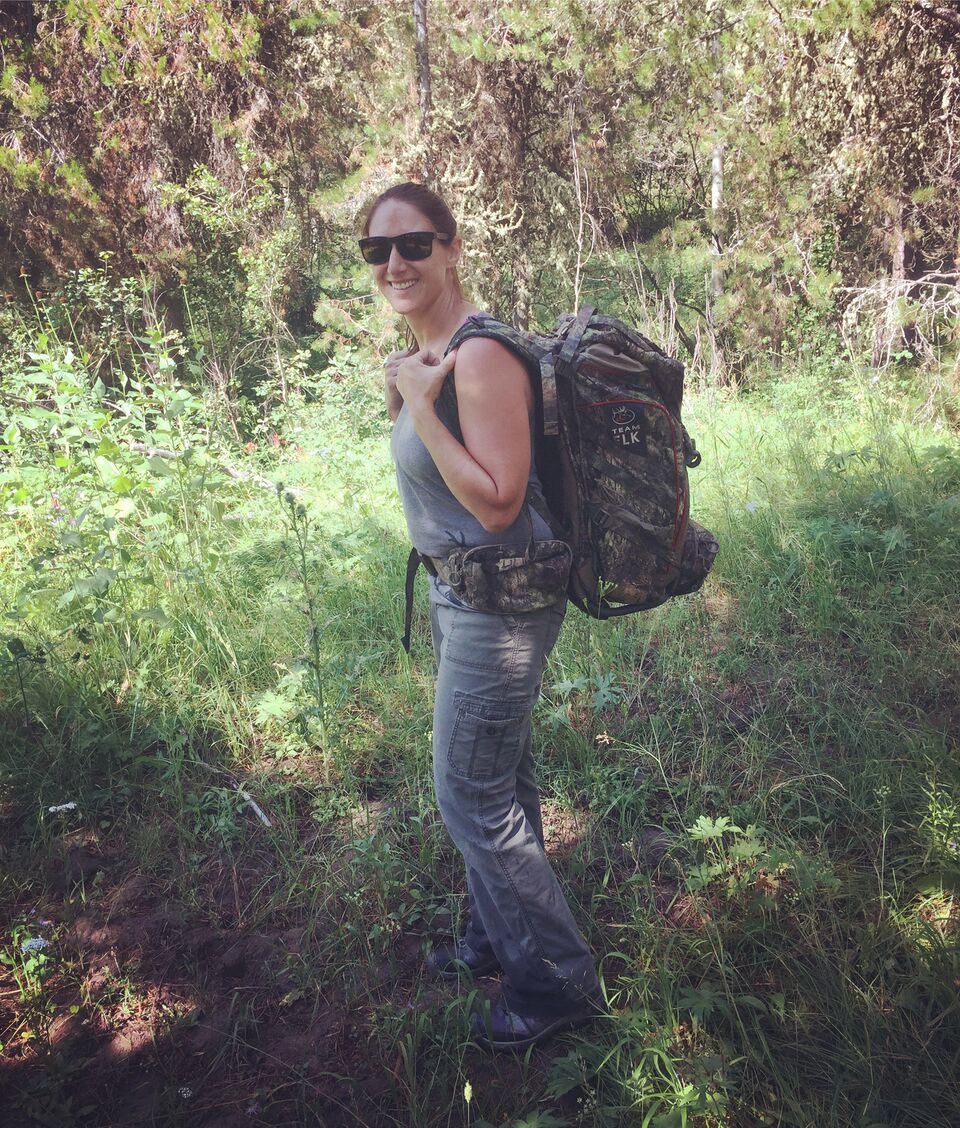
Prepare Yourself Physically – As I mentioned already, I learned through my personal experience that elk hunting is more physically demanding than hunting whitetails. Elk hunting is spot-and-stalk hunting, rather than a sit-and-wait hunting. Listening for a bull bugle, spotting elk from across a ridge—then going after it. This means you could be hiking up and down steep inclines, stepping over a lot of downed trees, walking through high brush, and hopefully packing out a heavy load of meat. Because of this, it’s important to train yourself and get into shape for the hunt.
To prepare:
- If you’re everyday life doesn’t include much physical activity, start walking, jogging or climbing stairs.
- Spend time in the woods prior to hunting season hiking trails of various distances and inclines. This is a great way to scout!
- Hike to your cameras instead of riding your 4-wheeler.
- Carry a weighted pack to simulate packing meat from the mountains.
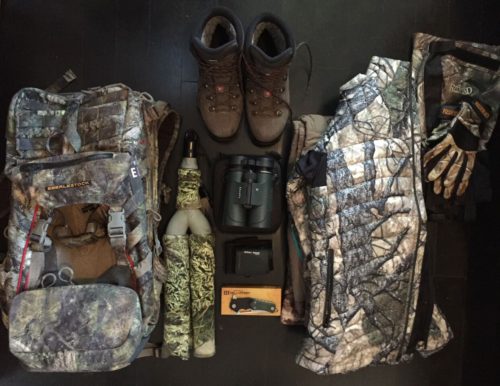
Get Your Gear in Order – Prior to season, take inventory of your hunting gear to identify new items you need, what needs to be replaced and what you have that you no longer need.
The gear you’ll need depends on your hunt—whether you’re going on single day hunts, multi-day backcountry hunts or if you’ll be hunting with a guide/outfitter; it also depends on whether you will be bow hunting or rifle hunting. The Rocky Mountain Elk Foundation has a helpful checklist available on their website.
Sarah Honadel is an avid outdoorswoman from Kentucky, now living in Idaho, who enjoys huntingelk, deer and turkey. She is a Team Member at Huntress View and Brand Champion for ReelCamo Girl, two organizations that work to support, encourage and empower women in the outdoors. Follow her on Instagram @waddysarah and @arrowridgecreations.
Choosing Your First Trail Camera
July 16th, 2017 by BTC Editor
Trail camera technology has really improved over the years and there are more features than ever, allowing you to customize your trail camera experience to your liking. For someone who is new to hunting or the trail camera world, picking out your first game camera can be somewhat overwhelming, especially if you don’t know what features you need or what the features even do. After someone recently asked me for advice on what they need to look for when purchasing their first camera, I decided to share a few things that I feel are “must-haves”, as well as some bonus features and accessories that may be an asset to you.
Features
I really feel a lot of features on trail cameras are user specific and depend on user preference. I’ll briefly explain the features that I feel are the most important when considering which camera to buy.
Flash Type
The flash types are: White flash, Black flash (Invisible, or No-Glow), and Standard IR (InfraRed / Low-Glow). Tom Rainey of Browning Trail Cameras wrote a really great article for this blog explaining each flash type and their effect on trail camera picture quality: http://btc-omrc.com/nighttime-trail-camera-images-putting-light-on-the-subject/
Basically, the highest quality nighttime photos will be from White Flash cameras, then IR cameras, and then Black Flash cameras, but that’s not to say that the quality of the nighttime images from Black Flash cameras are bad. You just may notice a little more motion blur on them.
So, a few things to consider when choosing the flash type:
Where will you be putting your cameras?
If you are going to be putting them on public land or in an area that is known to have a lot of trespassers, you will probably want to go with a Black Flash camera. Otherwise, one of the previous two flash options may be what you would prefer.
Do you feel a White Flash or Standard IR camera will spook the game you are hoping to get pictures of?
If so, a camera with Black Flash may be best for you. My personal experience with Standard IR and White Flash cameras is I feel the animals get used to them. I haven’t noticed them spooking deer in the years that I have been running trail cameras. Everyone has their own opinion on this and each location may be different, so again, go with your own personal preference here.
Detection Range
The location where you plan on putting your game cameras will help you decide which camera may be best for you in regards to detection range. If you are running trail cameras primarily in the woods or have it set up over pinch points and travel corridors, the detection range can be quite a bit lower. But, if you are watching over larger areas, such as fields, the detection range needs to be a little higher, especially if you aren’t quite sure where the wildlife are traveling.
For example, the Browning Command Ops has a detection range of 55 feet with a 60-foot flash range, which is great. But the Browning Recon Force Extreme has a detection range of 80 feet with a 120-foot flash range, which is quite a bit more. So, you can see how the higher detection range could be quite a bit more beneficial in certain situations.
Trail Camera Accessories
Obviously, SD Cards and batteries are must-have accessories for your trail cameras. But there are a couple other accessories that you may want to look into purchasing for your first trail camera, depending on the location the camera will be in and how often you plan on checking it.
Security Box
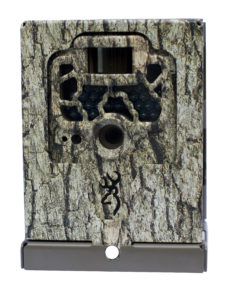 As I mentioned above, the location really is a key factor to consider when purchasing your trail camera. The same goes for deciding whether or not you need a trail camera Security Box. A couple things to keep in mind here: Do you expect there to be trespassers, or will the camera be on public land? Also, what types of animals are in your area? Do you have a high bear population? If you answered “Yes” to any of those questions, I recommend getting a Security Box. Browning makes one that fits all of their camera models (excluding the Defender 850). It can also be locked using a standard padlock or a Master Lock Python Cable so your camera stays safe and stays put.
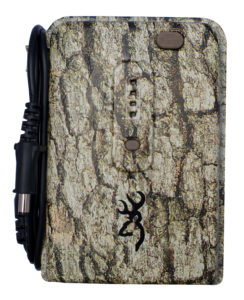
Trail Camera Power Pack
The Trail Camera Power Pack will extend the battery life of your Browning Trail Camera in the field. This is a great option if you don’t plan on checking your trail cameras very often. It holds holds 8 AA batteries in the same easy to use battery tray used in the trail cameras. Other features include a built-in battery tester and a twist lock plug to lock the power adapter to your Browning Trail Camera.
Bonus Trail Camera Features
Here are a few “bonus” features that you may also want to take into consideration when choosing your first trail camera. I personally don’t feel that these are features that you absolutely have to have, but I do feel they will enhance your trail camera experience. Personal preference comes into play here as well. Here are a few of my favorite features on the Browning Trail Cameras:
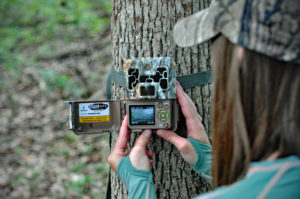
Viewing Screen
This is an internal viewing screen on some of the Browning Trail Camera models. It’s great for viewing trail camera photos in the field, and it really comes in handy when positioning the camera while you are setting it up.
Timelapse Mode
The Timelapse function allows you to set up your camera in the field, and program it to take pictures automatically at fixed intervals. This feature is helpful when you set a camera up in a new location such as a large field or food plot where you are not sure where the wildlife are entering the field. The camera will take images of the entire field, so you will end up capturing game at 200 + yards away, where a conventional game camera would not normally trigger a picture. All Browning Trail Camera models come with this feature, as well as the Timelapse Viewer Plus Software, so you can playback a whole day’s worth of activity in just a few minutes, much like watching a video.
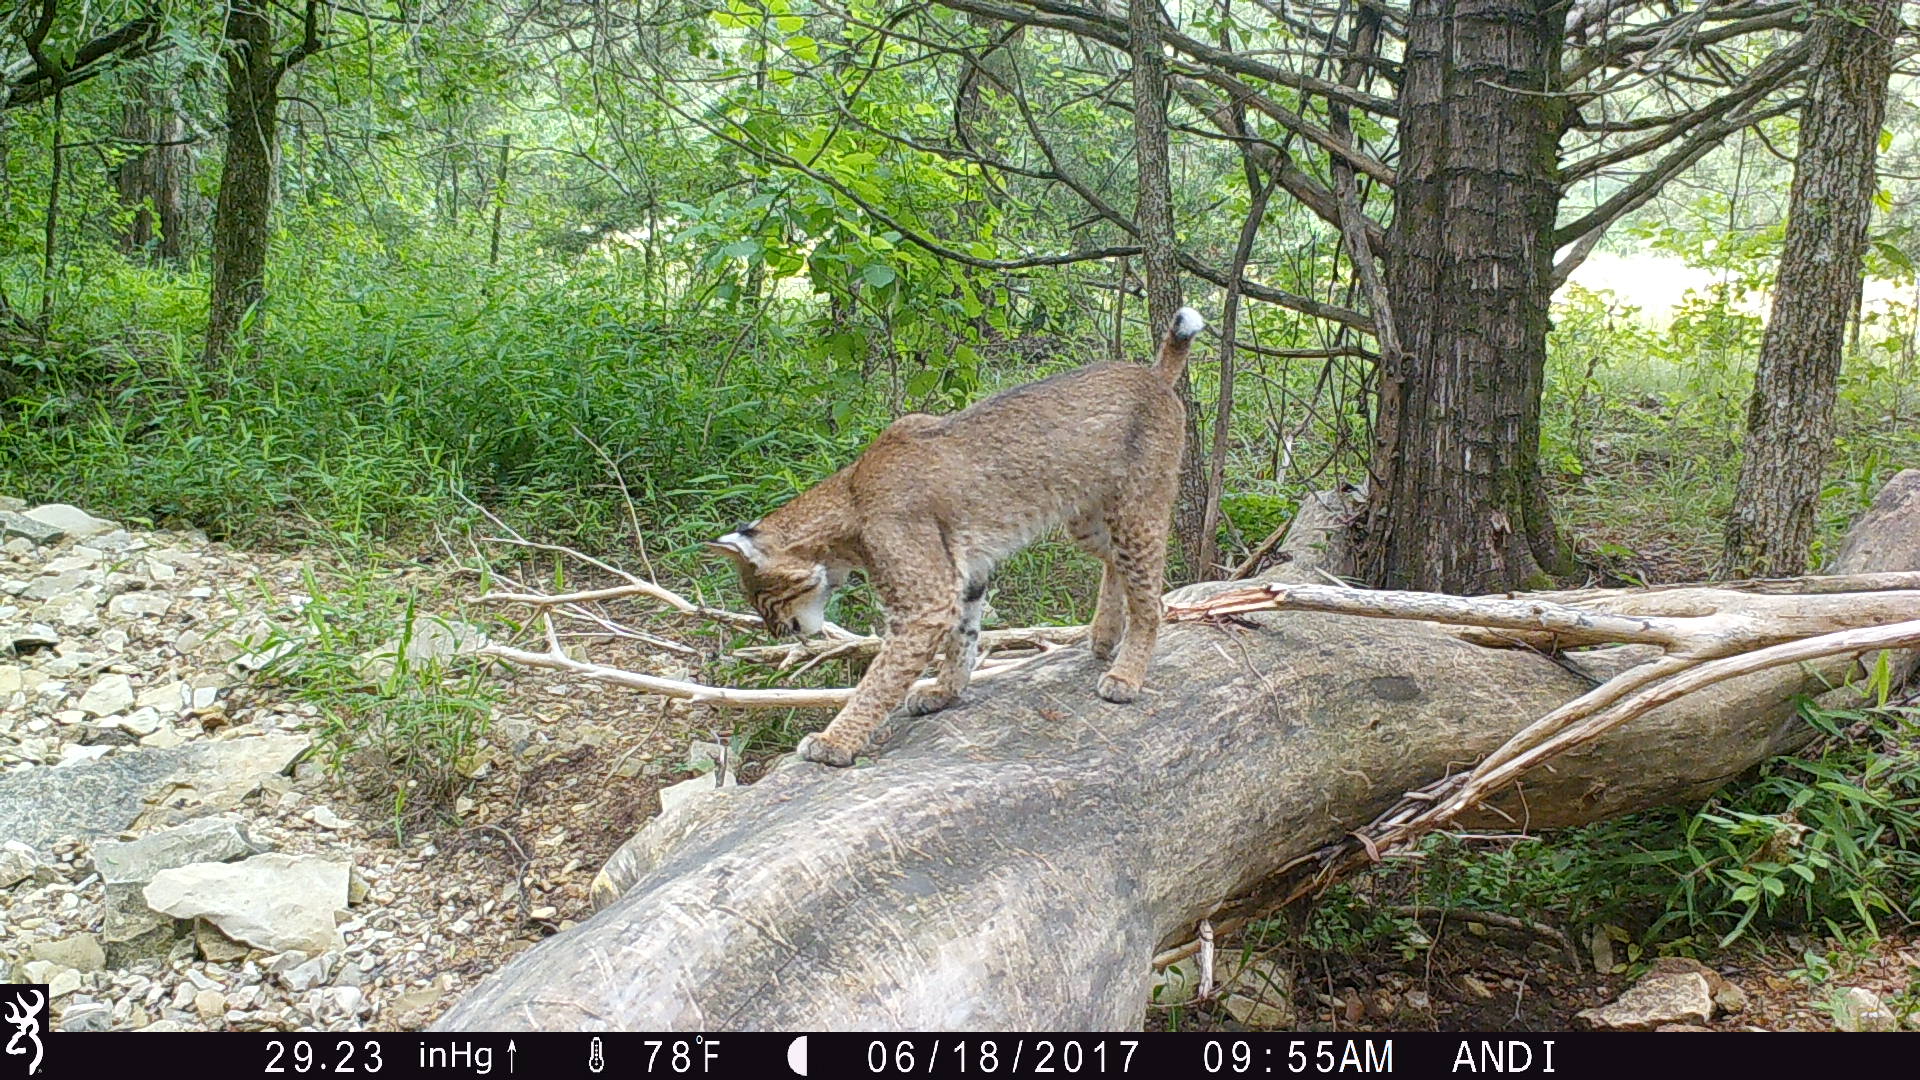
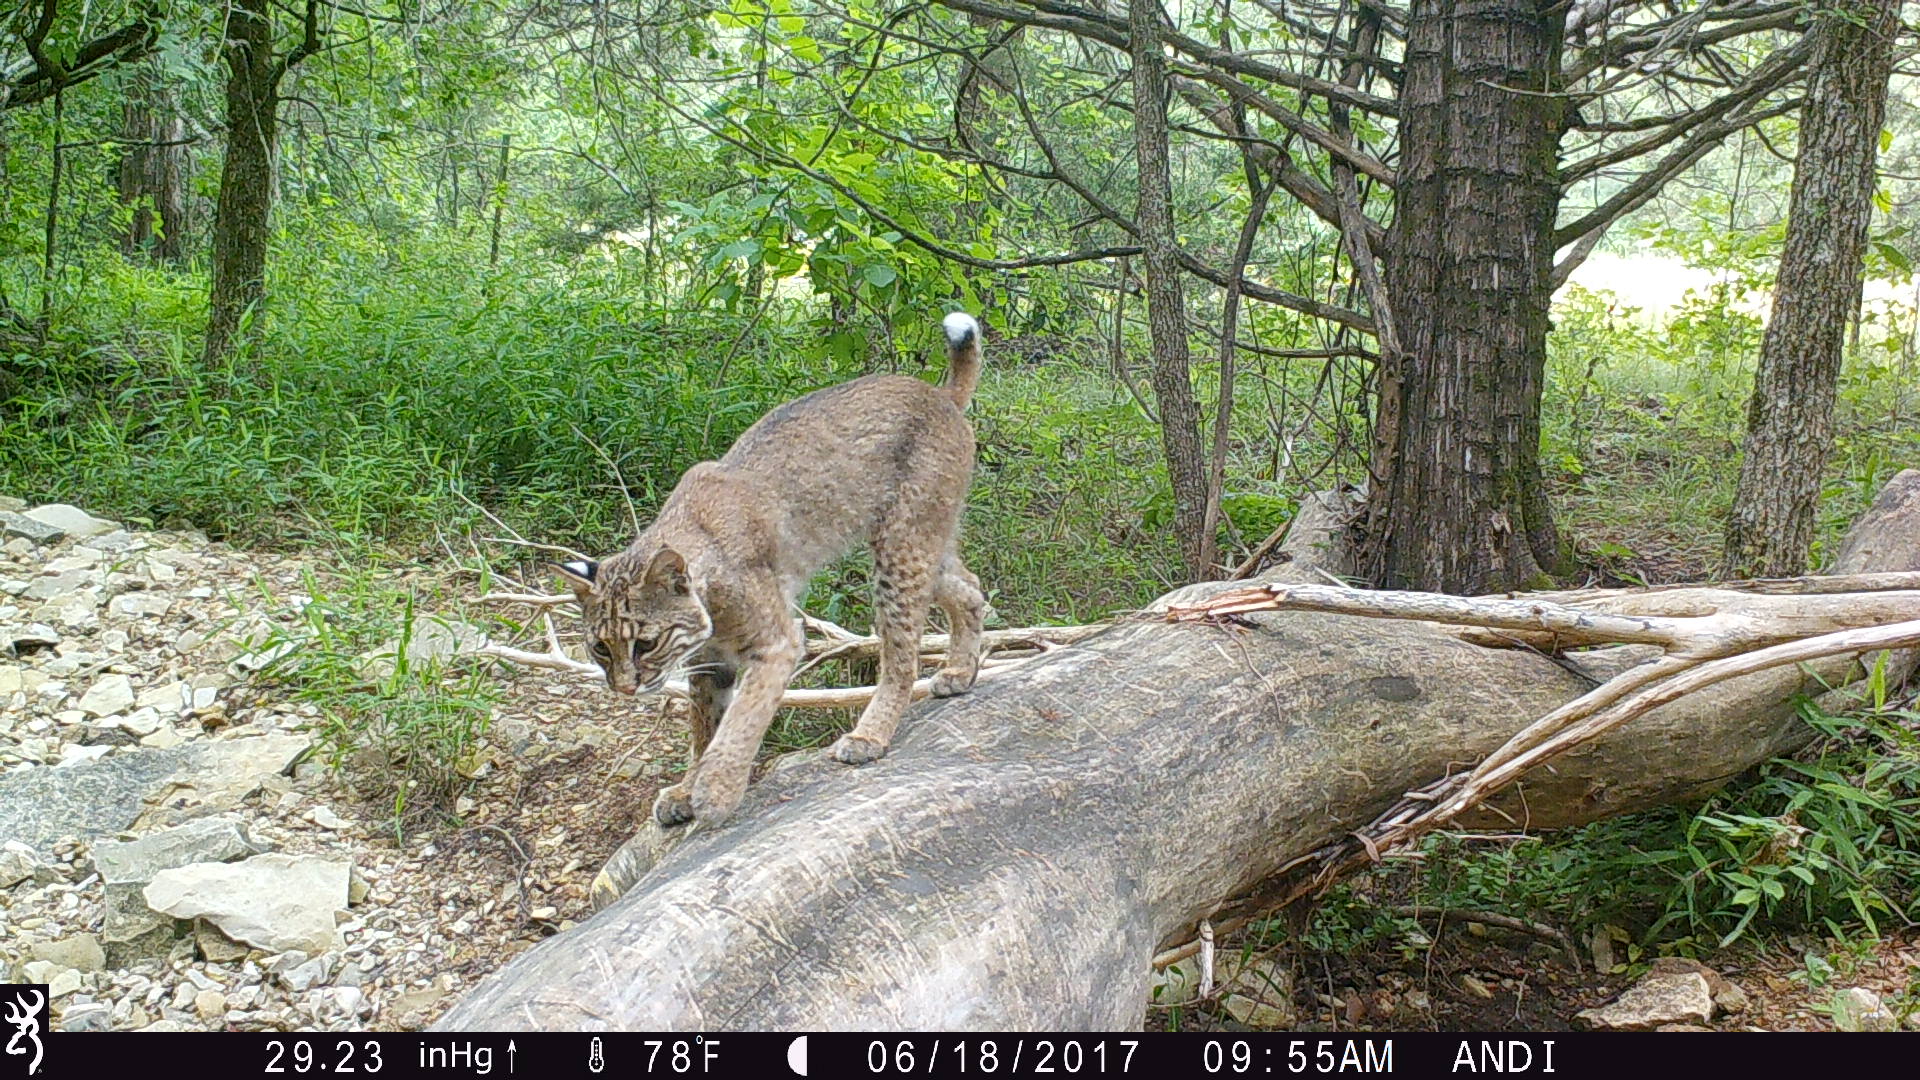
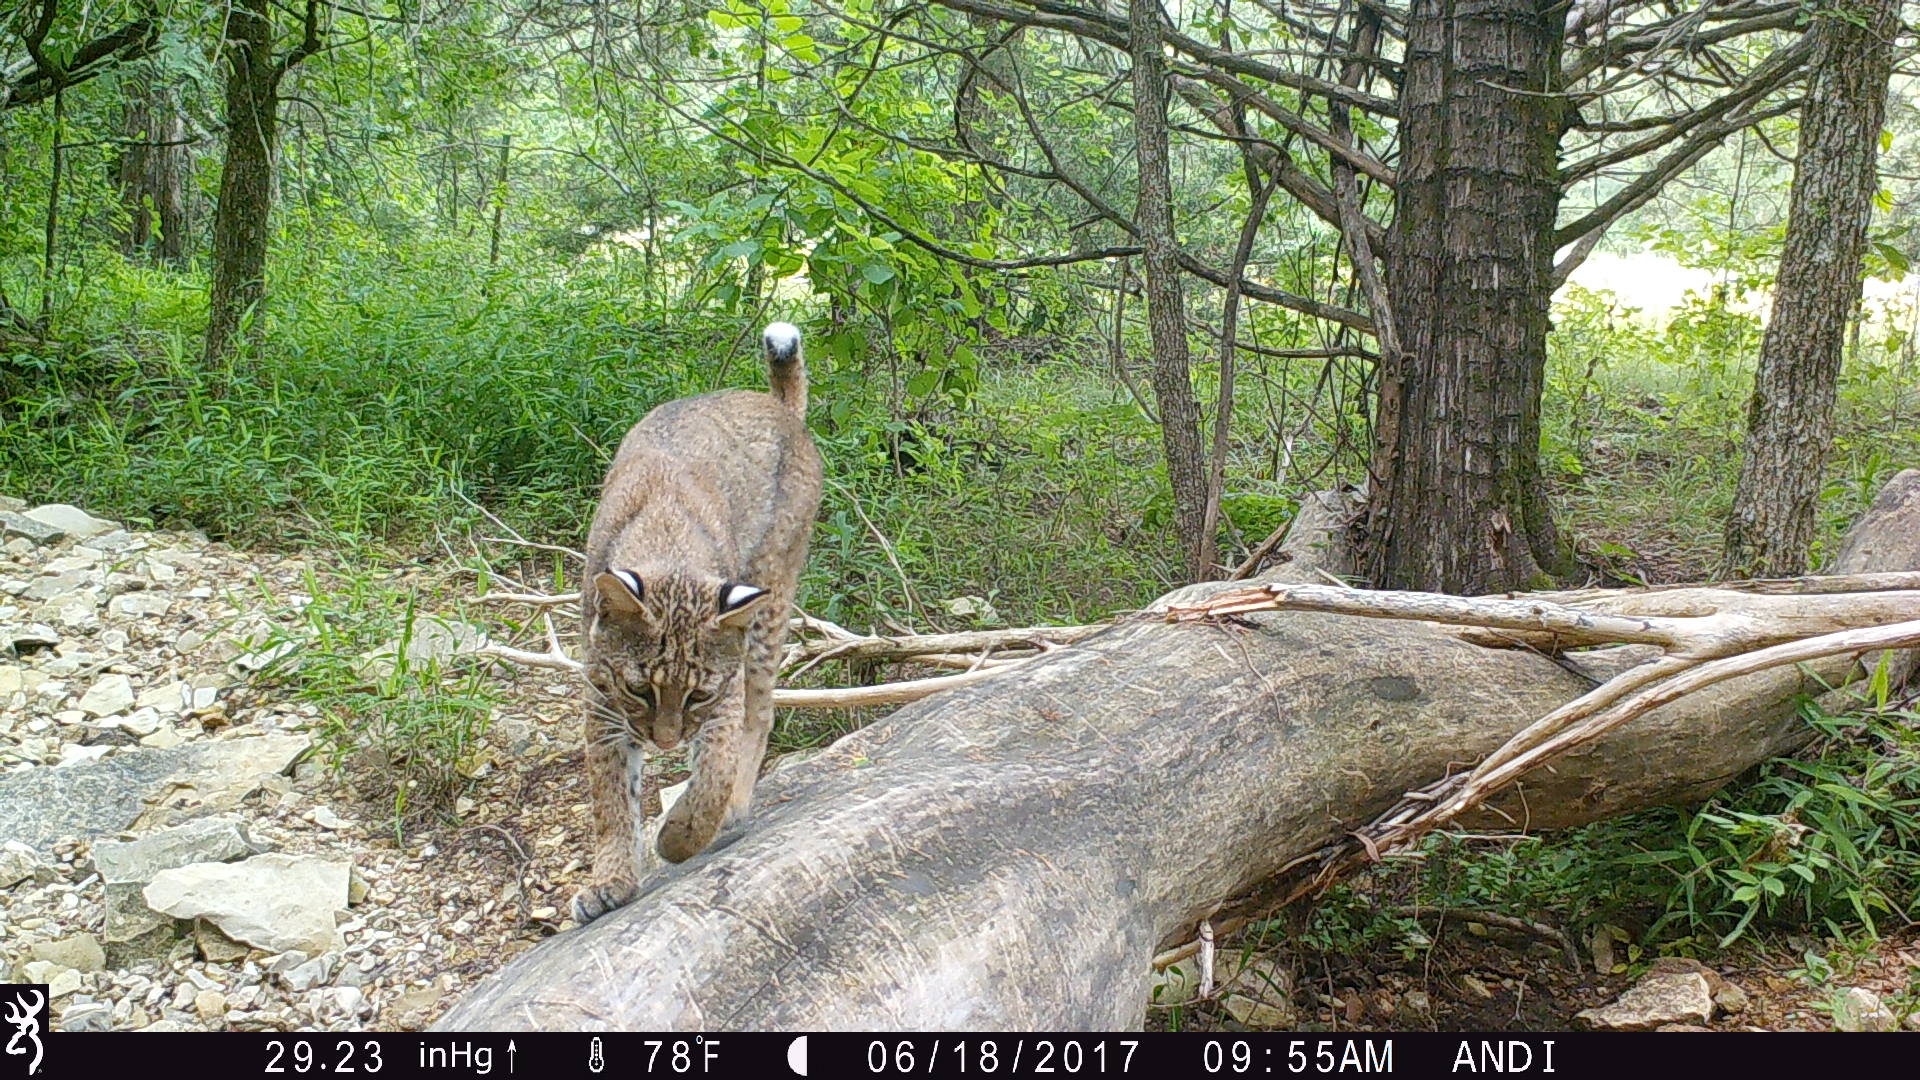
Multi Shot / Rapid Fire Mode
In certain situations, the 8-Shot Rapidfire mode is one of my favorites to use on my Browning Trail Cameras. It takes 8 shots in 2 seconds! I prefer to use this when I have a specific animal that I am targeting that I know will not be in the frame for long. For example, I wanted a Bobcat on this log setup, but I knew it would likely not use this log repeatedly and not stay on it for long, so I put it on Rapid-Fire mode to get as many photos of it as possible and pick my favorites to share. Rapidfire Mode is also great in deer season when you are watching a smaller area, such as pinchpoints and travel corridors, so you don’t miss any deer activity.
Video Mode
This is a really fun trail camera feature. It’s almost like watching the wildlife in person when playing the trail camera videos back! With 1920 X 1080P Full HD, the audio and the clarity in the Browning Trail Camera videos is really amazing. Additional new features for the 2017 model includes Smart IR video, which continues to record video footage while game is moving in front of the camera and SD card management options which allow you to overwrite older images on the SD card if the memory is full.
I hope this article helped you know where to start in shopping for your first trail camera! If you have any other questions that were not listed in this article please feel free to leave a comment below.
By Andrea Haas
Andrea Haas is a Pro-Staffer from Missouri who enjoys hunting deer, turkeys, and upland birds. She is also the founder of the Huntress View, an organization formed to help strengthen the ever growing community of women hunters
Homemade Venison Jerky Recipe
July 2nd, 2017 by BTC Editor
Making homemade jerky is a simple way to preserve excess meat, and when done correctly, can be stored 1-2 months. Depending on the ingredients used, it can serve as a healthy, high-protein and low-carb snack—perfect for training for upcoming hunts or while in the mountains hiking or hunting.
Below is the recipe I use. Ingredients are approximations, and can be adjusted based on individual preferences.
Ingredients:
- 3 lbs. venison meat (can also use elk or other meat)
- 2 cups teriyaki
- ¼ cup soy sauce
- ¼ cup brown sugar (dark or light is ok)
- 1 heaping tablespoon minced garlic
- 1 tablespoon Cajun seasoning
- 1 tablespoon dried and crushed hot peppers (such as cayenne, jalapeno or habanero)
Instructions:
- Slice meat into 1/8”-1/4” slices using meat slicer
- Combine all ingredients (except meat) in small pot, mix well and heat over a low heat just enough to dissolve the sugar
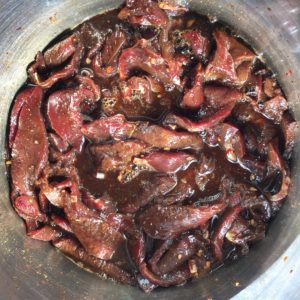
- Add meat to liquid mix, one piece at a time, ensuring all pieces are thoroughly coated
- Place meat and all liquid in Ziploc bag and refrigerate at least 4 hours (I prefer overnight for a stronger flavor)
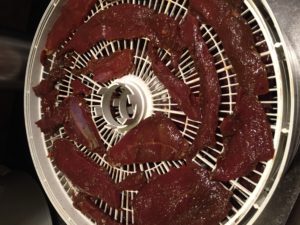
- Place slices of meat on dehydrator racks, making sure not to overlap any of the pieces
- Let dehydrate for 7-8 hours at 155°F
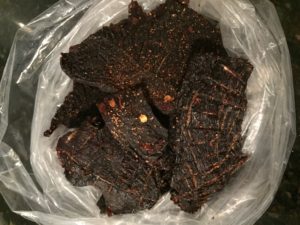
- Remove from dehydrator and store in plastic Ziploc bag
Additional information:
- 3 lbs. of raw meat yields approximately 1 lb. dried jerky
- Many people use a jerky gun, but I prefer making jerky with sliced meat instead of ground meat. I have a restaurant-quality meat slicer, but good slicers can be purchased at Bass Pro or Cabela’s.
- Sugar can be omitted for a lower-carb recipe; can also substitute a can of crushed pineapple
- Cajun seasoning and hot peppers can be omitted if you prefer non-spicy jerky
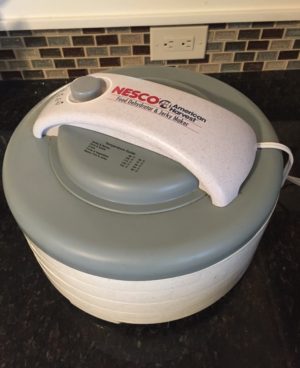
- I recommend the Nesco American Harvest Dehydrator, available for purchase on Amazon. I purchased this in 2009 and have used it for multiple batches of jerky every year, as well as for drying fruits and veggies in the summer. It comes with four dehydrator racks, and more can be purchased separately.
This is our go-to recipe, but would love to hear your jerky recipes. Please comment with your favorite recipe, or any tips you have for making jerky.
Sarah Honadel is an avid outdoorswoman from Kentucky, now living in Idaho, who enjoys hunting turkey, deer and elk. She is a Team Member at Huntress View and Brand Champion for ReelCamo Girl, two organizations that work to support, encourage and empower women in the outdoors. Follow her on Instagram @waddysarah and @arrowridgecreations.
Father’s Day
June 18th, 2017 by BTC Editor
In honor of Father’s Day, here is a poem celebrating and thanking Dad’s for everything they have done for us. We’d also like to say Happy Father’s Day to the Dad’s on the Browning Trail Camera team: Brad Miller, Carl Drake, Derek Dirnberger, Don Kisky, Hal Shaffer, Henry Woodard, Jon Brunson, and Levi Morgan. Thank you for setting such a great example for your children and doing a great job at raising the next generation of hunters!
Happy Father’s Day
A Dad is a person
who is loving and kind,
And often he knows
what you have on your mind.
He’s someone who listens,
suggests, and defends.
A dad can be one
of your very best friends!
He’s proud of your triumphs,
but when things go wrong,
A dad can be patient
and helpful and strong
In all that you do,
a dad’s love plays a part.
There’s always a place for him
deep in your heart.
And each year that passes,
you’re even more glad,
More grateful and proud
just to call him your dad!
Thank you, Dad…
for listening and caring,
for giving and sharing,
but, especially, for just being you!
Happy Father’s Day.
-Author Unknown
Intro to 3D Archery
June 4th, 2017 by BTC Editor
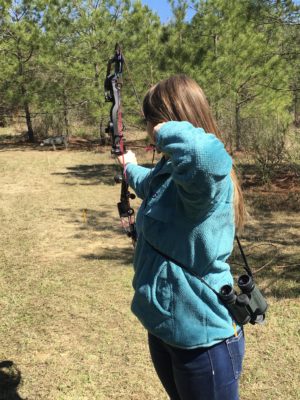
Off season blues? No problem! 3D Archery is a great way to keep you occupied while waiting for your next hunting season. If you’ve never shot a 3D archery range then keep reading, this post is for beginners and what they will need to know before starting 3D archery.
I started competing in 3D tournaments this year to challenge myself, to continue shooting my bow during the off season, and to keep myself active outside. Not only do these tournaments help with my consistency but they have also helped improve my ability to judge yardage. Depending on your location, you could probably look online to find a local archery organization. If you can’t seem to find one online usually your bow shop can help you out by referring you to a few.
Once you find an archery association/organization you can then ask them for a copy of their tournament schedule if it’s not listed online. You will also need to know that specific organization’s available shooting classes, rules for shooting and what scoring system they will use.
I want to mention all the necessities you may need to start shooting competitively.
Essentials:
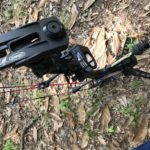
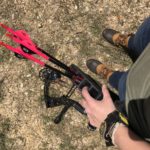
- Bow (obviously)
- Release aid
- Quiver or archery stool that can hold arrows, keys and accessories
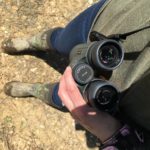
- Binoculars (I love my Vortex Viper HD’s in 8x42mm –Has plenty of magnification and lets in tons of light in order to see targets efficiently)
- A bow kick stand that stands bow upright so you don’t have to lay it down on the ground
- At least 5 arrows, possibly more if you believe you will miss targets or damage a few on other shooters’ arrows
- Pencil (if one’s not provided)
- Rubber boots as a backup in case your range is muddy
- Tick/Mosquito spray (We like to spray Scentblocker’s Tick spray on our shoes the day before and it usually last a few weeks)
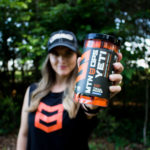
- Sports drink to keep you hydrated (I prefer Mtn Ops Yeti or Enduro)
- Snacks are usually available at a small cost but it’s probably a good idea to bring either a granola bar or PB cracker type snack
- Water (This is usually provided for free throughout our range but sometimes they’re all gone by the time we go through the course)

Before you shoot in a tournament it may not be a bad idea to find someone that actually shoots them first and just do a walk through with them while they shoot. I did this to make myself more comfortable in knowing how things ran and how the targets are scored. I was less intimidated when I actually shot in my first since I knew how everything worked. If you can’t find someone to walk through with, no biggie, shooters at 3D tournaments are usually very nice and encouraging. I can honestly say I have not ran into a single person that wasn’t willing to help a beginner. It was very calming to be able to get advice from people that not only shot in them regularly but seemed to not be bothered at all by a newbie trying to figure out how the tournaments worked. Again, this is part of the reason I have fallen in love with archery. The archery community is so supportive and educational.
Most 3D tournaments have a variety of classes to shoot in based on your level of skill and your bow setup. For example, the tournaments I have been shooting in have:
- PeeWee
- Cubs
- Longbow
- Traditional
- Youth
- Women’s Youth
- Women’s Bowhunter
- Women’s Open
- Novice
- Bowhunter
- Bowhunter Outlaw
- Senior Open
- Open Class
- KNOWN 45
- Pro Class
Each class will have general rules for being able to shoot in it and will also have different colored stakes to shoot from at the archery range.
Some rules to keep in mind: (Rules may vary slightly depending on the archery club)
- Each club will have a max arrow speed and also have the right to chronograph any shooter at any time
- Rangefinders are prohibited unless shooting in the KNOWN class. All other classes require distances to be judged by the naked eye.
- Binoculars/spotting scopes may be used determining shot placement
- Bowhunter class is restricted to a 12” or less stabilizer, screw in or glued in tips, and may shoot a movable sight (but it must be a HUNTING sight with NO magnification)
- Bowhunter Outlaw class is restricted to bowhunter equipment ONLY with hunting sights and NO magnifications. This is the only class with no max speed limits
- Exchanging yardage information is strictly prohibited
- Each shooter must be touching the appropriate shooting stake for their class with some part of their body
- A “controlled letdown” must be verbally announced
- Once your sights are set and bow has been drawn you cannot reset your sights after a controlled letdown
Here are a few tips I would recommend doing before tournament day:
- Make sure your sight pins are sighted in to ranges that vary for your shooting class
- For example, I shoot in Women’s Bowhunter and the ranges will vary but usually the farthest distance is 25-30 yards at our specific archery club
- There are also moveable hunting sights that are great for 3D tournaments so you can easily adjust the distance per target.
- I practiced at home shooting the distances my pins were set at and really looking at the animal to help myself with judgement of distances. Sometimes I would walk at a random distance, look at the target and guess in my head and then use my rangefinder to see how close I am to guessing correctly. I continue to do this until I am comfortable with my guesses
- Make sure gear is all together and ready to go
- Make sure to get plenty of sleep the night before
- Make sure to eat a healthy breakfast before
Upon arrival:
- I usually sign in/register and get my score card
- I then head to the practice bags and shoot at each one that I have a pin set up for to make sure they’re all sighted in. I double check my arrows, release and bow to make sure everything is in good shape
- We usually shoot in a group with friends and “draw cards” for our shooting order. We will mix them up (faced down) and get one person to draw one card at a time and we will use that as our shooting order. This helps keep it fair because some targets are harder to see where to aim and being the first one to shoot those types of targets can be a little tough. Some shooters will have bright colored fletchings so that makes it easier for the next person to use as a guide on aiming.
- Side note: Our group sizes vary from 3-5 but I personally believe a group size of 3 is the best. Groups of 5 tend to take longer shooting each target and going through the whole course in general
When shooting at a target I usually go through a series of steps to help myself make a good shot. I like to going by these steps in order to be consistent. These steps may be a little different for each person but once you start doing things in a way that works keep doing them the same way EVERY TIME. I promise they make a difference.
When shooting at a target:
- I find the appropriate shooting stake and place a foot on one of the sides of it. It doesn’t matter where as long as some form of your body is touching it.
- I usually go ahead and nock an arrow and prepare my arrow rest.
- I then look at the target through my binoculars and try to find where I need to aim. The best way to do this for me is to look for specific things like: the shape of the target, which way it’s facing, if it’s leaning backward or forward, if there are any distinctive parts on it such as areas that are shot up or if it has spots you can use to help as a guiding tool. Aim small, miss small is a very accurate statement in this case.
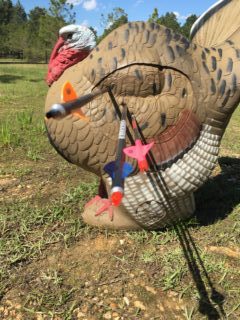
- I then look at the target through my binoculars and try to find where I need to aim. The best way to do this for me is to look for specific things like: the shape of the target, which way it’s facing, if it’s leaning backward or forward, if there are any distinctive parts on it such as areas that are shot up or if it has spots you can use to help as a guiding tool. Aim small, miss small is a very accurate statement in this case.
- I make sure my feet are shoulder width apart and as flat as possible.
- Draw bow.
- Find aiming location in peep and match it with appropriate pin.
- I make sure my peep sight meets up perfectly with my sight housing. If I’m shooting uphill/downhill and will have to lean some way I make sure to lean with my waist and not just with the bow as this would affect how my peep sight and sight housing meet up.
- Relax bow hand and rest pointer finger on my trigger.
- Continue to breath, relax muscles and release.
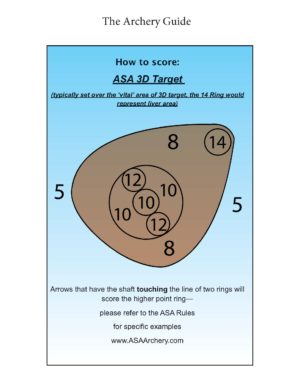
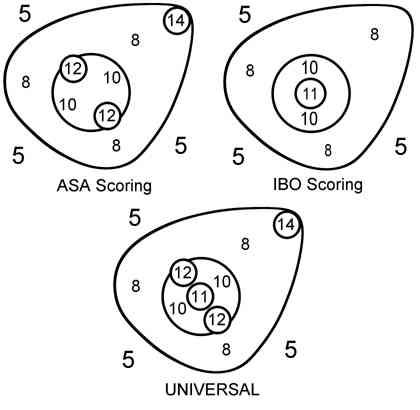
When scoring targets, it’s important to know which scoring system the archery club/organization is using. There are two primary organizations that have their own scoring systems: Archery Shooters Association (ASA) and International Bowhunting Organization (IBO). The tournaments we shoot in only use ASA scoring system and the “Upper 12” can only be called or used if the targets specifically shows it can. Here are a few pictures that show the difference in the two.
If you’re a beginner or not shooting in a Pro class, it’s important to remember these tournaments are for fun and to help you improve. Bad shots will definitely come and you’ll more than likely miss a few targets. Don’t stress too much about those because they have happened to everyone at some point and they help you learn from your mistakes. So good luck to all you beginners and remember to have fun!
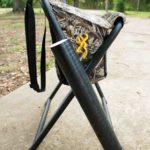
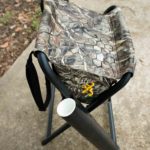
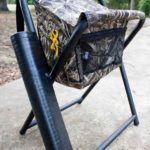
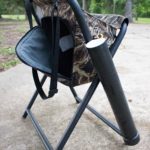
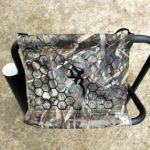
Note: If you plan to consistently shoot year after year I suggest investing in an “archery stool” of some sort. I currently use the Browning Steady Ready Stool with PVC pipe attached to the leg. We taped the pipe with black electrical tape and glued a cap on the bottom so that it can be used as an arrow holder. The stool has a mesh zipper pocket on one side and an insulated cooler pocket on the other. You can put ice and drinks in the cooler but we didn’t want to make the stool too heavy to carry so it’s used to hold our extra accessories (keys, binoculars case, back up release, snacks, etc.).
Courtney is an avid hunter from Louisiana. She has a passion all things outdoors and is an avid hunter. She is also a team member of Huntress View, an organization formed to help strengthen the ever growing community of women hunters.
