Southwestern Backstrap Fajitas Recipe
September 10th, 2017 by BTC Editor
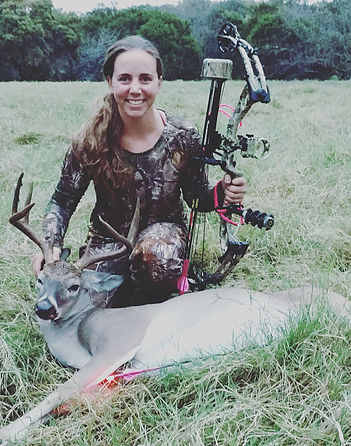
When it comes to fresh venison, the meal I most look forward to is fajitas! For this meal, I used the backstrap from my 8-point taken during last archery season. I love taking all that fresh, organic, grass fed meat into my kitchen and turning out this Tex-Mex classic. It’s filling, full of protein, includes fresh veggies, (my favorite- avocado!), and goes great with chips and salsa, and a cold beer if you want one!
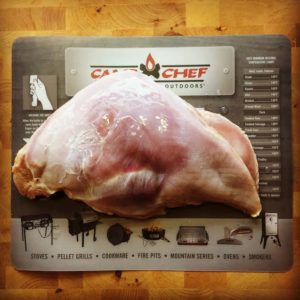
Making them is super simple as well. We process our own deer and package it in portion sizes big enough for serving 2, which in this case is about 1lb of meat. (If you don’t have a FoodSaver for preserving your harvest, do yourself a favor and get one!)
Ingredients:
-1lb venison backstrap, fresh or frozen
-1 Bell Pepper (red, green, or any color)
-1/2 white onion
-1 Hass Avocado
-Flour Tortillas
-Cheese- your choice. This recipe used Jalapeno Munster
-Garlic Salt
-Worcestershire Sauce
-Southwestern Seasoning (or mix of cumin, coriander, oregano, paprika, chili powder, garlic powder, salt and pepper)
-Chips and Salsa, of course
-2-3 tablespoons of butter
Recipe:
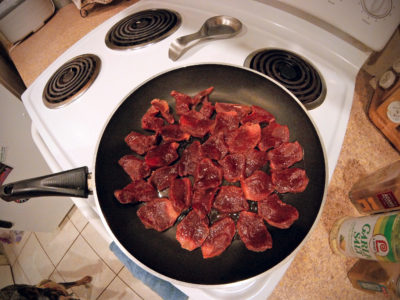
-Take your meat and slice it in 1/2in thick medallions. Add the Worcestershire Sauce, Southwestern Seasoning, Garlic Salt, to taste. If you can, marinate your meat in the spices overnight, but if you can’t it will still taste great.
-Add butter or olive oil to your pan and turn to medium heat. When hot, add your meat and sear on both sides to medium doneness.
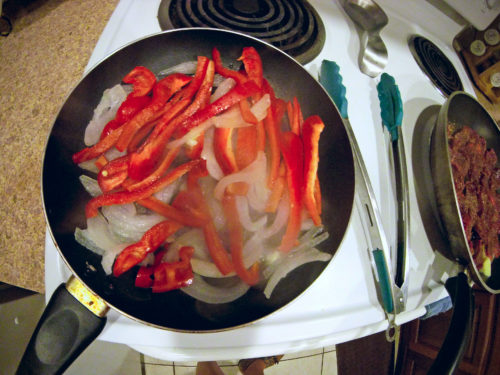
-Add butter to a second pan (or use your current pan after removing the meat) and saute your sliced onion and bell pepper once you have sliced them in strips. Saute until tender and easy to bite through.
-Dice/shred your cheese, slice your avocado, and prep your fixins’! I arrange the ingredients along the bar and let everyone (and by that, I mean, all of this is just for my husband and I….mostly me!) Warm your tortillas, top with meat, veggies, avocado, cheese, and throw in some salsa if you’re feeling fancy. Then chow down!
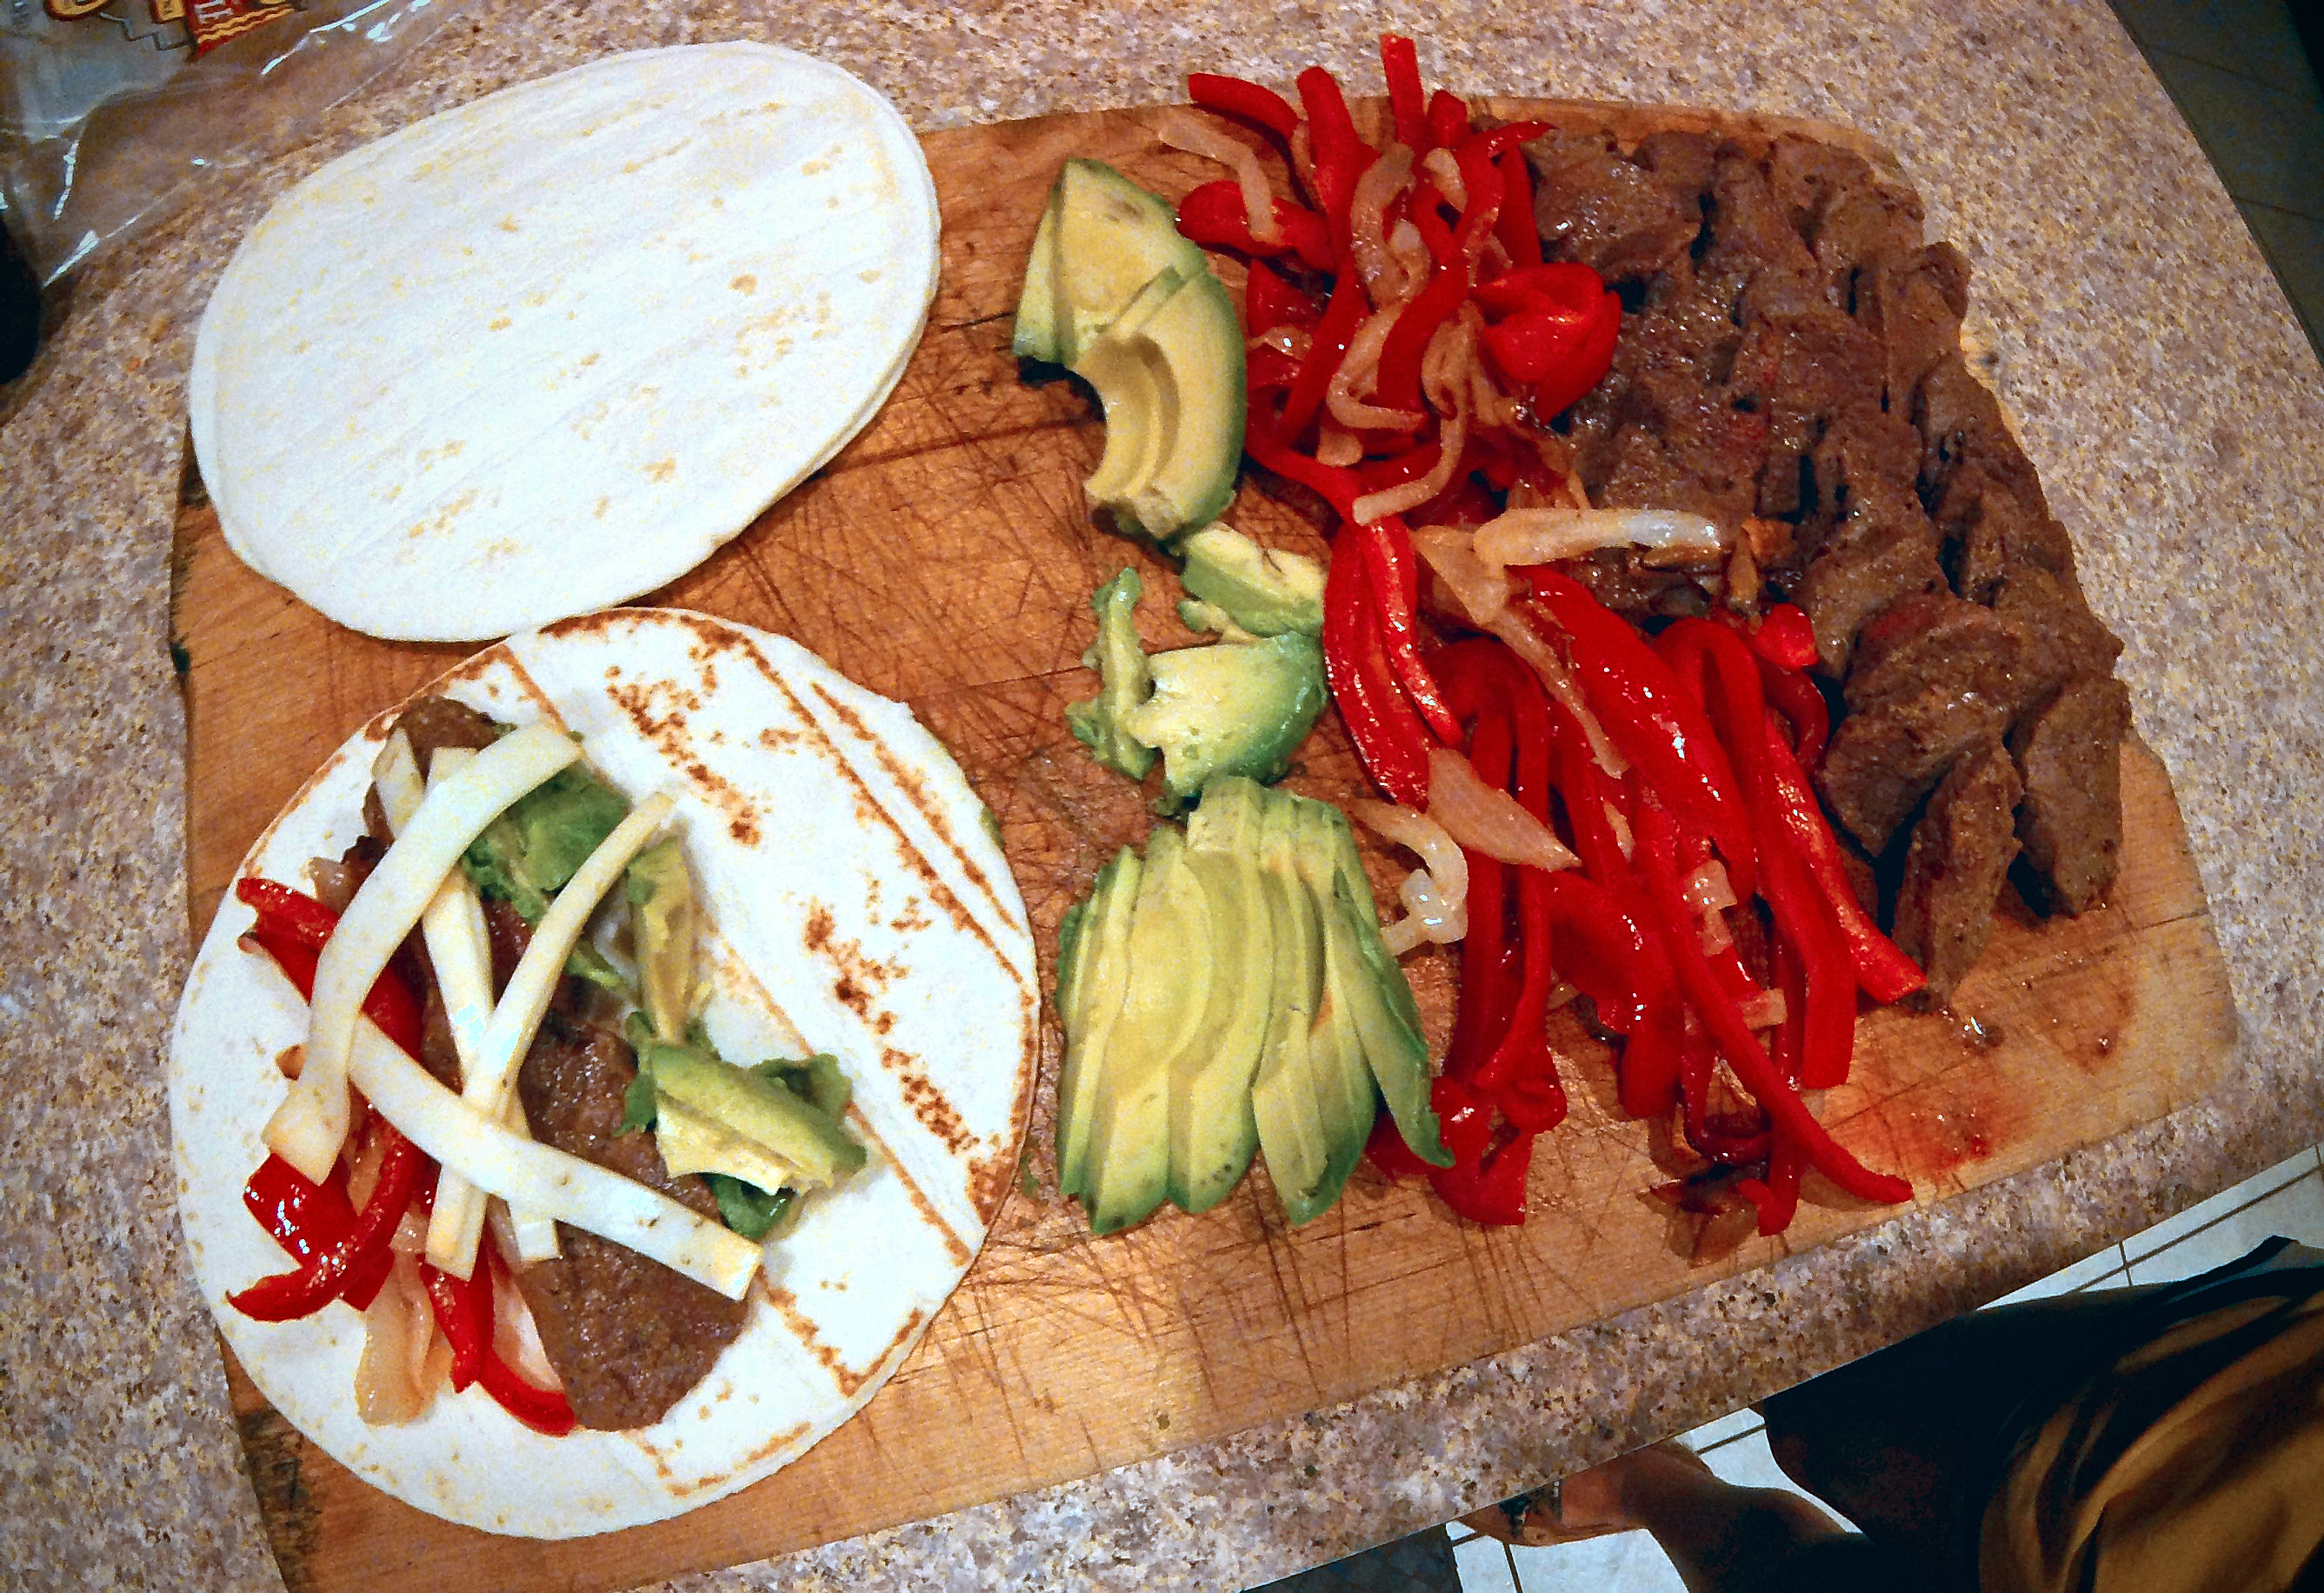
-This should make enough for about 6 fajitas, and these are great as leftovers as well for lunch the next day. Crack open a Cerveza with salt and lime, and enjoy!
Jenny Burden is a successful competitive triathlete through the Spring and Summer, but Fall and Winter are all about hunting for her. She is an avid hunter and is also a member of Huntress View, a team dedicated to strengthening the ever-growing community of women hunters.
Homemade Venison Jerky Recipe
July 2nd, 2017 by BTC Editor
Making homemade jerky is a simple way to preserve excess meat, and when done correctly, can be stored 1-2 months. Depending on the ingredients used, it can serve as a healthy, high-protein and low-carb snack—perfect for training for upcoming hunts or while in the mountains hiking or hunting.
Below is the recipe I use. Ingredients are approximations, and can be adjusted based on individual preferences.
Ingredients:
- 3 lbs. venison meat (can also use elk or other meat)
- 2 cups teriyaki
- ¼ cup soy sauce
- ¼ cup brown sugar (dark or light is ok)
- 1 heaping tablespoon minced garlic
- 1 tablespoon Cajun seasoning
- 1 tablespoon dried and crushed hot peppers (such as cayenne, jalapeno or habanero)
Instructions:
- Slice meat into 1/8”-1/4” slices using meat slicer
- Combine all ingredients (except meat) in small pot, mix well and heat over a low heat just enough to dissolve the sugar
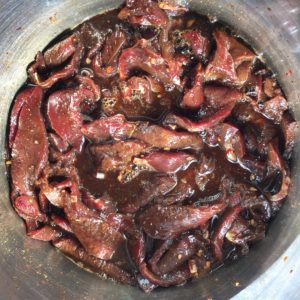
- Add meat to liquid mix, one piece at a time, ensuring all pieces are thoroughly coated
- Place meat and all liquid in Ziploc bag and refrigerate at least 4 hours (I prefer overnight for a stronger flavor)
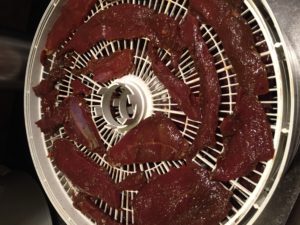
- Place slices of meat on dehydrator racks, making sure not to overlap any of the pieces
- Let dehydrate for 7-8 hours at 155°F
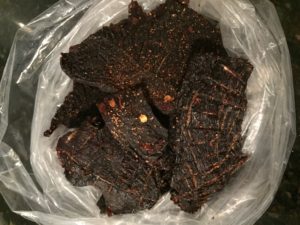
- Remove from dehydrator and store in plastic Ziploc bag
Additional information:
- 3 lbs. of raw meat yields approximately 1 lb. dried jerky
- Many people use a jerky gun, but I prefer making jerky with sliced meat instead of ground meat. I have a restaurant-quality meat slicer, but good slicers can be purchased at Bass Pro or Cabela’s.
- Sugar can be omitted for a lower-carb recipe; can also substitute a can of crushed pineapple
- Cajun seasoning and hot peppers can be omitted if you prefer non-spicy jerky
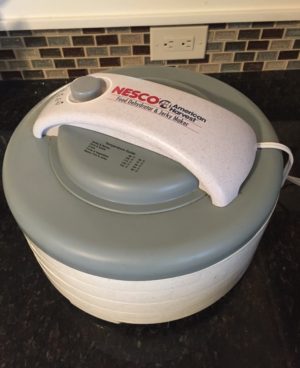
- I recommend the Nesco American Harvest Dehydrator, available for purchase on Amazon. I purchased this in 2009 and have used it for multiple batches of jerky every year, as well as for drying fruits and veggies in the summer. It comes with four dehydrator racks, and more can be purchased separately.
This is our go-to recipe, but would love to hear your jerky recipes. Please comment with your favorite recipe, or any tips you have for making jerky.
Sarah Honadel is an avid outdoorswoman from Kentucky, now living in Idaho, who enjoys hunting turkey, deer and elk. She is a Team Member at Huntress View and Brand Champion for ReelCamo Girl, two organizations that work to support, encourage and empower women in the outdoors. Follow her on Instagram @waddysarah and @arrowridgecreations.
Easy Wild Turkey Tacos Recipe
May 7th, 2017 by BTC Editor
Of all the game meats, wild turkey is by far my favorite. I love making wild turkey nuggets—small chunks rolled in egg and covered in Italian breadcrumbs, then fried. Yum! But lately, I’ve been looking for new, healthier ways to cook my turkey harvest. I decided to try making crockpot turkey tacos. Good decision, because they were delicious…and super easy!
What you need:
- 1-1/2 lbs. wild turkey breast meat
- 1 tbsp. chili powder
- 1/2 tsp. paprika
- 1-1/2 tsp. ground cumin
- 1/4 tsp. onion powder
- 1 tsp. minced garlic (can replace with 1/4 tsp. garlic powder)
- 16 oz. of your favorite salsa
- Optional: 1/2 tsp. hot pepper flakes*
- Optional: 1/2 cup water
*I like spicy food, so I use a mix of dried cayenne and habanero peppers. You can substitute with red pepper flakes, or eliminate for less spice.
Instructions:
- Place whole chunk of wild turkey breast in crockpot
- Mix all dry ingredients together in small bowl, then sprinkle onto turkey breast
- Pour salsa over turkey; if the salsa is extra chunky, add water
- Cook on low 5-6 hours (or high for 3-4 hours)
- Before serving, use two forks to shred the meat and stir all ingredients together
Serve immediately with desired taco toppings such as shredded cheese, sour cream, avocado or guacamole, lettuce, tomato, hot sauce, rice, corn, etc. There are so many options, and you can personalize it to whatever you prefer.

Ingredients can be adjusted to your personal tastes, or you can also use store-bought taco seasoning in place of the listed dry ingredients (I prefer to make my own to eliminate the salt and preservatives).
Sarah Honadel is an avid outdoors-woman from Kentucky who enjoys hunting turkey, deer and elk. She is a Team Member at Huntress View and Brand Champion for ReelCamo Girl, two organizations that work to support, encourage and empower women in the outdoors. Follow her on Instagram @waddysarah and @arrowridgecreations.
Venison Meatball Recipe
February 26th, 2017 by BTC Editor
INGREDIENTS:
1 lb ground venison
¼ cup half and half
Extra Virgin Olive Oil
1 medium white onion – finely chopped
3 tablespoons chopped garlic
2 large eggs
1/4 cup dried parsley flakes
1 tsp dried oregano
1/4 cup freshly grated Parmesan cheese
salt and pepper to taste
DIRECTIONS
This recipe is by far the best wild game recipe I’ve ever tasted! I must preface this by saying that up until a few of years ago, I was actually a vegetarian. Not because I was trying to save the animals. I did it because I just didn’t care for meat. However, what I realized when I met my husband, who is a hunter and ultimately the one whom got me into hunting as well, is that what actually bothered me about meat is that I didn’t always know where the meat from the grocery store had come from. I was growing a few veggies in my backyard, and purchasing the rest through a farmers market or local CSA. So I have always been aware of where my food came from; but the meat remained a mystery. Then along comes hunting. The first time my husband brought a whitetail deer home for us to process I started asking questions. I began cooking it for my family and realized my kids could never tell the difference between ground venison and ground beef. Thus began my journey in creating wild game friendly recipes.
Now I am extremely picky with how my food tastes. I do not like having a gamey taste to it at all. This meatball recipe is so perfect. Every time I make it, it gets better and better as I modify ingredients.
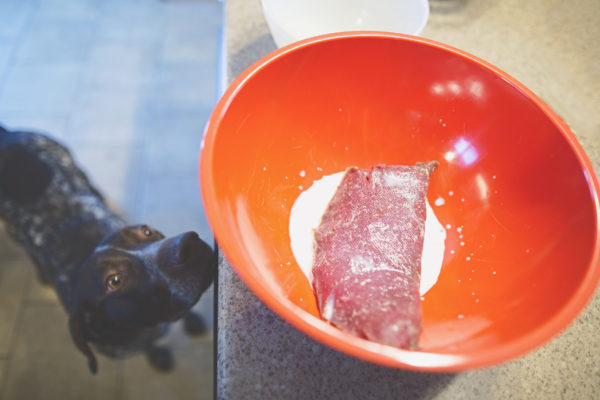
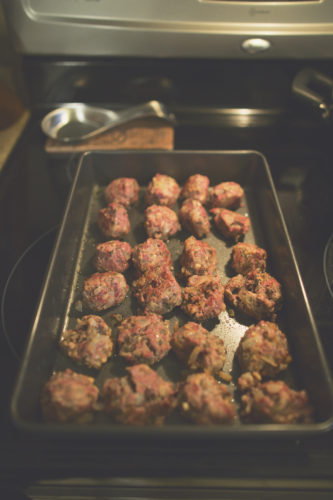
Begin by preheating your oven to 425 degrees and coating the bottom of your 9×12 baking dish with olive oil. Next, place 1 pound of ground venison in a large mixing bowl. Add ¼ cup half and half (regular milk works as well, however I have not tried this recipe with dairy substitutes) and then set this bowl aside.
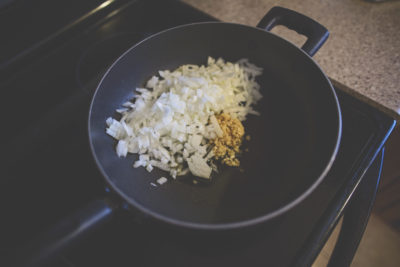
In a medium skillet, heat 2 tablespoons of olive oil over medium heat. Add 1 diced onion and 3 tablespoons of chopped garlic to the skillet. Be sure to dice your onion into very small pieces. Saute until the onion is clear. I tend to like a lot of onion, so this may look like more than 1 medium onion. Never enough onion or garlic in my house!

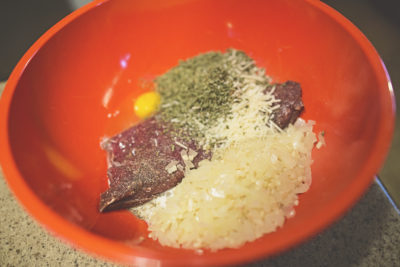
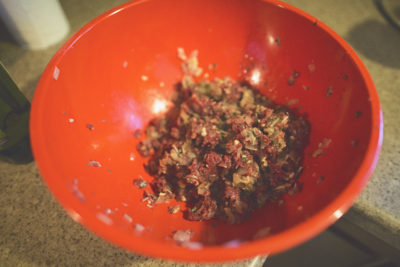
Then, add the onion mixture to the ground venison bowl. Add 2 eggs, ¼ cup dried parsley flakes, ¼ cup freshly grated Parmesan cheese, and 1 teaspoon oregano to this same mixture. Salt and pepper to taste. You are now ready to mix with a wood spoon or your hands. I typically use my hands, but am careful for the hot onion/garlic mixture. Don’t burn your fingers!
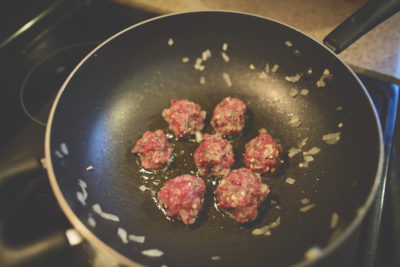
Using the same medium skillet as you cooked the onions (as you can see in the photo I do not clean out the skillet), add 2 tablespoons olive oil and turn on heat to medium. Roll meat mixture into 1” diameter meatballs. Don’t look to close at mine. They are never perfectly round because my kids are always starving. Place meatballs into heated skillet; browning on at least 2 sides. You are not cooking them all the way through, just browning the edges. This makes the outside of the meatballs yummy and slightly crispy. Once you have browned the meatballs on 2 sides, place meatballs into your greased baking dish. Bake 20 minutes, turning once after 10 minutes.
My husband and I tend to eat them plain (that’s how good they are) or dipped in barbecue sauce. My kids like to put them on Hawaiian rolls with cheese and barbecue sauce. Either way, I think you will love them! Enjoy!
By Tammy Bashore

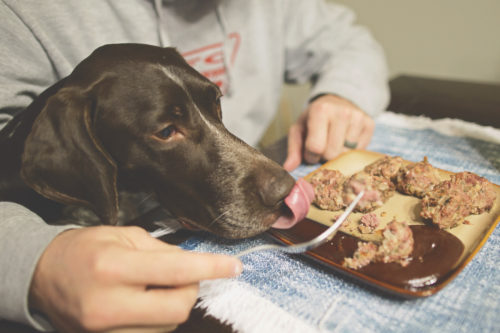
Tammy Bashore is an outdoor enthusiast from South Dakota. She is a professional photographer, the wife of a professional walleye angler and the mother of 2 kids, plus one fur baby, a GSP named Bentley (pictured above). Tammy is also a member of the Huntress View team, an organization formed to help strengthen the ever growing community of women hunters.
4 Reasons to Start Hunting in 2017
January 29th, 2017 by BTC Editor
When making your list of New Years resolutions for 2017, I hope plenty of you have added “hunting” to the list of things you’d like to check off this year. Whether it turns into a life-long passion or something you decide may not be for you, I’m sure either way you will walk away a better person from the experience. Here are 4 positive things you can expect to happen from giving hunting a try.
Healthier Lifestyle
Almost everybody makes it a New Years Resolution to become healthier in the coming year, and being a hunter can help you reach that goal! Aside from the fact that the meat from the animals you harvest will be organic, leaner, and free from man-made intervention, most hunts require a good amount of physical activity as well. So you’re getting your exercise in while you are obtaining a healthier form of food. It’s a win-win!

Strengthen the Economy
You may not necessarily feel that you alone can help contribute to this, but check out this statistic: According to the National Shooting Sports Foundation (NSSF), hunting has generated 600,000 jobs in the United States. That’s a HUGE number. And just think, the more you and others hunt, the more purchases you will make within the hunting industry that will help that number continue to grow!
Conservation
If there is one thing that hunters and non-hunters can agree on, I feel it’s the fact that we all want to ensure that nature and wild animals will be around for future generations to enjoy. You can help contribute to that through hunting. Check out these excerpts from the NSSF Hunter’s Pocket Fact Card about how hunters contribute to conservation:
“License Revenues fund nearly half the budget, on average, for state fish and wildlife agencies. The money supports wildlife management and restoration programs, habitat improvement and general conservation efforts.”
“Excise Taxes on sporting equipment (such as firearms, ammunition and fishing tackle) provide more than one-fifth the revenue for state fish and wildlife agencies. The funds are used to acquire, maintain and improve wildlife habitat and to make the nation’s lands and waters more accessible and enjoyable to all its citizens, sportsmen and non-sportsmen alike.”
Allison Stegmann, Huntress View team member
“Hunters and anglers provide more than 75% of the annual funds of the 50 state conservation agencies. Sportsmen are clearly the largest contributors to conservation, paying for programs that benefit all Americans and all wildlife.”
Character Building
I have been hunting for years now, but I still remember how I felt after my very first whitetail hunt and what I learned from it. I remember climbing up in the tree and seeing 3 does walk underneath my treestand. At the time I didn’t want to shoot anything, I just wanted to observe them, and I’m glad I did. Just watching them in their natural environment, not having a clue that anyone else was there, was quite the experience for me.
That day I learned to appreciate several things: Having land to hunt on, having the ability to get out and go hunting in the first place (which I feel a lot of people take for granted), and for life itself. While hunting can be very difficult, I realized how easily I could have taken one of those does with my rifle that day, had I wanted to, and it just made me have a new found respect for wildlife.
If you’ve been thinking about hunting for a while but haven’t taken the leap yet, please give it a try this year! There is always something positive that one can take away from hunting. I encourage you to see how it can help change you for the better!
By Andrea Haas
Andrea Haas is a Pro-Staffer from Missouri who enjoys hunting deer, turkeys, and upland birds. She is also the founder of the Huntress View, an organization formed to help strengthen the ever growing community of women hunters.
Homemade Venison Bratwurst Recipe
January 9th, 2017 by BTC Editor
Making bratwursts or summer sausage is an easy way to use the meat from a whole deer, especially a large or older buck or doe that will likely be tough. Below are step-by-step instructions to making your own homemade venison brats.
What You’ll Need
- Meat from whole deer (20-25 lbs. deboned meat)
- 5 lbs. pork or beef fat
- 2 lbs. cheese – pepperjack or cheddar
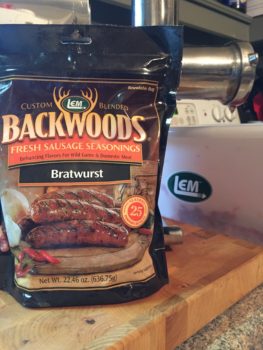
- Lem’s Brat seasoning + water according to package
- Natural casings for 25 lbs. meat
- Meat grinder
- Sausage stuffer
The Process
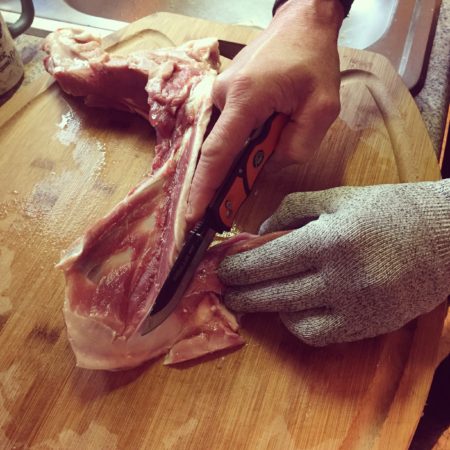
Step 1: Debone meat
Debone shoulders and hams from a whole deer, removing fat and sinew. Use neck and rib meat if needed, to get a total of 20-25 lbs.
Tips!
- Use cut-resistant gloves when deboning meat for added safety
- Make sure to use a sharp knife, such as the Outdoor Edge Razor-Lite replaceable-blade knife
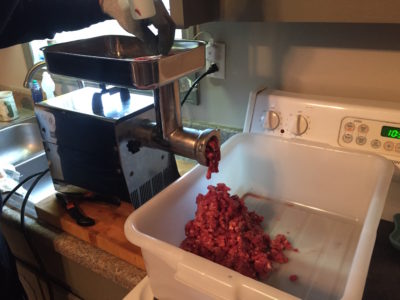
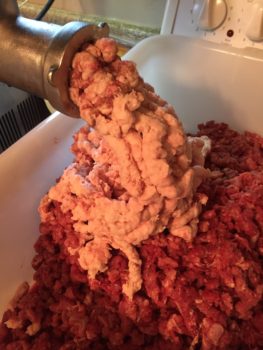
Step 2: Grind
Using an electric grinder, grind all venison into a meat tub or large pot. Grind pork or beef fat separately, and then mix into venison until distributed evenly throughout.
Tips!
- I recommend the Lem #8 meat grinder from Bass Pro Shops. We purchased ours nine years ago, and have ground more than 1,500 lbs. of meat—including 40+ deer, buffalo, hogs and elk. Still works perfectly with no issues.
- There are several ways to obtain pork or beef fat. Ask your local meat store or grocery store if they sell it, or contact a local farmer. We raised a domestic hog and saved the fat once we butchered it. You can also substitute bacon for the fat.
- Before grinding the fat, let it freeze slightly so it makes pellets when ground. If it’s too soft and warm, it will be greasy and melt when grinding.
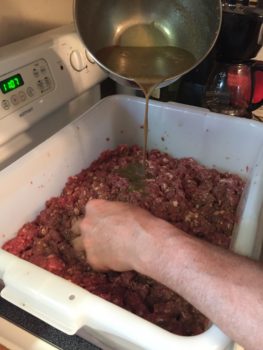
Step 3: Add the Seasoning
Prep seasoning by mixing with cold water, as instructed on package. Add seasoning and water mixture to meat, one cup at a time, mixing thoroughly after each cup. Keep meat mixture in meat tub and refrigerate overnight.
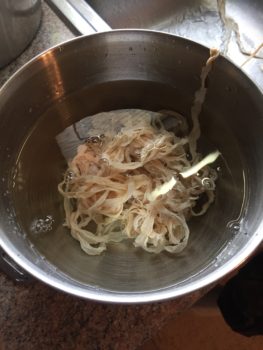
Step 4: Prep Casings
Prep casings by rinsing with warm water to remove cure and salt. Refrigerate in water overnight.
Step 5: Add Cheese to Meat
Cut cheese into ¼” cubes and mix thoroughly into meat.
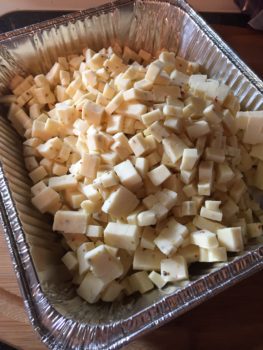
Tips!
- Use any kind of cheese preferred. Pepperjack adds a little more spice and melts better when cooked. Cheddar stays in larger chunks when the brats are cooked.
- During this step, you can also add chopped peppers, such as jalapenos or habaneros, if you like spicier foods.
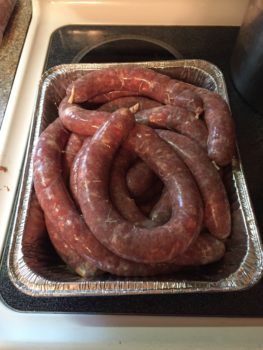
Step 6: Stuff Meat into Casings
Rinse casings with cool water. Attach 10mm stuffer tube (ok to use larger size) to sausage stuffer, and fill stuffer with meat. Fit casing over stuffer tube, and knot one end. Fill casings with meat until expanded, being careful not to rupture the casing. Once the brat is to the desired length, cut casing and knot the end. Repeat until all meat is used.

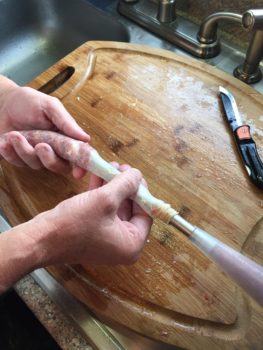
Tips!
- Using a standalone sausage stuffer makes the cheese stay in larger chunks. We used the Cabela’s Commercial Grade Stuffer, 11 lb. model. You can use the electric grinder without the blade in place to also stuff the casings, but it regrinds the meat, causing the cheese to break up.
- The small stuffer tube size is easier to fit the casings over without tearing them, but you can use larger size tubes.
- Brat length depends on preference. You can tie them at standard brat length, approximately 6”, but you will use more casings. We make ours approximately 18” and cook whole, then cut into thirds after cooking.
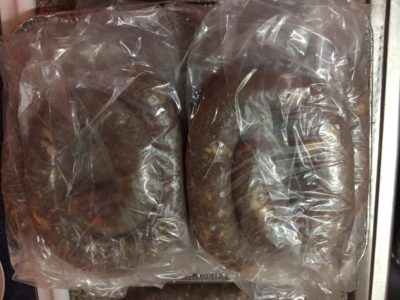
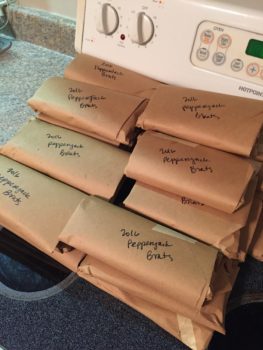
Step 7: Package and Freeze
Place brats individually in freezer bag and wrap with freezer paper. Label and freeze. Recommended meat storage is up to 1 year in the freezer to maintain flavor.
And the best part: Cooking and Eating!
Spray grill grates with non-stick cooking spray. Grill brats over direct heat on charcoal or gas grill for approximately 5 minutes per side, flipping only once using tongs to prevent puncturing. Enjoy alone, or on a bun with your favorite toppings.
By Sarah Honadel

Sarah is an avid hunter and outdoors enthusiast who lives on a farm in Kentucky where she raises cows, chickens,a nd keeps bees.. She enjoys gardening, canning, crafting and traveling and is also a member of the Huntress View team, an organization formed to help strengthen the ever growing community of women hunters.
Wild Game Thanksgiving Dinner
November 13th, 2016 by BTC Editor
It’s that time of year again, where we sit down with family and celebrate Thanksgiving. It’s a time to reflect on all that we are thankful for. For a hunter, this includes the memories in the field and the wild game that was harvested. In my opinion, there’s no better time than Thanksgiving to serve wild game. If you prefer a more non-traditional Thanksgiving dinner, here are a couple of simple recipes to try that you and your family are sure to appreciate.
The main course and side is a dinner kit from Hunter Gatherer Game Dinners.
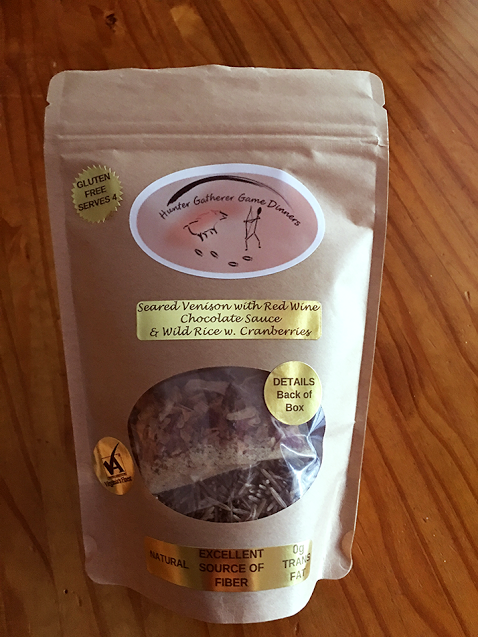
[Main course]
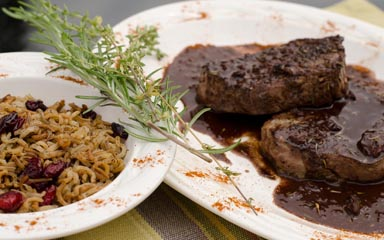
Seared Venison with Red Wine Chocolate Sauce
INGREDIENTS
- 12 oz. venison, elk, buffalo, filet mignon or rib eye steak (I prefer venison filet mignon)
- You’ll need to buy:
- 2 oz. pancetta or Italian bacon
- 1 – 8 oz. can low-sodium chicken broth
- 1 stick unsalted butter
- 1 cup Red Wine
- There are seasonings for the meat in individual packets labeled with numbers, as well as step-by-step instructions so it’s super easy to make!
[Side]
Wild Rice with Cranberries
- The wild rice and cranberries are also included in this kit, along with preparation instructions.
[Dessert]
Persimmon Bread
Most know that deer love to eat persimmons, but have you ever tried one? If you’ve ever tried one before they are ripe you probably think cooking anything with persimmons sounds like a bad idea, as they are awfully bitter. But once they turn ripe they are sweet and are great to use for pies, breads, cakes and cookies. Once they turn a purple/gray color and get soft they are ready for picking, usually after the first couple of frosts.
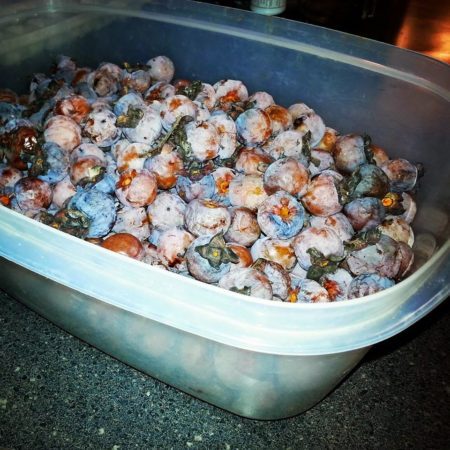
This recipe is my pumpkin bread recipe, but I swapped the 15 oz can pumpkin for 15 oz of persimmon pulp. To me, ripe persimmons taste very similar and have the same consistency as a pumpkin. To get the pulp you will want to smash the persimmons into a bowl through a cone shaped collander, this way you don’t get the skins or seeds in the pulp. We picked these and after smashing all of them through the collander we probably have about 4-5 cups of persimmon pulp. I put the pulp into zip-loc baggies, about 2 cups per baggie, and store them in the freezer until ready to use for cooking.
INGREDIENTS
- 3 cups sugar
- 1 cup cooking oil
- 4 eggs
- 3 1/2 cups all purpose flour
- 2 tsp baking soda
- 1 1/2 tsp salt
- 1 tsp ground cinnamon
- 1 tsp ground nutmeg
- 2/3 cup water
- 15 oz persimmon pulp
DIRECTIONS
- Preheat oven to 350 degrees. Grease 2 loaf pans.
- In an extra large mixing bowl, beat sugar and oil with electric mixer on medium speed. Add eggs & beat well; set sugar mixture aside
- In a large bowl, combine flour, baking soda, salt, cinnamon & nutmeg. Alternately add flour mixture & the water to sugar mixture, beating on low after each addition until just combined.
- Beat in the persimmon pulp.
- Spoon batter into pans
- Bake 55-65 minutes or until a toothpick comes out clean
- Cool in pan on wire rack for 10 minutes. Wrap & store overnight before slicing (The recipe calls for this, but I never do this. I absolutely love warm bread right out of the oven!)
By Andrea Haas
Andrea Haas is a Pro-Staffer from Missouri who enjoys hunting deer, turkeys, and upland birds. She is also the founder of the Huntress View, an organization formed to help strengthen the ever growing community of women hunters.
