5 Tips For Bowhunting Turkeys
March 12th, 2017 by BTC Editor
Planning on using your bow to harvest a turkey this spring? If you’ve ever hunted turkeys before then you know it will be no easy task. Hunting turkeys with a shotgun is often enough to drive a hunter crazy, let alone adding the challenge of a stick and string. Successfully harvesting a turkey with your bow is perhaps one of the hardest, yet most rewarding hunts you will ever be a part of.
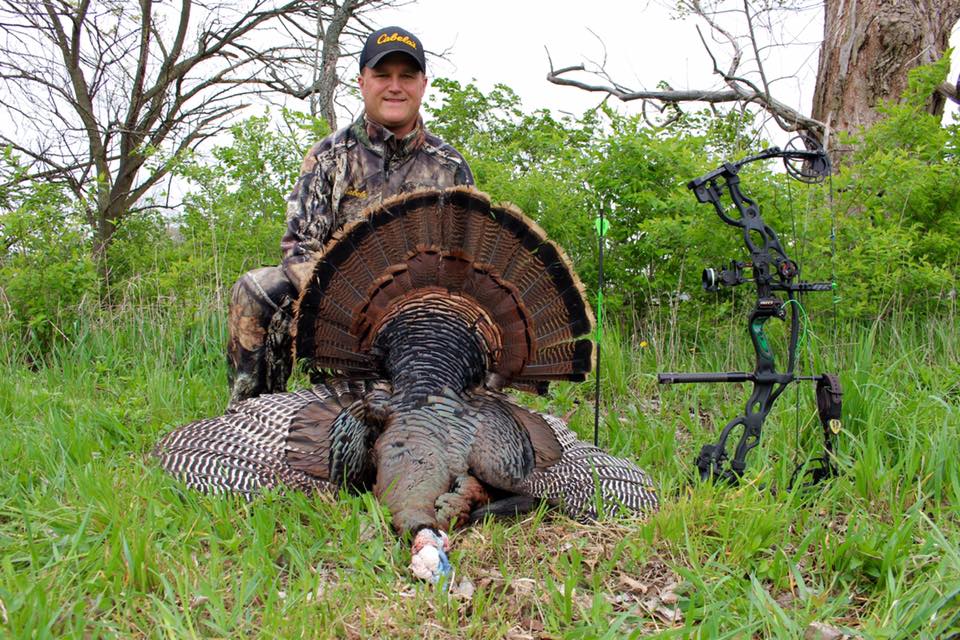
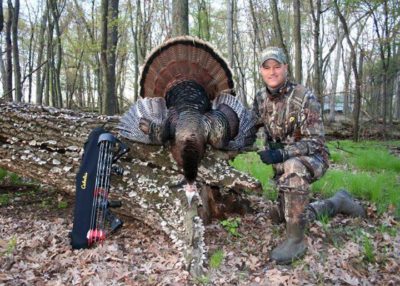
Browning Trail Cameras Pro Staff members Don and Dan Pickell have been bowhunting for years and make bagging a gobbler with a bow look like a piece of cake.
Here are a few of their tips for bowhunting turkeys this spring:
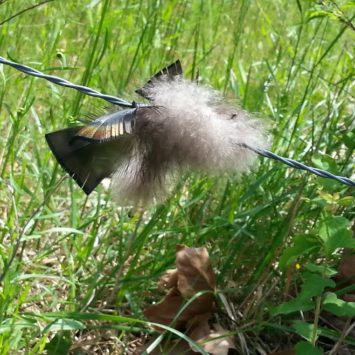
1) Scouting
Spend some time in the woods before season starts so you can be as prepared as possible before opening day. Look for roosting sites, turkey feathers & droppings, feeding areas and travel routes. Once you’ve found some turkey sign or what looks like some good locations, it’s time to hang your trail cameras.
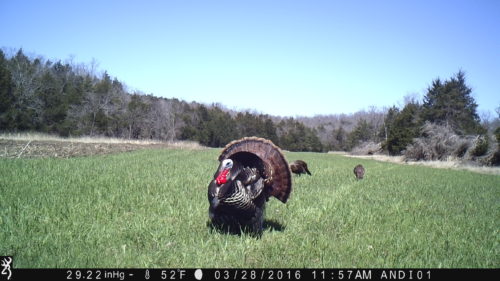
2) Trail Cameras
Get your Browning Trail Cameras out now and keep them out throughout turkey season. Trail cameras will help pinpoint the time of day the turkeys are in certain locations so you know when you should target these specific areas while hunting.
When setting up your cameras, keep the location in mind and set them accordingly. For example, you may want to set your camera on Time Lapse mode while watching large fields or new locations where you aren’t sure where the turkeys are entering or leaving. The camera will take images of the entire field, so you will end up capturing game at 200 + yards away, where a conventional game camera would not normally trigger a picture.
3) Setup
Pattern the birds with your trail cameras and set up your ground blinds accordingly. If they aren’t coming into your call it’s usually best to just sit and wait them out; Remember, you’re hunting with a bow, not a shotgun, so run and gun is a lot more difficult. More often than not, your trail cameras will tell you where you need to be. Remember what you learned about their behavior while studying your trail camera photos and stick with that.
4) Decoys
A decoy will often help bring the birds within bow range while keeping their eyes off of you, but we have also had toms skirt our decoys at times. When this happens we usually pull the decoys and set up in a proven spot where we have them patterned with our Browning Trail Cameras and ambush them. It just depends on the bird’s moods.
5) Shot Placement & Recovery
With a shotgun we aim at the bottom of the neck to allow for the pattern to cover both his head and neck. With a bow, we prefer a broadside shot through the wings if possible so an injured bird can’t fly off, making it harder to recover. Whether we use a bow or a shotgun, as soon as a shot is made we go after the bird and get a foot on its head, just in case.
Going into turkey season, it’s best to have a positive outlook and lots of patience! Turkeys are fickle creatures and even having the “perfect setup” is often not enough to harvest a tom. Make sure you’re as prepared as possible ahead of time by scouting with your trail cameras and keeping the above tips in mind. Harvesting a big longbeard with your bow is worth all of the hassle. Stay safe and have fun this turkey season!
By Andrea Haas
Andrea Haas is a Pro-Staffer from Missouri who enjoys hunting deer, turkeys, and upland birds. She is also the founder of the Huntress View, an organization formed to help strengthen the ever growing community of women hunters.
Homemade Venison Bratwurst Recipe
January 9th, 2017 by BTC Editor
Making bratwursts or summer sausage is an easy way to use the meat from a whole deer, especially a large or older buck or doe that will likely be tough. Below are step-by-step instructions to making your own homemade venison brats.
What You’ll Need
- Meat from whole deer (20-25 lbs. deboned meat)
- 5 lbs. pork or beef fat
- 2 lbs. cheese – pepperjack or cheddar
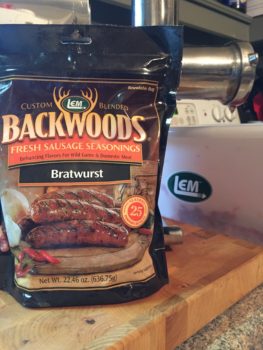
- Lem’s Brat seasoning + water according to package
- Natural casings for 25 lbs. meat
- Meat grinder
- Sausage stuffer
The Process
Step 1: Debone meat
Debone shoulders and hams from a whole deer, removing fat and sinew. Use neck and rib meat if needed, to get a total of 20-25 lbs.
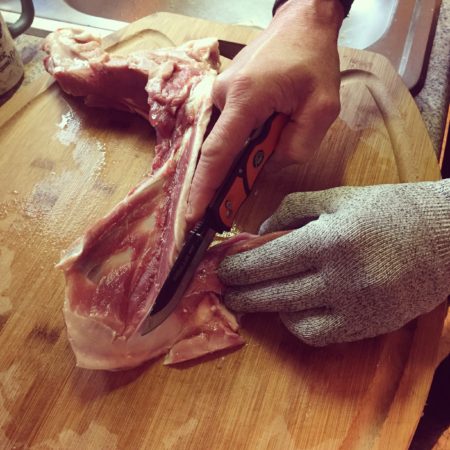
Tips!
- Use cut-resistant gloves when deboning meat for added safety
- Make sure to use a sharp knife, such as the Outdoor Edge Razor-Lite replaceable-blade knife
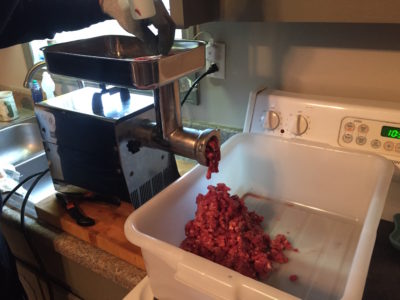
Step 2: Grind
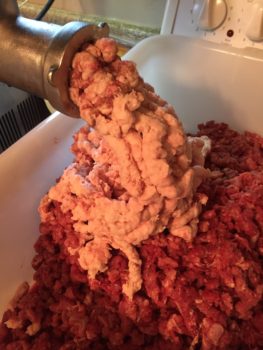
Using an electric grinder, grind all venison into a meat tub or large pot. Grind pork or beef fat separately, and then mix into venison until distributed evenly throughout.
Tips!
- I recommend the Lem #8 meat grinder from Bass Pro Shops. We purchased ours nine years ago, and have ground more than 1,500 lbs. of meat—including 40+ deer, buffalo, hogs and elk. Still works perfectly with no issues.
- There are several ways to obtain pork or beef fat. Ask your local meat store or grocery store if they sell it, or contact a local farmer. We raised a domestic hog and saved the fat once we butchered it. You can also substitute bacon for the fat.
- Before grinding the fat, let it freeze slightly so it makes pellets when ground. If it’s too soft and warm, it will be greasy and melt when grinding.
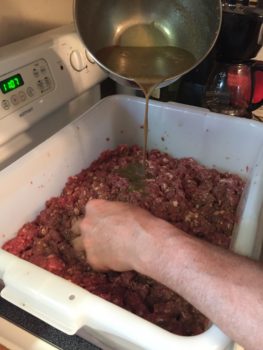
Step 3: Add the Seasoning
Prep seasoning by mixing with cold water, as instructed on package. Add seasoning and water mixture to meat, one cup at a time, mixing thoroughly after each cup. Keep meat mixture in meat tub and refrigerate overnight.
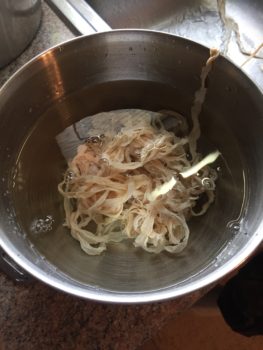
Step 4: Prep Casings
Prep casings by rinsing with warm water to remove cure and salt. Refrigerate in water overnight.
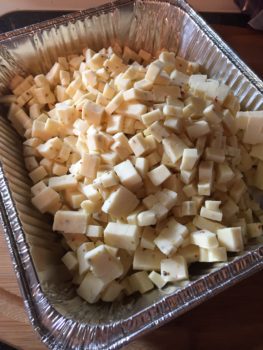
Step 5: Add Cheese to Meat
Cut cheese into ¼” cubes and mix thoroughly into meat.
Tips!
- Use any kind of cheese preferred. Pepperjack adds a little more spice and melts better when cooked. Cheddar stays in larger chunks when the brats are cooked.
- During this step, you can also add chopped peppers, such as jalapenos or habaneros, if you like spicier foods.
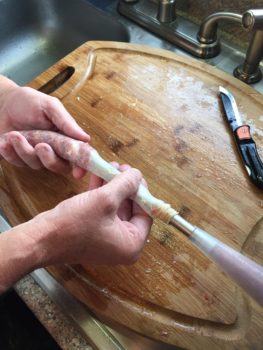
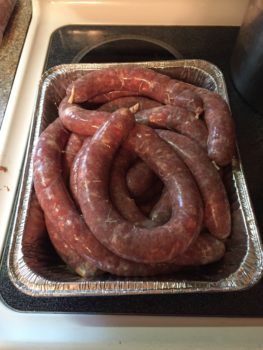
Step 6: Stuff Meat into Casings
Rinse casings with cool water. Attach 10mm stuffer tube (ok to use larger size) to sausage stuffer, and fill stuffer with meat. Fit casing over stuffer tube, and knot one end. Fill casings with meat until expanded, being careful not to rupture the casing. Once the brat is to the desired length, cut casing and knot the end. Repeat until all meat is used.

Tips!
- Using a standalone sausage stuffer makes the cheese stay in larger chunks. We used the Cabela’s Commercial Grade Stuffer, 11 lb. model. You can use the electric grinder without the blade in place to also stuff the casings, but it regrinds the meat, causing the cheese to break up.
- The small stuffer tube size is easier to fit the casings over without tearing them, but you can use larger size tubes.
- Brat length depends on preference. You can tie them at standard brat length, approximately 6”, but you will use more casings. We make ours approximately 18” and cook whole, then cut into thirds after cooking.
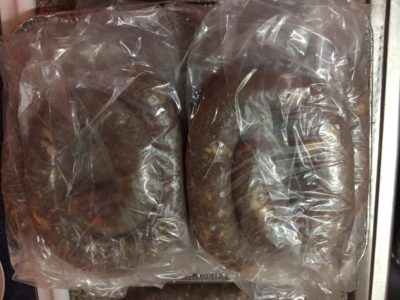
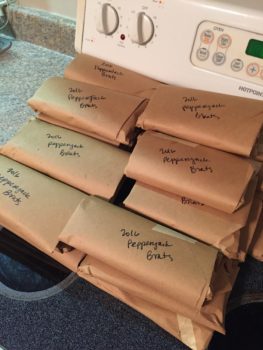
Step 7: Package and Freeze
Place brats individually in freezer bag and wrap with freezer paper. Label and freeze. Recommended meat storage is up to 1 year in the freezer to maintain flavor.
And the best part: Cooking and Eating!
Spray grill grates with non-stick cooking spray. Grill brats over direct heat on charcoal or gas grill for approximately 5 minutes per side, flipping only once using tongs to prevent puncturing. Enjoy alone, or on a bun with your favorite toppings.
By Sarah Honadel
Sarah is an avid hunter and outdoors enthusiast who lives on a farm in Kentucky where she raises cows, chickens,a nd keeps bees.. She enjoys gardening, canning, crafting and traveling and is also a member of the Huntress View team, an organization formed to help strengthen the ever growing community of women hunters.
