Using Trail Cameras to Scout for Turkeys
March 26th, 2017 by BTC Editor
Knowing where to hang your trail cameras and what kind of settings to use when scouting for turkeys is important, as it can vary a little from using cameras for deer hunting. When hanging my trail cameras, whether I’m using them for deer or turkey hunting, I pretty much keep 3 things in mind when determining where to put them: bedding, food and travel routes. So, for deer I often like to hang my cameras where I know they will be coming from their bedding area to their feeding area, and vice versa. For turkeys, I like to do essentially the same thing: find where they are roosting and figure out where they are going when coming off the roost. These locations for deer are often different than they are for turkeys, so scouting is a must.
A few things to look for when you are scouting for good turkey trail camera locations are roosting sites, travel routes, strut zones, and feeding areas.
Roosting Sites
You will know a roosting site when you see one. I have found several on our property, and they have always been in tall, dead trees and have lots of turkey droppings underneath them. You may find some primary wing feathers as well. When hunting last year, I actually spotted a couple of toms still up on the roost, which further confirmed their roost site. I found another spot this spring while shed hunting – it was a dead tree in on the edge of our food plot – and found quite a bit of droppings and a wing feather underneath it.
Camera Setup:
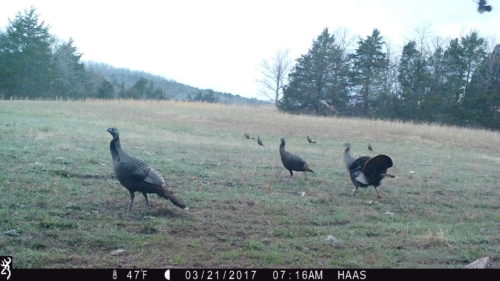
If I know where a roosting site is, I personally like to set my trail camera where I expect they will be landing when they fly down from the roost. From observing turkeys while out hunting I have a good idea of where they usually land when they fly down. On my property, this is usually in one of our fields planted in wheat and clover.
Time-Lapse mode is a great option for fields this size so you don’t miss anything further out where turkeys may not trigger the camera. I have this Browning Strike Force trail camera set up quite a bit higher to have a better view of the field. As you can see in this photo, the turkeys are flying in off the roost.
Travel Routes
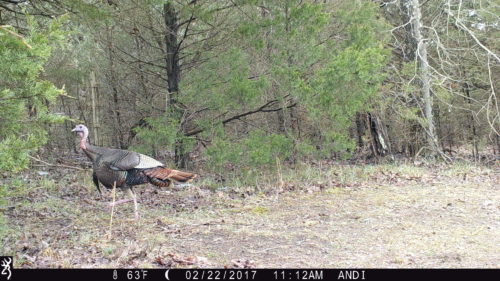
I’ve noticed a couple of similarities in how both deer and turkey travel from my experiences hunting, and it seems they often prefer to take the easiest route possible. Some examples of routes I have seen both deer and turkeys using often is logging roads in the woods, creek crossings, openings in the timber, and holes in fences.
Camera Setup:
These are usually in small, tight spots so I prefer to hang my camera pretty low here and will often put my camera on burst mode so I don’t miss any action. I have this Browning Strike Force set to take 4 multi-shot images every 5 seconds.
Strut Zones
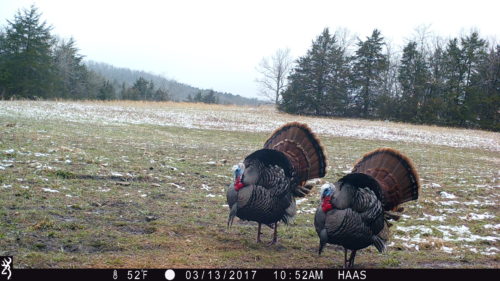
The best way to find these is to actually see a turkey using it in person. I know where a couple are on our property from observing the turkeys while out hunting. If you haven’t seen your turkeys using one, try looking for wing drag marks in the dirt while you’re scouting. On my property, our turkeys love to strut on the edge of one of our food plots where the sun hits them, so keep that in mind when looking for strut zone locations.
Camera Setup:
If you are looking to get some neat footage from your trail cameras, a Strut Zone is the perfect opportunity to switch your trail camera to Video Mode! Make sure you have a larger SD card in this instance as they can fill up pretty quickly on video mode.
This Browning Strike Force camera is actually in the same location as the “Roosting Site” listed above and Time-Lapse mode is what I prefer in this location due to the field size.
Feeding Areas
Food plots planted in chicory, wheat and/or clover are excellent options for hanging your trail cameras to scout for turkeys. We have one field planted in clover and chicory, and another planted in wheat and clover, both of which really seem to hold the turkeys on our property.
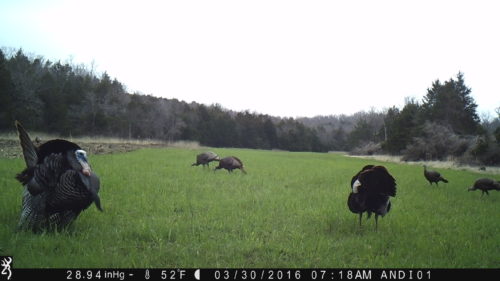
We also experimented one year by plowing up some of the ground on the edge of one of our food plots and the turkeys loved the easy access to insects there! You can see the plowed part in the photo below from the Browning Spec Ops:
Camera Setup:
Once again, a good option in a field this size is Time Lapse mode so you can still catch turkey movement outside of the camera’s detection zone, and setting the camera a little higher up.
If you already have a pretty good idea of where the turkeys are feeding at, regular Trail Camera mode works just fine here as well, and I would probably up the picture delay to 20 or 30 seconds here so you aren’t filling up the SD card as quickly with tons of feeding pictures.
When making your game plan for opening day of Spring Turkey Season, keep in mind what you have learned from studying your trail camera pictures prior to season opener. Using trail cameras to scout for turkeys will give you a good idea on your flock size, how many different groups of turkeys you may have, and where you need to be setting up on opening day. You will be one step ahead of the turkeys and by using the right settings, will likely get some amazing trail camera pictures and/or videos along the way!
By Andrea Haas

Andrea Haas is a Pro-Staffer from Missouri who enjoys hunting deer, turkeys, and upland birds. She is also the founder of the Huntress View, an organization formed to help strengthen the ever growing community of women hunters.
5 Tips For Bowhunting Turkeys
March 12th, 2017 by BTC Editor
Planning on using your bow to harvest a turkey this spring? If you’ve ever hunted turkeys before then you know it will be no easy task. Hunting turkeys with a shotgun is often enough to drive a hunter crazy, let alone adding the challenge of a stick and string. Successfully harvesting a turkey with your bow is perhaps one of the hardest, yet most rewarding hunts you will ever be a part of.
Browning Trail Cameras Pro Staff members Don and Dan Pickell have been bowhunting for years and make bagging a gobbler with a bow look like a piece of cake.
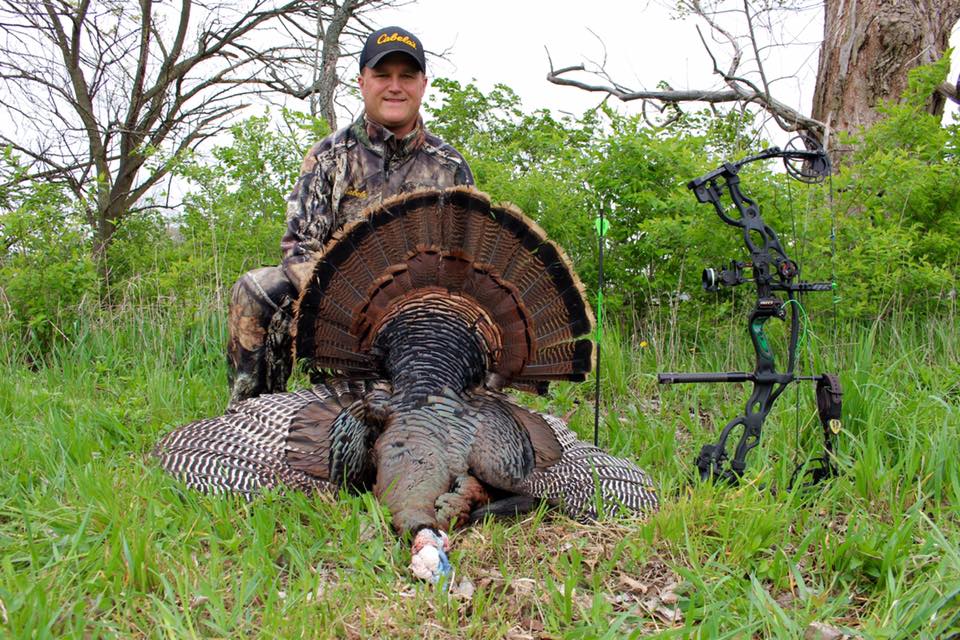
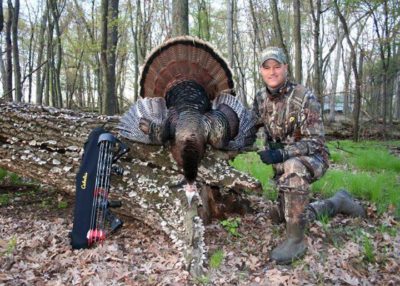
Here are a few of their tips for bowhunting turkeys this spring:
1) Scouting
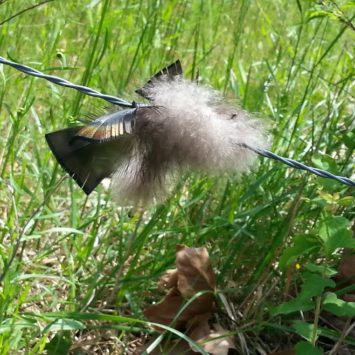
Spend some time in the woods before season starts so you can be as prepared as possible before opening day. Look for roosting sites, turkey feathers & droppings, feeding areas and travel routes. Once you’ve found some turkey sign or what looks like some good locations, it’s time to hang your trail cameras.
2) Trail Cameras
Get your Browning Trail Cameras out now and keep them out throughout turkey season. Trail cameras will help pinpoint the time of day the turkeys are in certain locations so you know when you should target these specific areas while hunting.
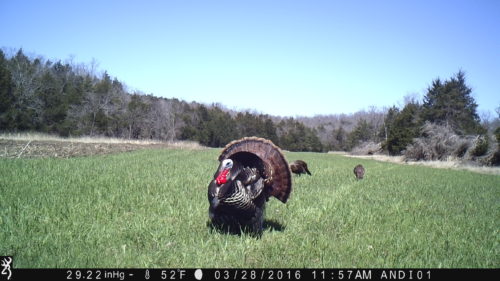
When setting up your cameras, keep the location in mind and set them accordingly. For example, you may want to set your camera on Time Lapse mode while watching large fields or new locations where you aren’t sure where the turkeys are entering or leaving. The camera will take images of the entire field, so you will end up capturing game at 200 + yards away, where a conventional game camera would not normally trigger a picture.
3) Setup
Pattern the birds with your trail cameras and set up your ground blinds accordingly. If they aren’t coming into your call it’s usually best to just sit and wait them out; Remember, you’re hunting with a bow, not a shotgun, so run and gun is a lot more difficult. More often than not, your trail cameras will tell you where you need to be. Remember what you learned about their behavior while studying your trail camera photos and stick with that.
4) Decoys
A decoy will often help bring the birds within bow range while keeping their eyes off of you, but we have also had toms skirt our decoys at times. When this happens we usually pull the decoys and set up in a proven spot where we have them patterned with our Browning Trail Cameras and ambush them. It just depends on the bird’s moods.
5) Shot Placement & Recovery
With a shotgun we aim at the bottom of the neck to allow for the pattern to cover both his head and neck. With a bow, we prefer a broadside shot through the wings if possible so an injured bird can’t fly off, making it harder to recover. Whether we use a bow or a shotgun, as soon as a shot is made we go after the bird and get a foot on its head, just in case.
Going into turkey season, it’s best to have a positive outlook and lots of patience! Turkeys are fickle creatures and even having the “perfect setup” is often not enough to harvest a tom. Make sure you’re as prepared as possible ahead of time by scouting with your trail cameras and keeping the above tips in mind. Harvesting a big longbeard with your bow is worth all of the hassle. Stay safe and have fun this turkey season!
By Andrea Haas

Andrea Haas is a Pro-Staffer from Missouri who enjoys hunting deer, turkeys, and upland birds. She is also the founder of the Huntress View, an organization formed to help strengthen the ever growing community of women hunters.
