5 Tips For Capturing Unique Trail Camera Photos
July 24th, 2016 by BTC Editor

Using trail cameras to scout for wildlife can be rewarding in more ways than one. The most obvious reason to use a trail camera is to pattern and age deer so you have a better idea of where to hunt and which deer you would like to harvest. Aside from hunting purposes, my favorite use of a trail camera is just to get good, unique pictures of a variety of different wildlife. Targeting a specific species and getting quality pictures at the same time can often be challenging, but I have a few tips I’d like to pass along that have helped me get some interesting shots
- Explore
Explore your property to find spots you think are unique, pretty or have a good view. Find a spot you like, hang a trail camera and see what shows up! Our property has an old rock wall that has turned out to be a neat spot for pictures. It’s not a spot that has a ton of wildlife activity, but when they do show up I love the shots that I get. Here is a shot from this spot:

2. Water
Animals are drawn to water. Ponds and creek crossing are a couple of my favorite spots to hang a camera because of the wide variety of animals that show up there. Creek crossings are where I tend to get the most pictures of predators like bobcats, foxes, and coyotes. Turkeys and deer often show up there as well, making for some great photos.
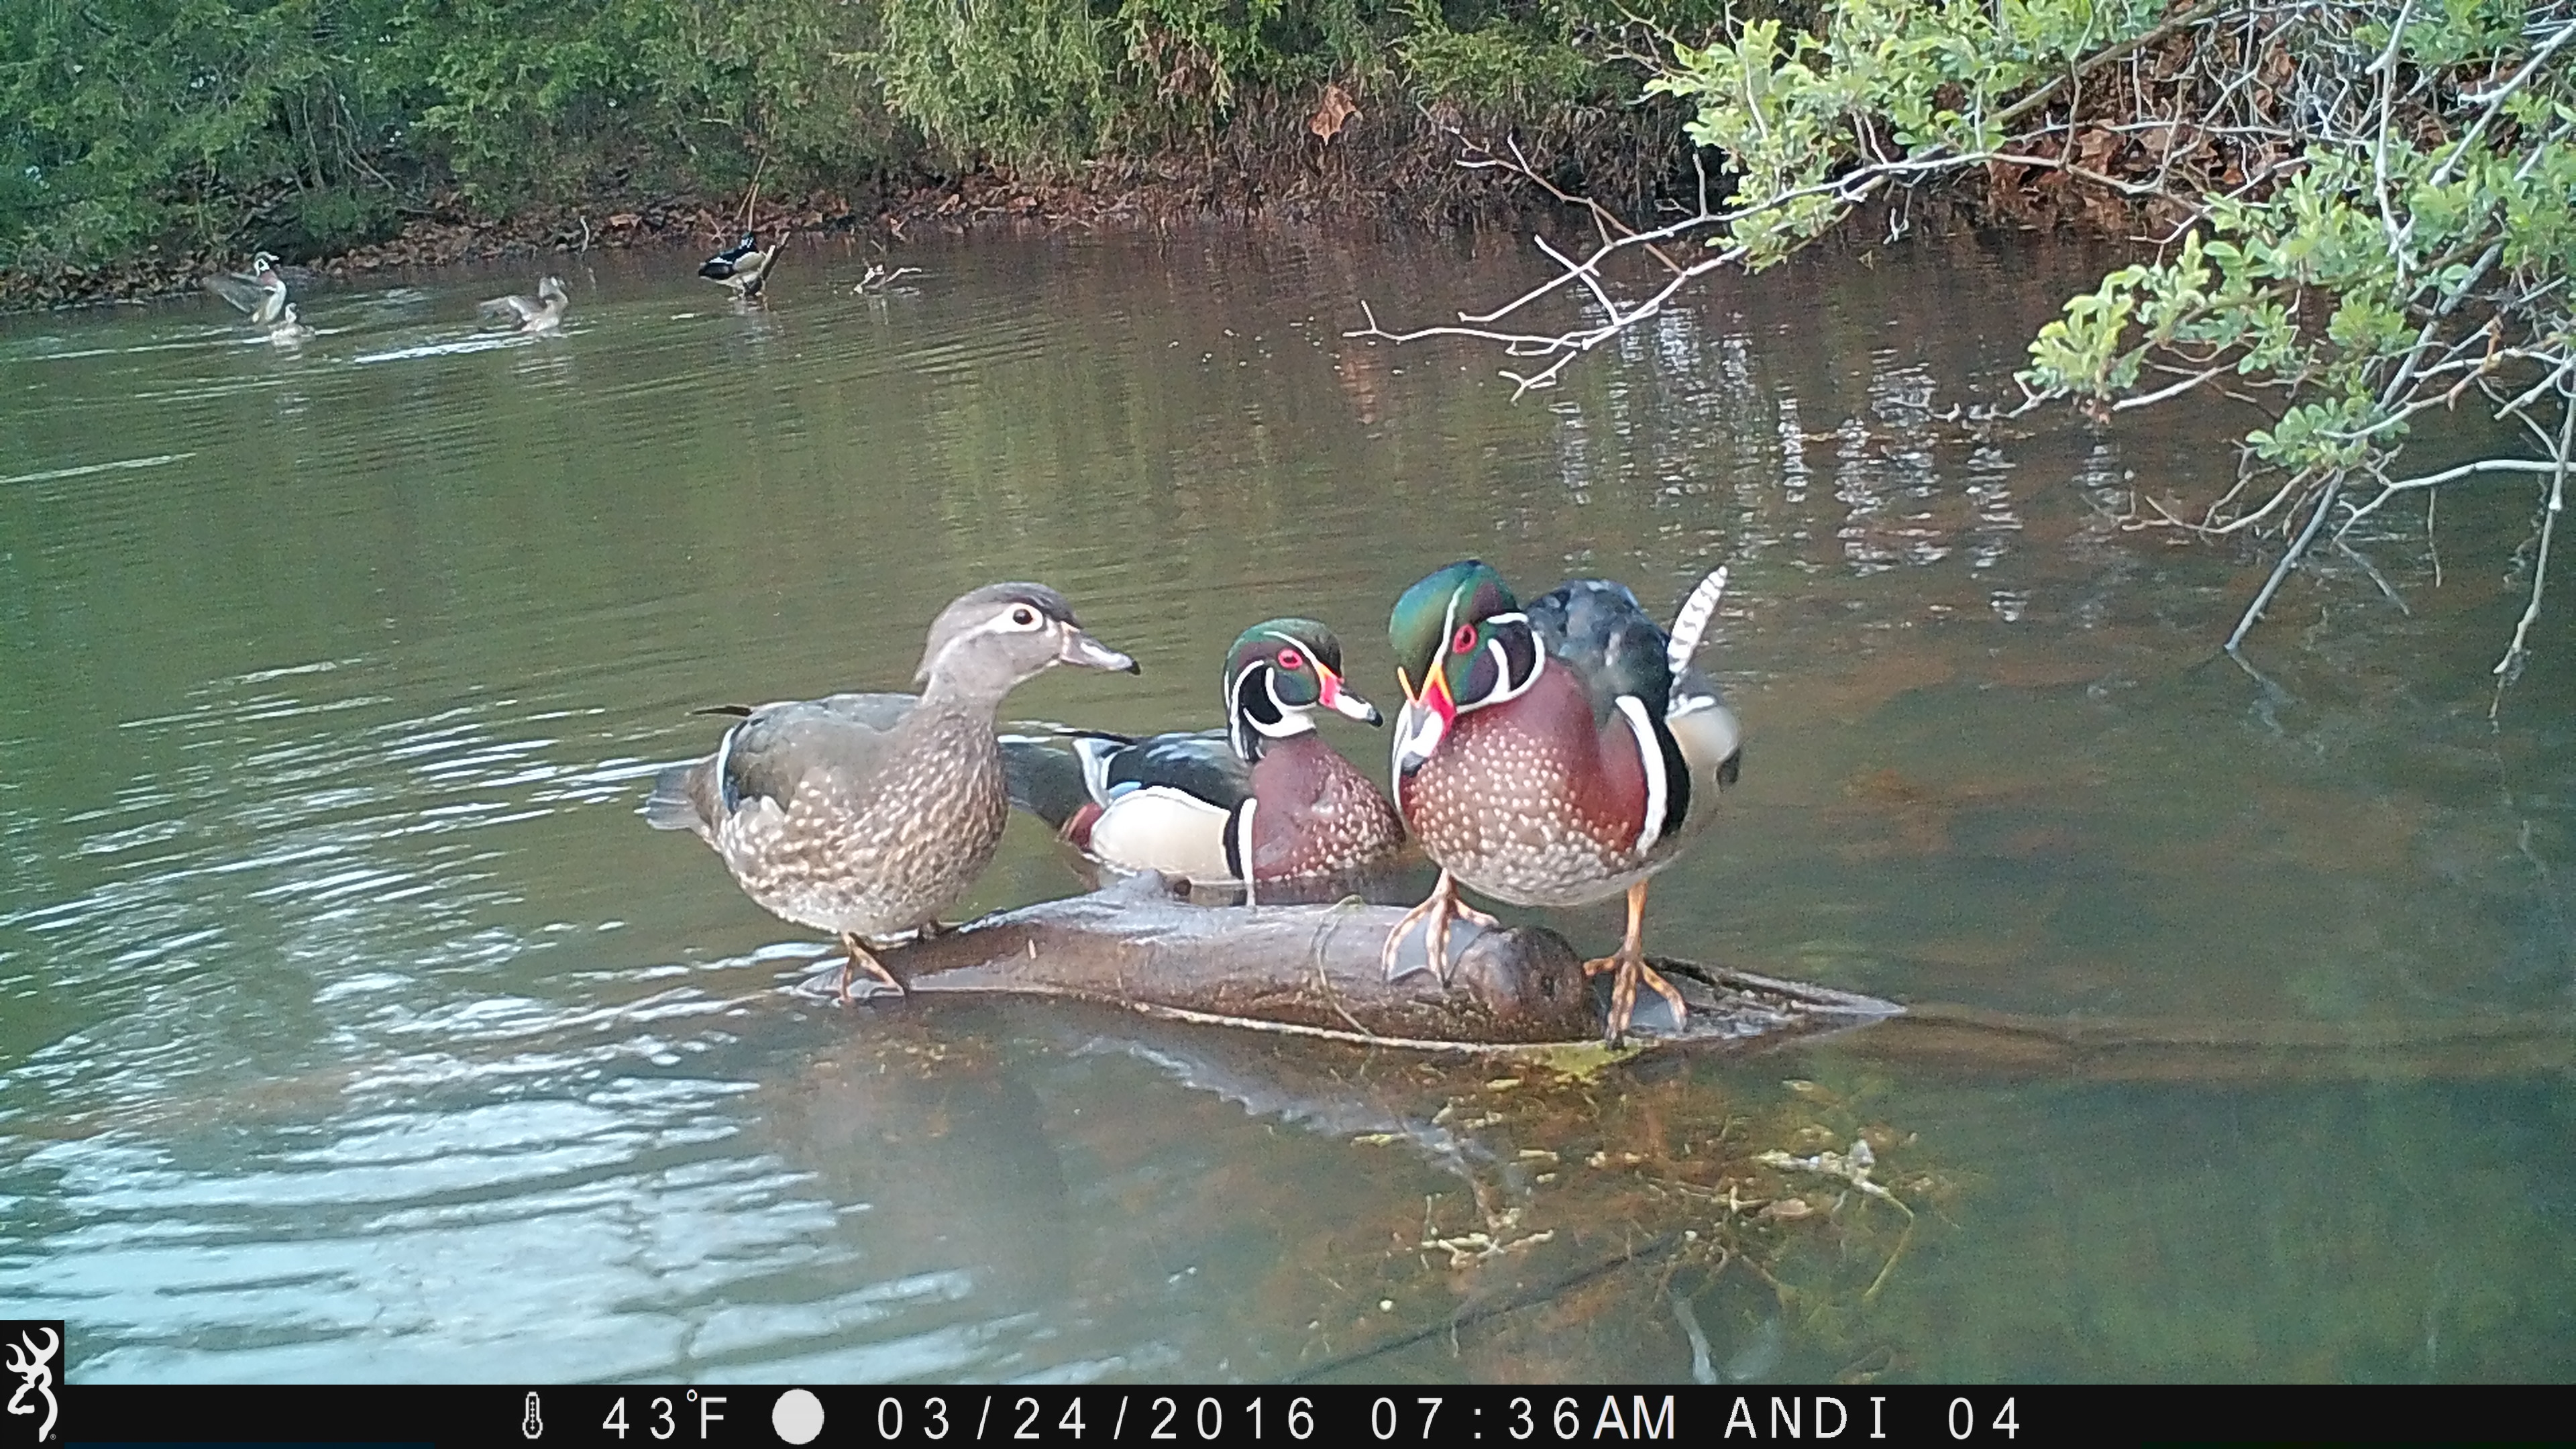
A pond is my favorite location in late winter and early spring to get pictures of waterfowl. A pond setup can be tricky, but placing a camera in front of logs or big rocks that stick up out of the water is what worked best for me, as the ducks seemed to hang out on those quite often.
3. Details
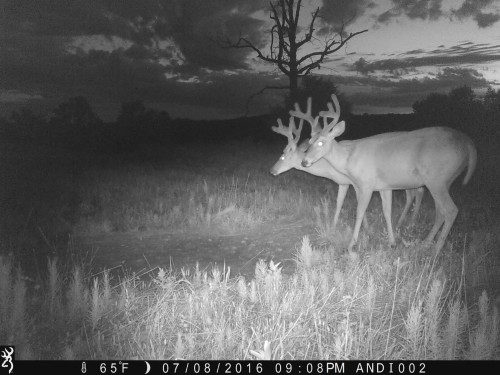
Pay attention to what will be in both the background and foreground of your photos. When trying to get beautiful pictures this is just as important as the wildlife species you’re targeting. For example, tall weeds or plants in front of the camera will block the view of the wildlife and can cause the camera to trigger when the wind blows, getting multiple pictures of just the weeds.
The weeds in the photo below get out of control really quickly in the summer and spring months and have to be mowed down often when putting trail cameras in this spot.
One of my favorite cameras, the Browning Spec Ops Full HD, has a 2” color view screen that can not only be used to view photos & videos in the field, it can also be used as a “live view” while positioning your camera. This helps ensure the images turn out how I envision them and keeps me from having to reposition the camera over and over again to get the shots I want.
4. Accessorize
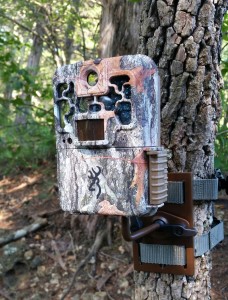
A camera tree mount is worth its weight in gold when it comes to getting good quality photos. Having a perfect tree to hang a camera on is not always an option. The Browning Trail Cameras Tree Mounts really help with positioning the camera and getting that perfect camera angle, especially when your only spot to hang a camera is in a crooked tree.
5. Experiment
Getting great trail camera photos will often require a lot of experimentation. Utilize the different options available on your cameras and play around with it until you figure out what works best for your setup and for the species you’re targeting.
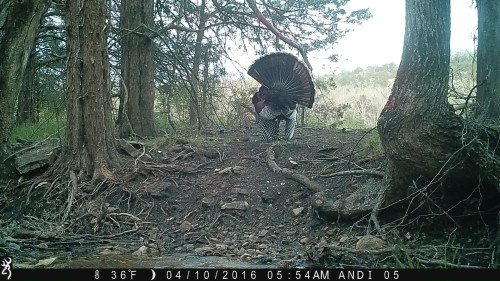
For turkeys, I’ve found that I love the Rapid-Fire mode on my Browning Recon Force, which takes a burst of 8 images in 2 seconds. It helped capture some neat shots of them spreading their wings and flying.

Timelapse mode is great for watching larger areas, like fields and food plots. In such a big open area the wildlife may not always walk right by your camera and set off the trigger, but that doesn’t mean they aren’t there. Timelapse mode will take a picture at set intervals (every 10 seconds, for example), allowing you to watch the animals that may be too far away to trigger your camera. This can help you decide where you would like to place a camera next to get more up close shots of the wildlife. Images from timelapse mode can be viewed quickly and easily, as all Browning Trail Cameras include the Buck Watch Timelapse Viewer Plus software that allows you to view a full day of activity in minutes.
Trail cameras are a great scouting tool, but don’t overlook how fun they can be even when there is no hunting season open! Getting photos of bobcats, foxes, waterfowl and turkeys in the spring and summer can be just as rewarding as getting photos of a nice buck in the fall. Plus, it extends your time outdoors and gives you something to do while waiting for deer season to come around again. It can be difficult at times, but it’s worth it when you get that one in a million shot.
Do you have any tips or tricks for getting unique trail camera photos? Share them with us by leaving a comment!
Andrea Haas
Andrea Haas is a Pro-Staffer from Missouri who enjoys turkey hunting, deer hunting and bowhunting. She is also the founder of the Huntress View, an organization formed to help strengthen the ever growing community of women hunters.
