Traveling With Firearms – Part 2
November 27th, 2016 by BTC Editor
The Good, the Bad and the Ugly: Taking your Firearm Hunting in Foreign Countries
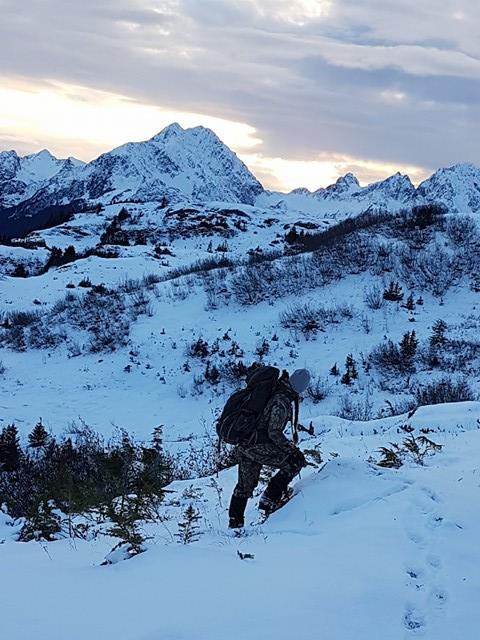
As a hunter, your gun is your best friend. You have spent many hours with it, target shooting, in the stand, bumping around in the back of the truck; it becomes more than just a gun to you. Of course, no matter where in the world you are hunting, you want to take your best friend with you, but that is not always possible. When planning an international hunting trip it is always important to know the rules and regulations around carrying your own firearm for hunting purposes.
First, every country is different. In Wild West terms, I will do the Good, the Bad and the Ugly in reverse, starting with the unfriendly or not-so-friendly countries. Argentina offers great hunting opportunities for fowl, red stag, black buck and other species, but you cannot bring your own gun. Outfitters will offer many options for rifle and shotgun rental and ammunition. You might miss your best friend on this trip, but it will still be a great experience.
Another Spanish speaking country that offers beautiful scenery, wonderful hunting and great food, but difficulty with guns is Spain. The Ibex grand slam might be on your list of dream hunts, but if you want to take your own rifle, you need to start your planning at least six months in advance. Paperwork must be filed through the Spanish Consulate in the United States. Depending on where you live, this office could be located in a few different cities and you must file with the right one for your resident location. Getting representatives to answer phone calls or respond to emails can be an issue. This is another country where it is best to coordinate a rifle with your outfitter.
The last on my list of difficult countries: Australia. I love Australia, the beauty of the outback, the friendliness of the people, the remote locations where all you see for miles and miles are red dirt and wallabies, but if you want to bring your own gun, be prepared. There is a lengthy amount of paperwork that must be filed before you leave. This includes police reports from your hometown, submitted to Australia and returned to you. The process should be started a minimum of three months before you leave. This also requires a fee of over $100 USD, but it must be paid in Australian dollars. Your outfitter will help you with all of this, but it is an added headache for you and them. There is now also the issue of leaving the country. Additional paperwork must now be filed in order for you to take your gun out of the country when you leave. If you are planning on doing any additional touring while on your Australia trip, please leave your gun at home. Each state requires you to have a firearms license to transport your firearm in that state. You cannot get a firearms license unless you are hunting with an outfitter in that state. Therefore, if you are hunting in the Northern Territory and you bring your own gun, you have permission to have the gun in the Northern Territory, but if you would like to travel to Sydney after your hunt, you do not have permission to have a firearm in New South Wales. My advice, use a firearm provided by your outfitter when hunting in Australia.
Now that the Ugly is out of the way, the Bad. These countries might have a bad reputation on the global front, but they are quite friendly to firearms for hunting. Two of my dream hunts, an Ibex in Turkey and the big boy Marco Polo in Tajikistan. Both countries might make the news politically, but your outfitter will get your gun through on arrival. Make sure you communicate with your outfitter and let them know what you are bringing so they will have everything taken care of when you arrive.
Finally, the Good. New Zealand. My favorite place to hunt, so far, and an easy country to bring your own firearm for hunting. There is a $25 NZD fee on arrival and your guns will be inspected by the police as you go through customs. That’s it. Make sure your firearm is in a hard case with lock, stored with no ammunition in the chamber and the magazine is separate if it is full. Now you are free to enjoy the beauty of New Zealand and the wonderful hunting opportunities that abound in this country down under.
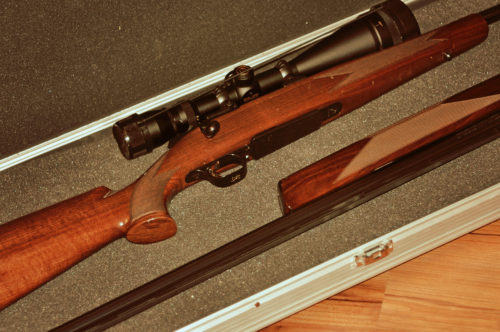
Africa has been left for last, one because it is fairly simple, two because it is a continent, not a country. There are quite a few countries within Africa to hunt. Make sure you coordinate with your outfitter in case there are specifics for your desired location. There is usually just paperwork on arrival. An agent can be pre-booked to meet and greet you and get your firearms through quickly. It is worth the money to take this route.
The most important part of traveling with firearms is preparation. Make sure you ask your outfitter what needs to be done for your specific hunting location. Talk to other people who have been to that country hunting and get their opinion and experience. It might be difficult to leave your best friend behind on your hunt of a lifetime, but that is a better option than getting it confiscated by the government of a faraway place. And that, is the Good, the Bad and the Ugly of traveling with firearms.
By Lora Gene Young
Lora Gene Young is an avid outdoors-woman from North Carolina. Lora guides hunts in both New Zealand and Australia and is also a member of Huntress View, an organization formed to help strengthen the ever growing community of women hunters.
Traveling With Firearms – Part 1
November 21st, 2016 by BTC Editor
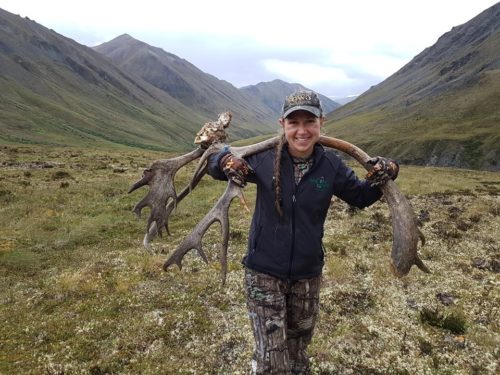
Hunting trips are times to relax, be one with nature, enjoy the great outdoors and camaraderie with like-minded peers, and bond with family. No matter the reason for your hunting excursion, quarreling with airlines over firearm transportation is the worst way to start your journey. Here are a few tips to help you start your trip on the right foot.
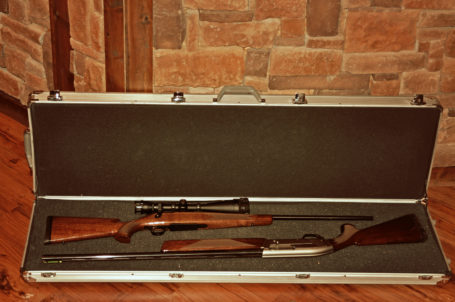
First and foremost, firearms must be transported in a hard case. There can be multiple guns within each hard case, but it must be a hard case. Next, in conjunction with the hard case, the case must be able to be locked securely. Most cases have reinforced locations for two locks, some have a metal rod with one lock. If there is a place for two locks, many airports require both locks. Even if your departure city airport does not require both locks, when you leave your hunting destination that city airport might require both locks. It’s best to cover all bases and have all locks in place.
Secondly, firearms must be transported unloaded. Make sure you double check that the magazine is not in the gun and the barrel is clear. The bolt/action can be transported in the gun, but the gun must be clear of ammunition. Though the firearm must be clear of ammunition, ammo can be transported in the case with the firearm.
Finally, firearms are checked baggage. Just like other checked baggage make sure you know the weight limits associated with your airline. Most have a 50 pound limit, but double check before hand so you do not have any trouble at check-in.
Lock your empty firearm in a hard case and enjoy your vacation. Bon voyage!
By Lora Gene Young
Lora Gene Young is an avid outdoors-woman from North Carolina. Lora guides hunts in both New Zealand and Australia and is also a member of Huntress View, an organization formed to help strengthen the ever growing community of women hunters.
10 Pheasant Hunting Safety Tips
October 16th, 2016 by BTC Editor
10 Pheasant Hunting Safety Tips
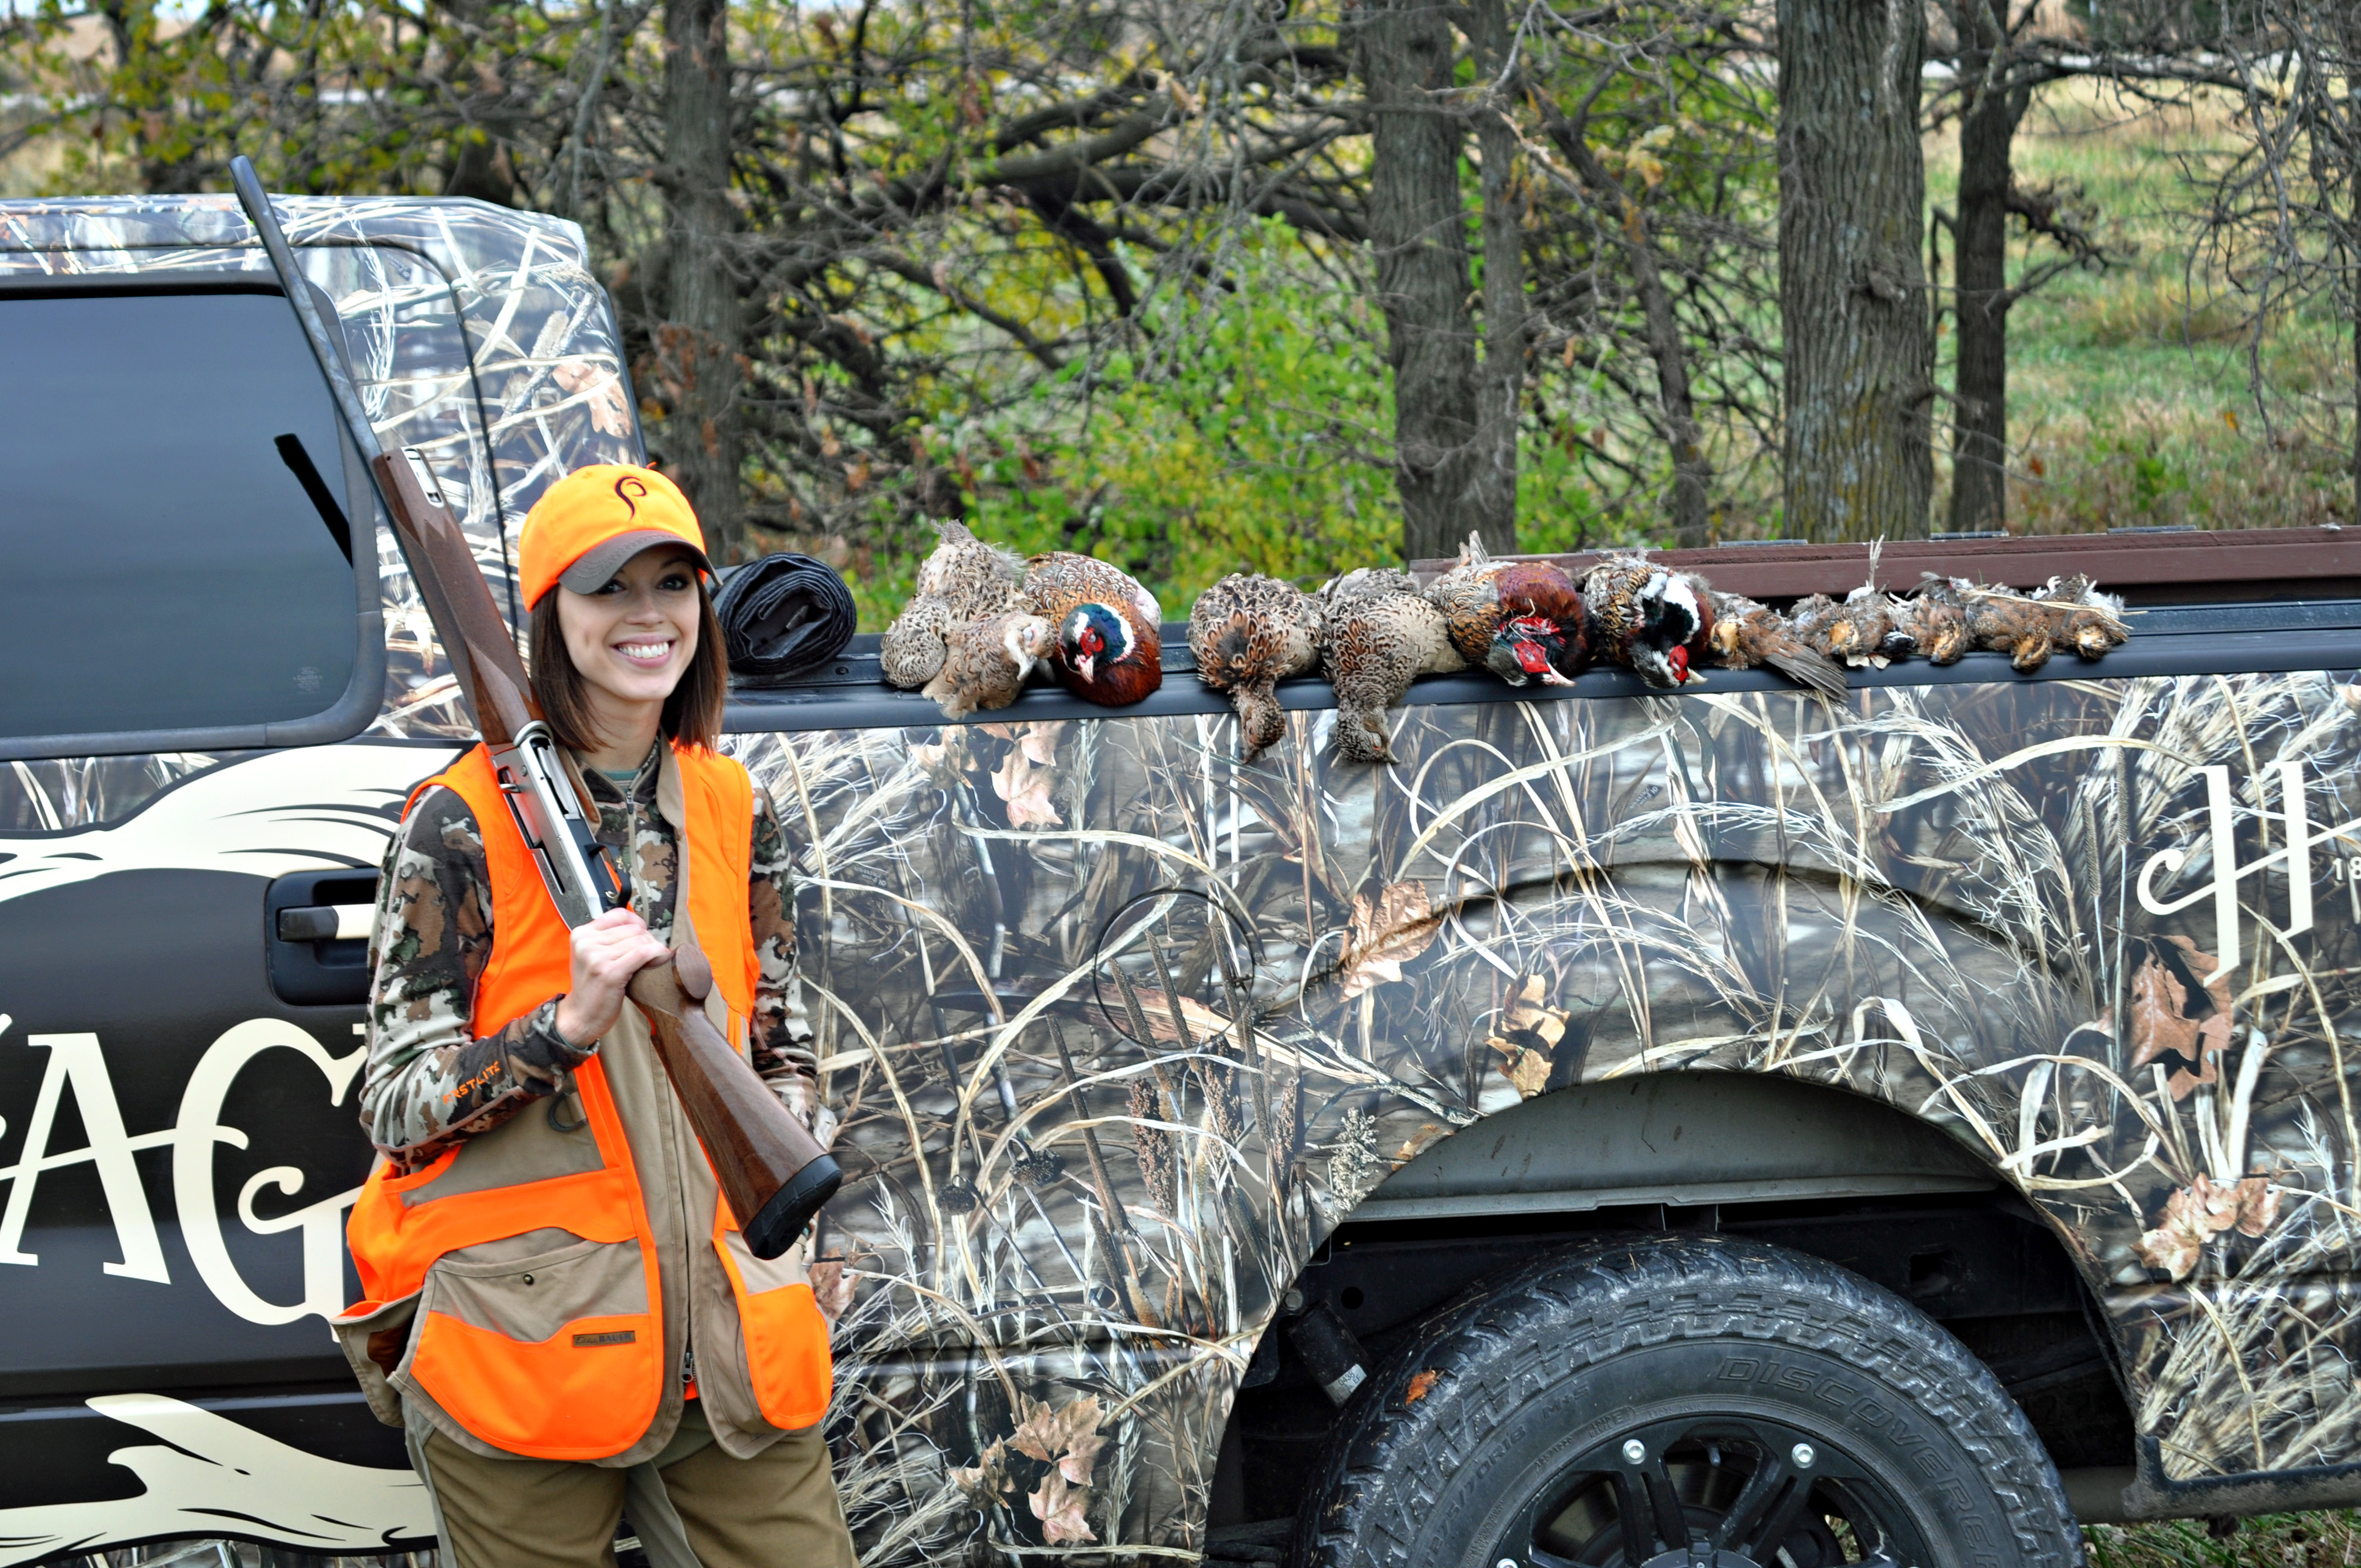
I’ve only been pheasant hunting for about 4 years now, but one thing that has been clear to me from my very first hunt is the importance of safety. It’s your responsibility to handle your firearm safely so you keep yourself, your hunting buddies, and the hunting dogs safe. After witnessing a couple of accidents on my hunts (luckily nothing serious), I feel it’s important to share a few safety tips.
- 1) Always point the muzzle in a safe direction.
- 2) Don’t rely on your shotgun’s safety feature alone to prevent an accident. Keep your safety on and finger off of the trigger until ready to shoot.
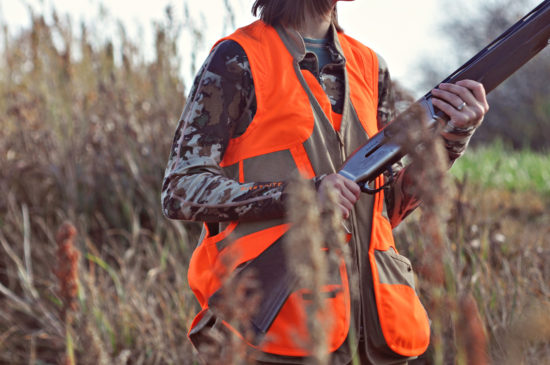
- 3) Start each hunt with a few safety reminders. It may seem monotonous after hunting for years, but it’s something that needs to be reinforced each hunt.
- 4) Know where your hunting partners and dogs are at all times. One of our hunting partners ended up getting shot in the arm one year because he was downhill from the group who was walking out a field and he failed to tell anybody. Luckily he was far enough away that it didn’t cause much damage, but it could have ended very badly.
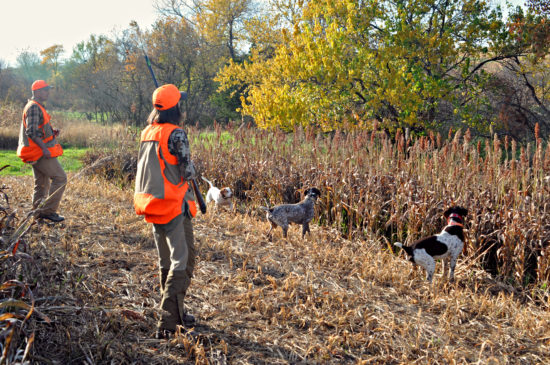
- 5) When walking out large fields make sure you and your hunting partners stay in an even line, paying attention not to get too far ahead or behind so no one is in the line of fire.
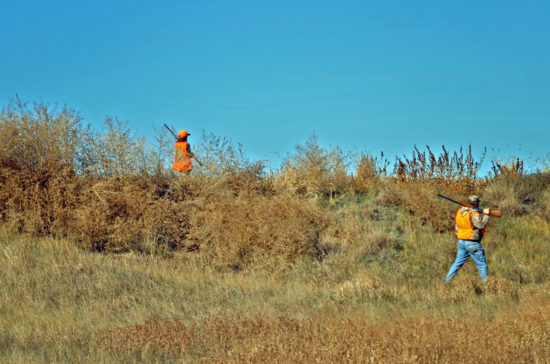
- 6) Make sure your shotgun barrel is free from obstruction. Have you ever been walking out a field and fall into a badger hole, smacking the end of your shotgun barrel into the ground? Well, I have a couple of times. My hunts could have taken a wrong turn after that had we not checked my barrel and cleaned the mud out.
- 7) Make sure you aim above the horizon and see sky before you pull the trigger. When a pheasant flushes the dogs will often jump up and try to catch it. It would be horrible to shoot a dog or a person, so always make sure you let the pheasant get up high enough before shooting. If you don’t have a clear shot, just pass.
- 8) Make sure you are putting the right size shell into your shotgun. For example, never put a 20 gauge shell into a 12 gauge shotgun.
- 9) Never climb/cross a fence with a loaded shotgun.
- 10) If your shotgun fails to fire, wait about 10 seconds, keeping it pointed in a safe direction and your finger off the trigger. Unload the gun and dispose of the ammo.
As with any hunt, safety when handling your firearm is the most important thing. Accidents are few and far between, but just remember that they can happen to anyone at any time. Remembering the above tips will make your pheasant season more safe and enjoyable for all involved.
By Andrea Haas
Andrea Haas is a Pro-Staffer from Missouri who enjoys hunting deer, turkeys, and upland birds. She is also the founder of the Huntress View, an organization formed to help strengthen the ever growing community of women hunters.
Dove Hunting Basics
September 17th, 2016 by BTC Editor
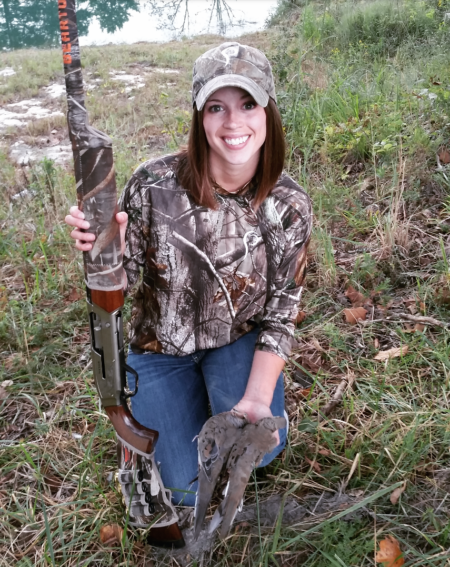
There has always been a lot of excitement surrounding the beginning of fall. Cooler weather, hoodies and bonfires are just a few things we start to hear about around the first of September. But to most hunters, September means dove hunting and marks the beginning of the fall hunting seasons!
For most states, dove season is now underway. If you are thinking about bird hunting for the first time this year, I highly suggest giving dove hunting a try. It’s one of the simplest types of bird hunting to get into, as far as obtaining the proper licenses and the cost of hunting equipment. Plus, the hunting atmosphere is generally pretty carefree and relaxed, which I find is much needed compared to how serious whitetail hunting can become.
Here are a few dove hunting basics to keep in mind when preparing for dove season.
Practice
While I do feel dove hunting is one of the easiest and cheapest types of bird hunting to get into, I think doves are one of the harder game birds to hit. Not only are they small and fast, they zigzag through the sky making for a fun, but challenging hunt.
To prepare for my first dove season I practiced shooting skeet in my backyard prior to the season opener. I was new to bird hunting altogether at that time, so that helped me get more comfortable with handling a shotgun. If you have a sporting clay course near you, that is probably one of the best ways to prepare for shooting live birds since the targets are thrown at varying angles and speeds, simulating a more real-world hunting experience.
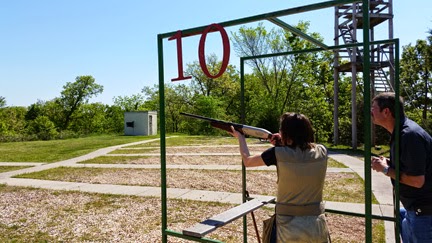
Shooting on a sporting clay course
Licenses and Equipment
For dove hunting you will need a hunting license and Migratory Bird permit, which are both relatively cheap. Always double check with your state conservation department to make sure you have the proper permits.
Besides your hunting permits, you will also need a shotgun and shotgun shells. I prefer my auto-loading Browning Maxus shotgun. Again, make sure you check the regulations with your state conservation department. Most states require you to have a plug in your shotgun that won’t allow you to have more than 3 shells in at at time.
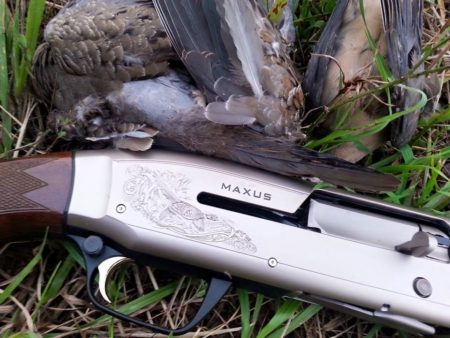
A good shotshell size for dove hunting is a 1 or 1-1/8 ounce load of 7 1/2’s, like these shells from Browning Ammo. It really only takes a few pellets to down a dove so you shouldn’t need to go larger than a 7 ½ or 8. Like it or not, with dove hunting you are going to miss sometimes, so always bring more ammo than you think you will need!
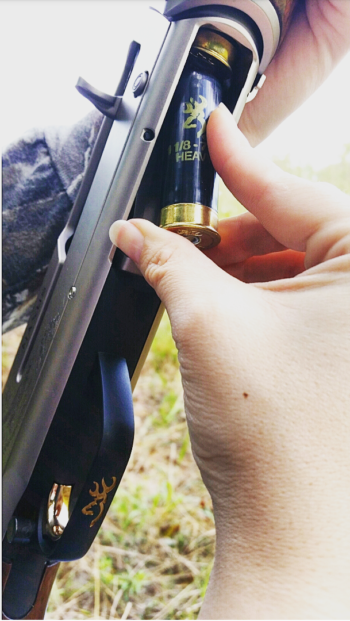
You may want to purchase a small stool or seat to sit on while out hunting. When the doves are flying good, you could be out hunting for hours, so you may as well make yourself comfortable and at home! This Dove Shooter Stool from AlpsOutdoorz is a good option. It has a strap that makes it easy to carry to and from the field. There is a cooler underneath the seat so you can bring lunch and keep your drinks cool. It could also double as a way to carry your shells or your doves. The front pockets are great for holding boxes of shotgun shells, or holding a few decoys!
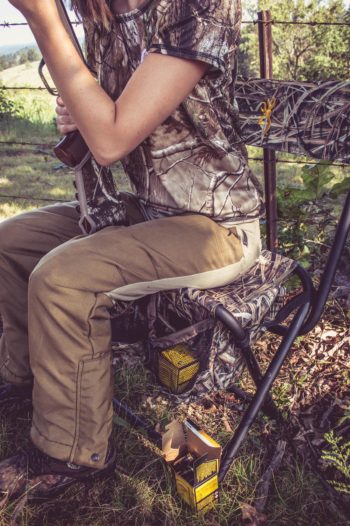
Dove Shooter Stool and Browning Ammo
Decoys
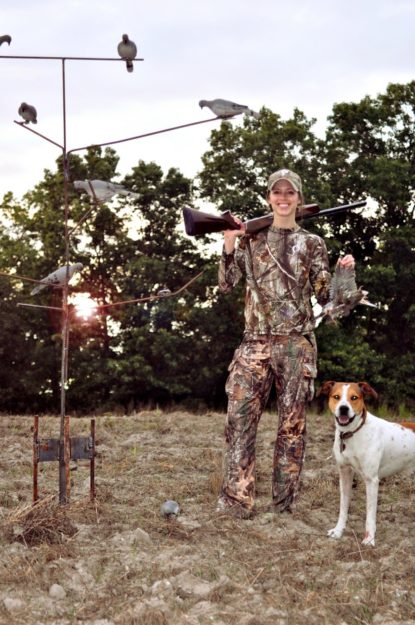
You don’t have to have decoys but they often help bring doves in for a closer shot when they would stay out of shooting range otherwise. Placing a few decoys on open ground, as well as a few on nearby tree branches or a fence row is generally a good setup. When placing decoys on tree limbs, the higher the better. Doves tend to fly into the wind, so you’ll want to place your decoys facing that way.
Concealment
Doves have good eyesight so you will want to wear camo that blends in with your surroundings. Where you and other hunters set up is also important. I like to set up along tree-lined edges and will often make a blind out of the surrounding brush or cedar tree limbs for added concealment. It’s also a good idea for your shotgun to be camouflaged, but is not always necessary.
Lead the Bird
What works for me is aiming ahead of the dove, squeezing the trigger and swinging through the shot. You may be surprised at how far you have to lead these speedy little birds, so if you keep missing I’d try leading the dove even more.
I admit that I missed every single dove I shot at during my first season. By the time my second season rolled around and I was able to connect on some birds, I learned what I had been doing wrong. Instead of leading the birds and swinging through the shot, I got anxious and was just flinging my shotgun up and forcing a bad shot. Once I actually hit a bird, I got a good feel for what I was doing right and it was much easier from there on out.
Locations
There are a few different places that are good for hunting doves. If you can find a location where there are food sources, watering holes, and plenty of trees for a good roosting spot you’ll be off to a good start. One other thing to keep in mind is doves need grit to help digest the different types of seeds they eat. The grit can be found on gravel roads or any location where sand and dirt may be, so if you can hunt field edges bordered by gravel roads you should be in a great spot.
Typically, doves will be located around the watering holes just after dawn and then as soon as they return to their roost at around dusk. In the daytime you might find them sitting on power lines near the gravel roads for a few hours before they return to their afternoon feeding spots.
Whether you have been bird hunting for years or are just getting started, dove hunting is a great way to sharpen your wingshooting skills. It’s also a good way to introduce your children to hunting and allows them to get in more shooting time than hunting deer and other big game. Plus, there’s no better way to ring in the fall hunting seasons than a good dove shoot!
Andrea Haas
Andrea Haas is a Pro-Staffer from Missouri who enjoys turkey hunting, deer hunting and bowhunting. She is also the founder of the Huntress View, an organization formed to help strengthen the ever growing community of women hunters.
